NZ Compliance
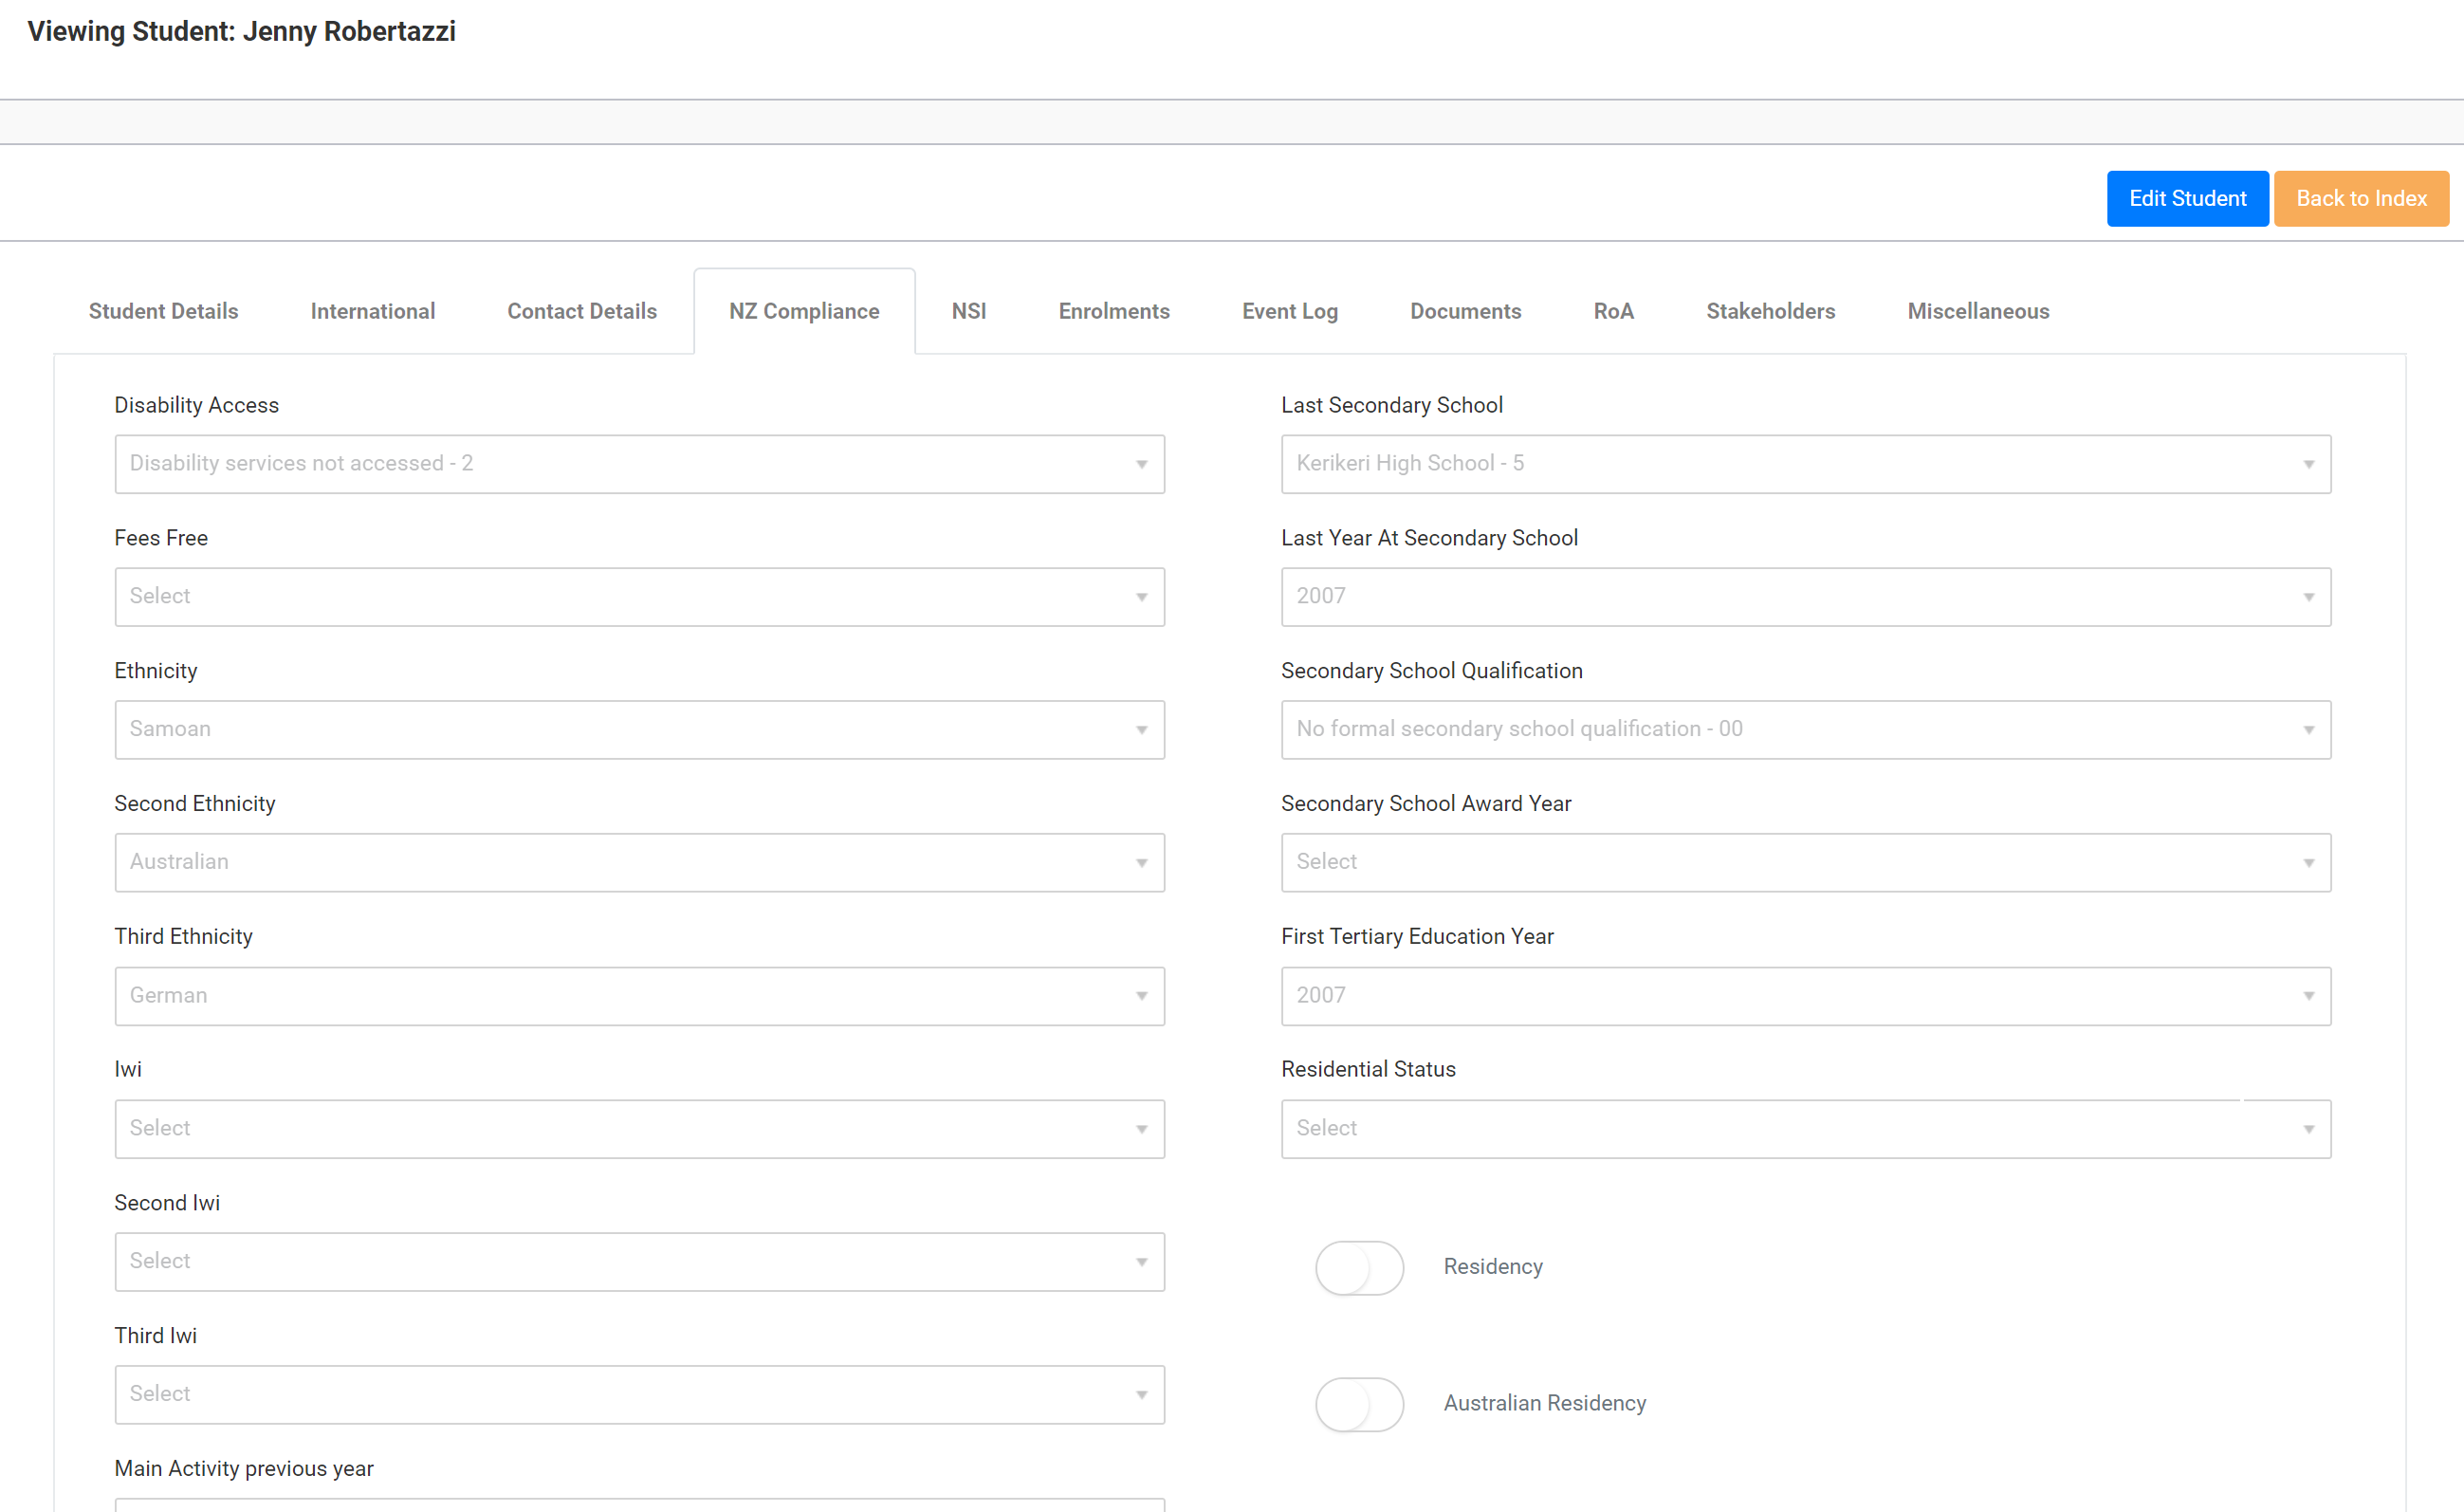
To ensure a smooth SDR processing, add all the relevant NZ Compliance information on this tab. If it is not a reported student, you can leave this section blank.

For this section, please pay particular attention to the schooling information as this is key for SDR reporting purposes.
Ministry of Education Exemption Note Field
Within student records, SELMA users will notice that – under the NZ Compliance tab – there is a field called “MoE Exemption”:

This is a note field that is designed to be informative for users, to outline any Ministry of Education exemptions that relate to that student.
Users might want to use this field to flag to other users that the student is under 16, studying with another provider at the same time, and/or add a relevant Ministry of Education exemption ID number, if applicable.
This field can be edited and typed into like any other text field in SELMA, the user need only enable the edit mode in the student record first.
This is a valuable field to have as often there are important Ministry exemptions that are relevant to a student’s record, yet the only section available to input this information is in the Events section as a note, where there is a risk of it being overlooked.
Placing it under the “NZ Compliance” tab makes this information readily available and thus due consideration can be placed on the information therein.
National Student Index (NSI)
There are two ways of accessing NSI information. The first is to use the NSI website. The second is to use the NSI interface within SELMA.
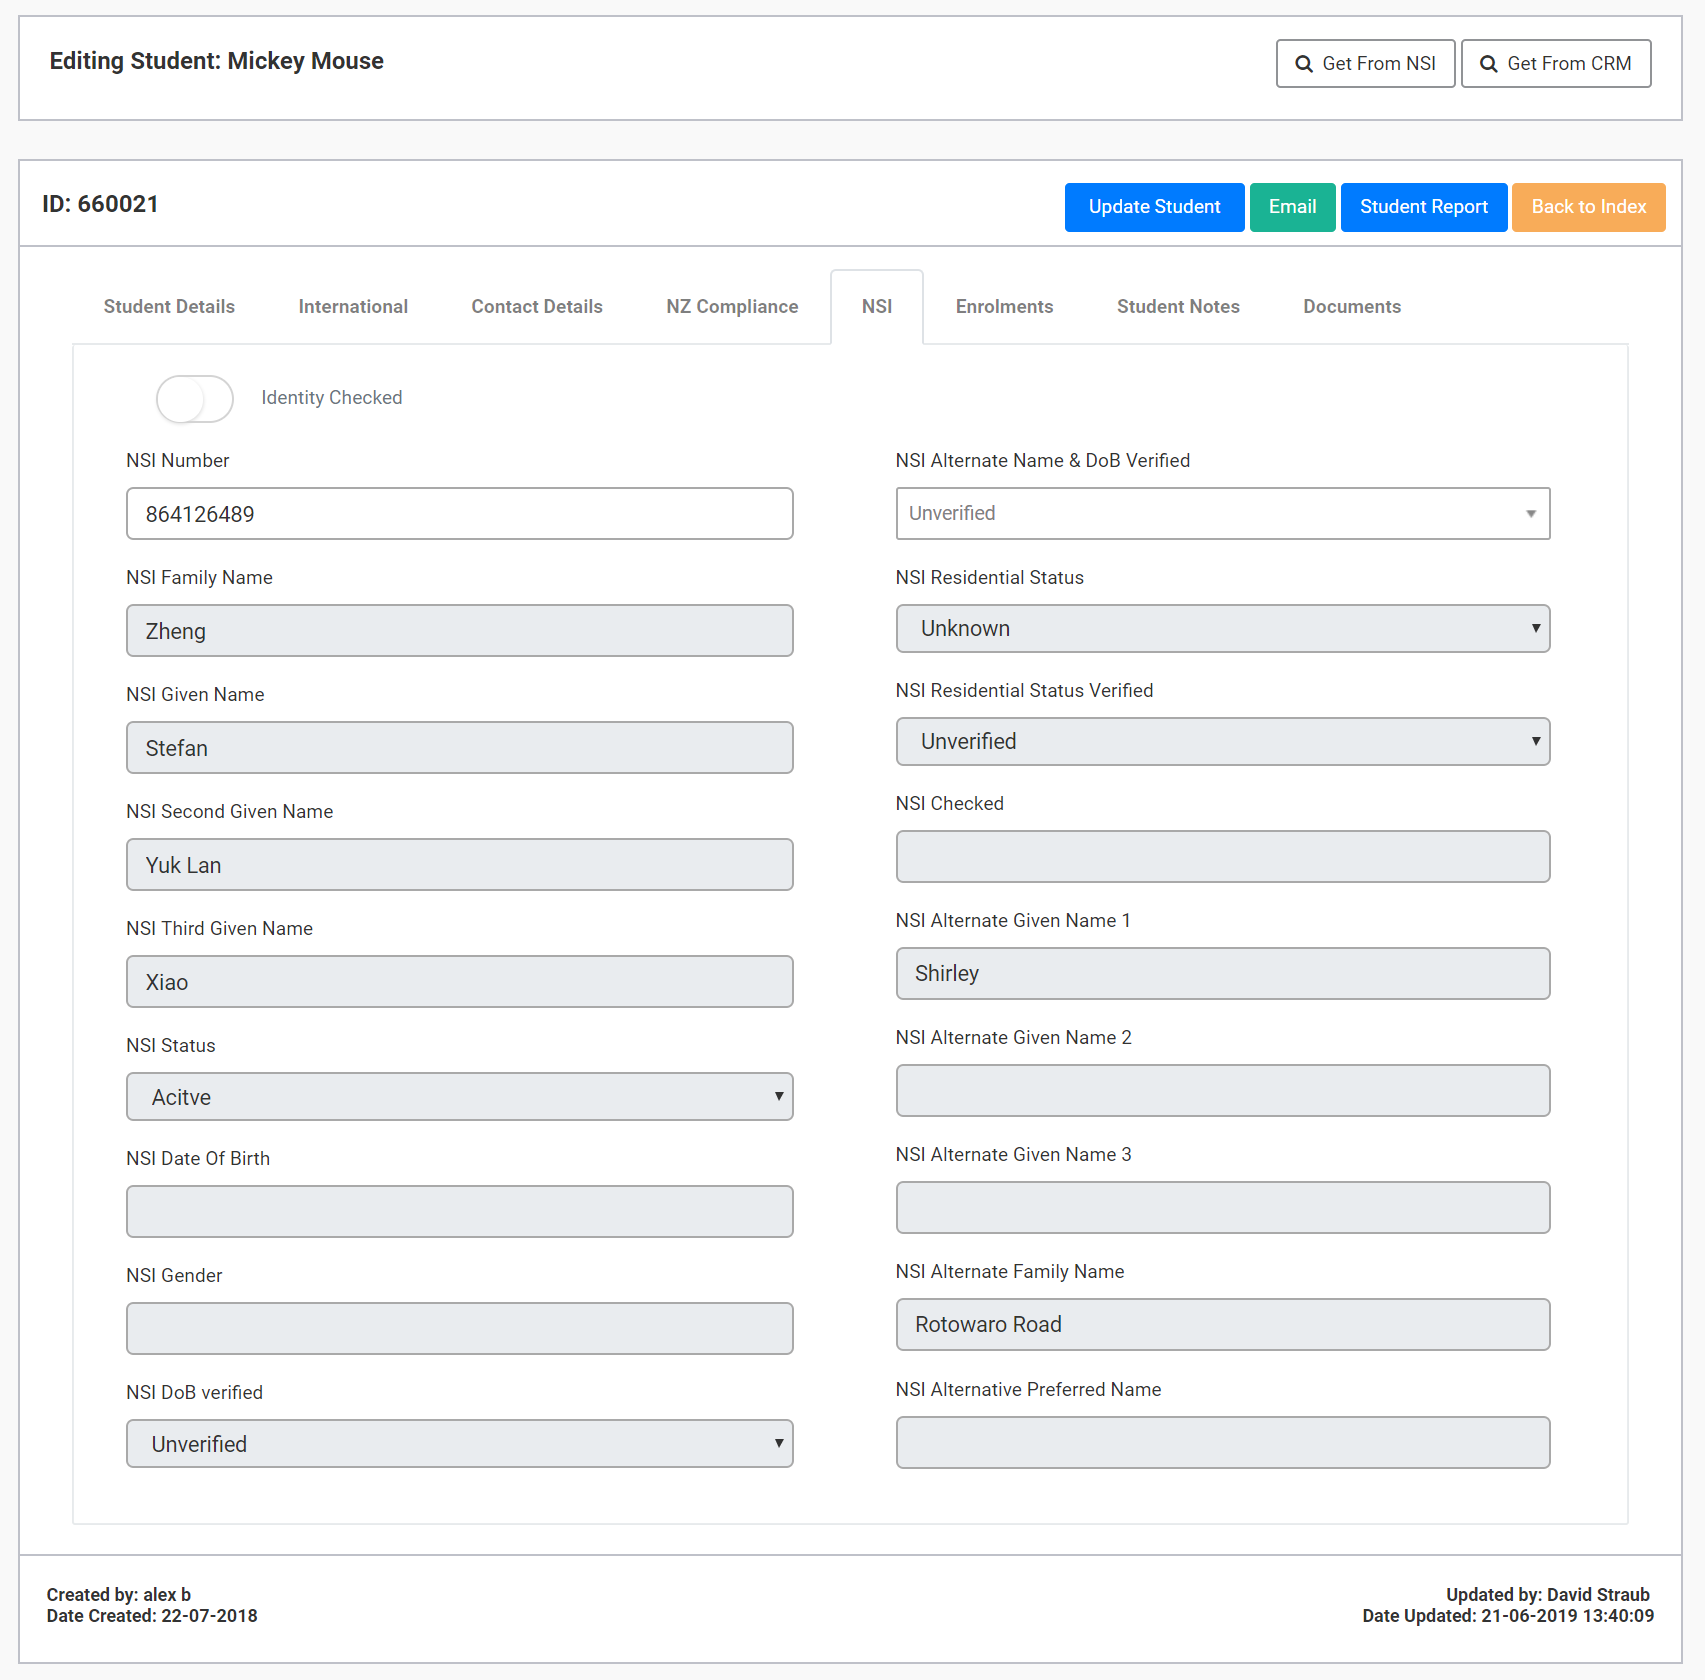
The NSI tab reflects all information that was downloaded from NSI. The information is not editable except for the NSI number itself. If you do not use the NSI interface, simply enter the NSI number here. If you use the interface, all information will be drawn automatically.
To get the NSI interface in SELMA working requires testing in conjunction with the Ministry of Education to be set up. This can sometimes take a few days.
Please note: as at the first half of 2020, the Ministry of Education (MoE) is overrun as a result of many clients being uprooted with Take2 leaving the market, so lots of businesses are connecting with MoE to try and set up an MSI integration.
You can contact/email MoE about setting up the NSI interface, and they will issue you with a help desk ticket number while placing you on the waiting queue for this. The last we heard; this waiting queue can take up to 8 months’ time…
To enquire about the process to set this up, please send us an email at support@selma.co.nz
For more information on how the NSI interface functions when it works, please see the later section “NSI Interface”.

