02 – Create and Edit Students: Student Details

Create Student

To create a new student, navigate to Students -> Manage Students, and then click the “Add Student” button on top of the Student Index (Grid) or use the Quick Access menu item “Add Student”

Graphical user interface, text, application, email

Description automatically generated
If you use the NSI interface or have a CRM integration – this is where you can click the “Get” buttons on top right to pull information form NSI or the CRM. This will bring across all Student Information you already know without you having to type it into the form.

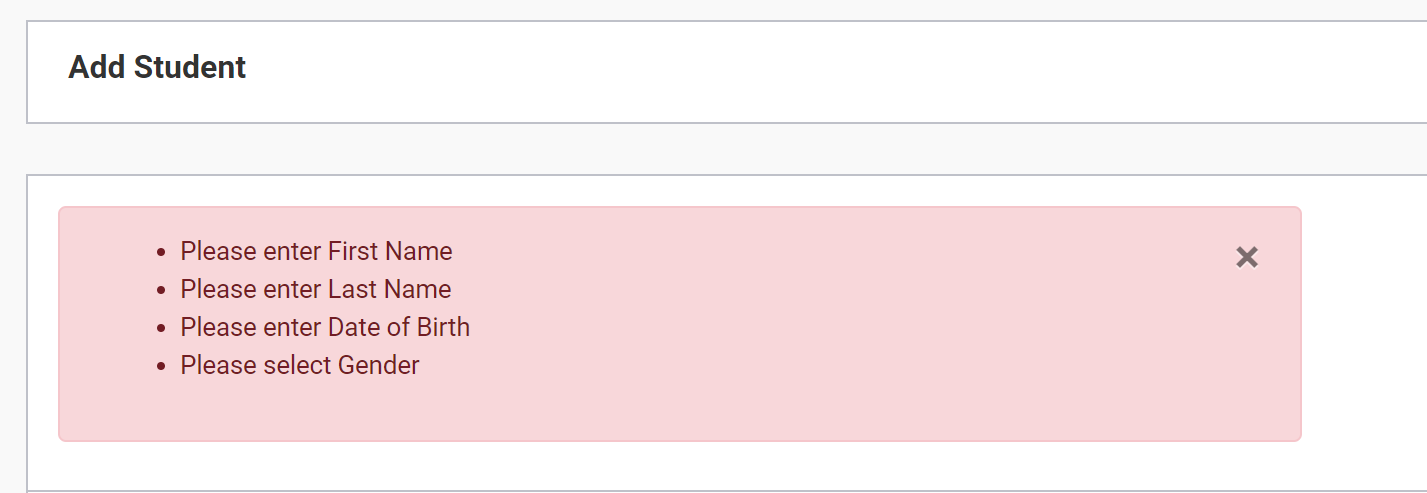
The minimum information required to create a student in SELMA is –

  • First Name
  • Last Name
  • Date of Birth
  • Gender

If you neglect to fill any of these fields the following message will pop up:
You can also add information pertaining to –

  • Medical Conditions
  • Learning Behavioural Needs
  • Disability Details (if applicable)
  • Primary and secondary learning styles
Graphical user interface, text, application

Description automatically generated

Once you have entered all the minimum/relevant information about the student you can add them.

ID Number

A default ID number is allocated to students when their record is created by the system. There is another field – “Other ID” – which can be used by you to add an internal ID number that is applicable to your education provider.

The default ID number is system generated and therefore cannot be altered or deleted.

Related Articles

3 – Upload Photos

Bulk Upload of Student Photos With this functionality, SELMA users can bulk upload student photos to the relevant student’s record which will update their student display picture in SELMA. From the SELMA dashboard, click “Students” and then “Upload Photos”. Then click “New Batch”: Give the batch a name, and then use the “Upload photo(s)” section …

9 – Events

Event Log The event log is the home for notes, tasks, alerts, and other system or user-driven events with relation to the student. This shows the history of what’s been added, changed, or deleted in that specific enrolment. This is particularly important when trying to figure out why information has been altered. You can also …

4 – Manage Students

Manage Students ‘Manage Students’, allows you to search for students in your organisation. If you have not created a student yet, please refer to the “Create / Edit Student” section. To manage a student, look at the top of the screen and find the ‘Students’ field. You will find a table with all of your …