
On this page:
This page outlines the features available under the ‘Students’ tab in the top navigation menu. Available features may vary based on your subscription plan.
Manage Students
The student index displays a grid containing basic student information such as name, status, email and more. It also enables you to search for students in your organisation and export the search results to Excel.
Note: If you have not created a student yet, this table might be empty. Please refer to “Create Students”.
Navigate to Students > Manage Students.

You will find a table with all of your students.

From the ‘manage student’ screen you can either find a student you want to view or edit. You can also add a new student into SELMA from this screen.
In the ‘Search Students‘ section (advanced search, hidden by default), you can search by one or more attributes and choose whether you would like your search phrase to contain, be equal to, or be larger/smaller than your chosen value.


Advanced Search
The advanced search is hidden and will appear if you click on the arrow down next to “Search Students”.
The Advanced Search allows you to enter multiple criteria and select the search types (e.g. Equals, Contains, is bigger than etc. ). The grid will reduce to all items matching your search filters. Click the arrow next to “Search Curriculum” to hide the advanced search, or click “Clear Search” to reset it completely.
Some of the search fields do not allow you to select a search type, but contain a drop-down menu with relevant options.

Viewing and Customising a Grid
Right below the search box, an indicator will show you how many rows are displayed in your grid results. This number decreases or increases as you modify the search criteria.

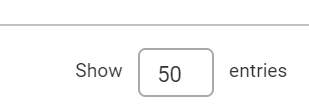
By default, a grid displays 10 entries per page. If the search results return a large amount of relevant entries, you can increase the number of rows displayed by clicking on the number next to “Show Entries”. Select between 10, 25, 50 or 100 rows to be displayed per page.
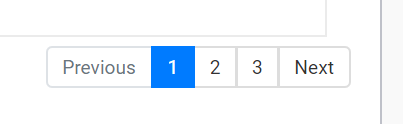
Navigate multiple pages by scrolling to the bottom of the grid and clicking on a page number or via “Previous” and “Next” buttons.
On the right corner of the grid header, use the ‘Column Visibility’ dropdown menu to customise which columns are visible on the grid. Click on any column name to hide it from the grid (highlighted grey when hidden), or click again to display it.


Student Profile
The profile contained in the student screen contains batches of information relating to the student and their relationship with you, the education provider.
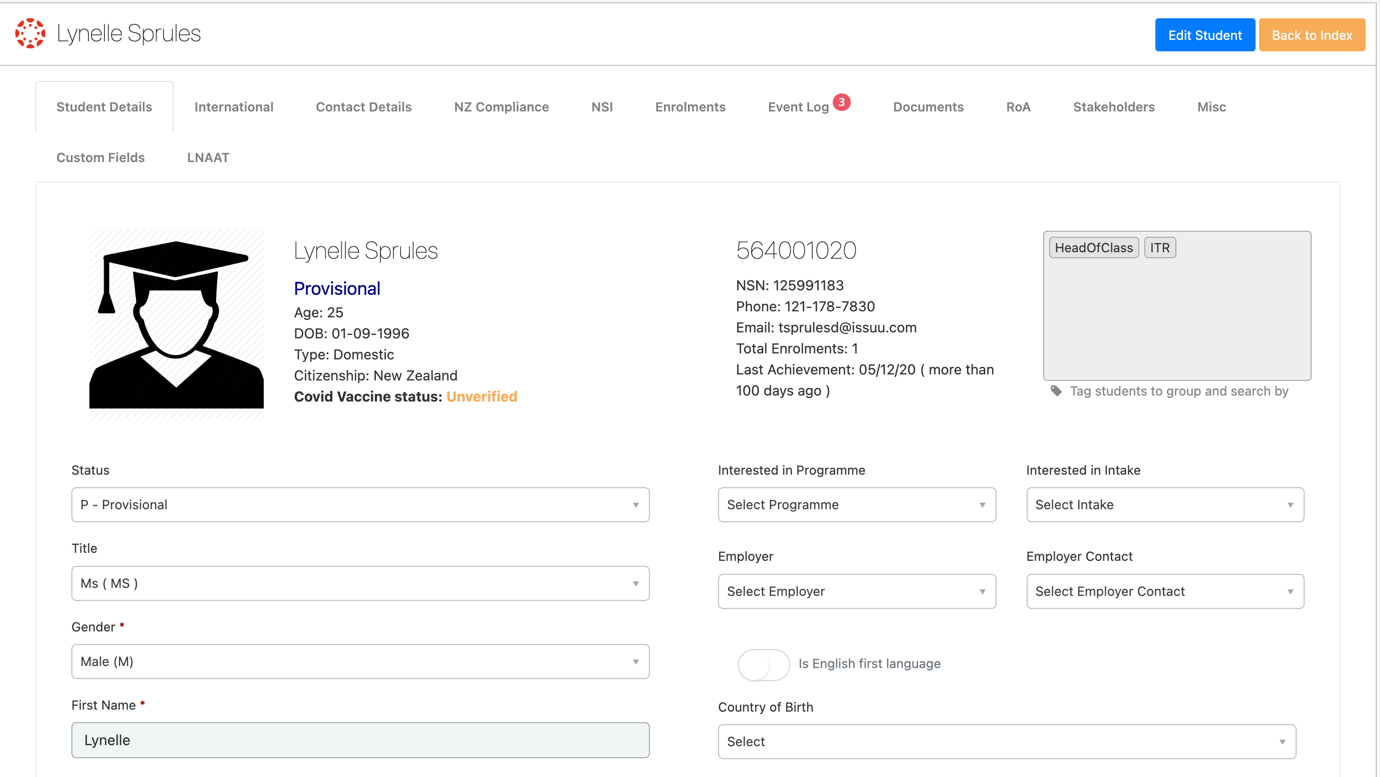
Student Status
The status of a student is by default “Provisional”. In order to enrol a student, you have to change the status to “Ready”.
Older records will be marked as inactive if there was no activity for a while (this is automated by SELMA). As soon as there is activity for the student again, the status will change to ‘Provisional’.
Inactive students are hidden by default on search grids – this improves the speed and handling of the software. If you want to search for inactive students, you can change the default criteria in the advanced search.