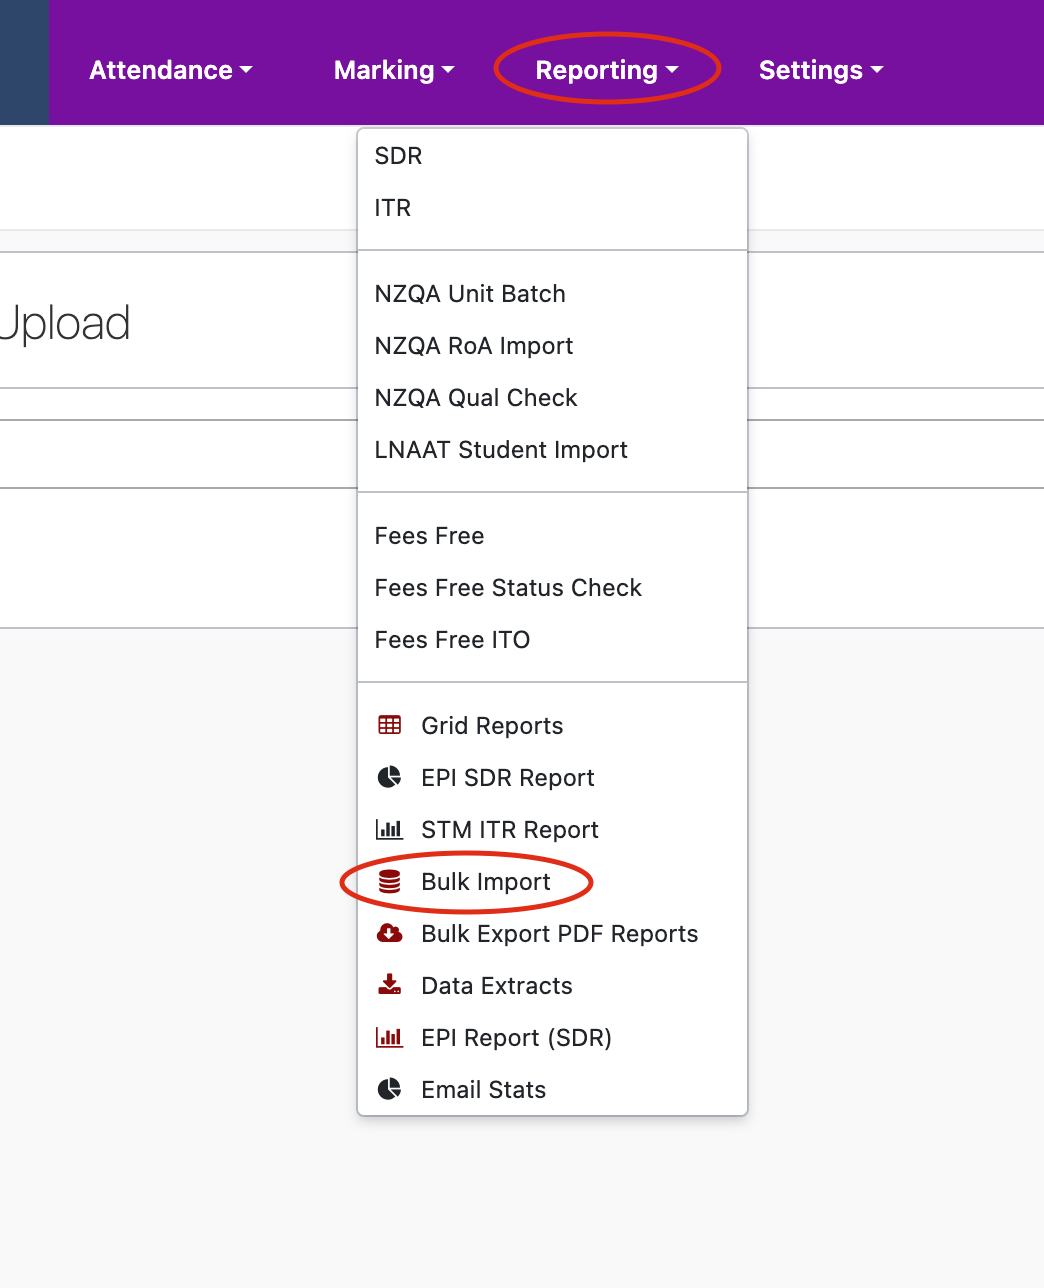
Grade batches of up to 2000(two thousand) can be uploaded to SELMA via a CSV file – Reporting->Bulk Import

You will then see a menu that has two choice for what you are wanting to upload. Choose the ‘Upload Student Grades.’

A template of the CSV file can be downloaded here –

CSV Data File Structure
Ensure that the uploaded file is a genuine CSV file and not an Excel file (we recommend that you adhere to the format of the template provided).
Data Headers
All header columns and header titles must be present in the data file. If any of the header columns are missing, the file will be rejected. This ensures data integrity and accurate processing of the uploaded files.
Column Titles
The column titles in the header should follow the format provided, including capitalisation of certain letters –
- StudentID
- FirstName
- LastName
- NSN
- ComponentCode
- UnitStandard
- UnitStandardVersion
- AssessmentDate
- Assessor
- AssessorCode
- GradingSchemeType
- Grade
- Note
- EnrolmentID
Required Fields
If any of the required fields are missing, in any data row, the whole file will be rejected.
- StudentID – required, integer
- FirstName – required, string
- LastName – required, string
- NSN – required, integer
- ComponentCode – required, string
- AssessmentDate – required, date in the format of yyyy-mm-dd,
- AssessorCode – required, string
- GradingSchemeType – required, string
- Grade – required, string
- EnrolmentID – required, integer
Top Tip: Adhere to the date format used within the file.
Optional Fields
UnitStandardVersion – optional, if missing it assumed that is not a Unit Standard and grade will be processed accordingly,
Assessor – optional, the Assessor will be found by the Assessor Code in the SELMA
If these fields are left empty they are populated with the system message e.g. “Processed by bulk upload”
Top Tip: You can leave BOTH the “Unit Standard” and “Unit Standard Version” fields empty – if only one has a value while the other is empty, the entire file will be rejected. To avoid rejection, both fields should either be empty or both should contain a value.
Uploading Your File
Once data has correctly been entered into the spreadsheet it can be uploaded to SELMA
Validation
The uploaded file will undergo a validation process, after which the user will receive an email containing a comprehensive validation report. Additionally, the validation results will be displayed on the SELMA upload screen –

Upon successful validation, the data is processed, and grades are allocated to each individual enrolment component. The original CSV data file remains available on SELMA. Following a data upload, a confirmation email indicating success is also sent to the user.
Validation Errors
The uploaded CSV file undergoes validation against predetermined validation rules. Should a single validation error be detected, the entire file will be declined. A notification email containing an error report will be sent to the user. Additionally, the error report can be accessed and downloaded from SELMA.

When you receive an error you can have an in depth look at what the error was by clicking on the green eye.

