To create a new class in SELMA navigate to Intakes -> Manage Classes
Jump ahead:
Creating A Class
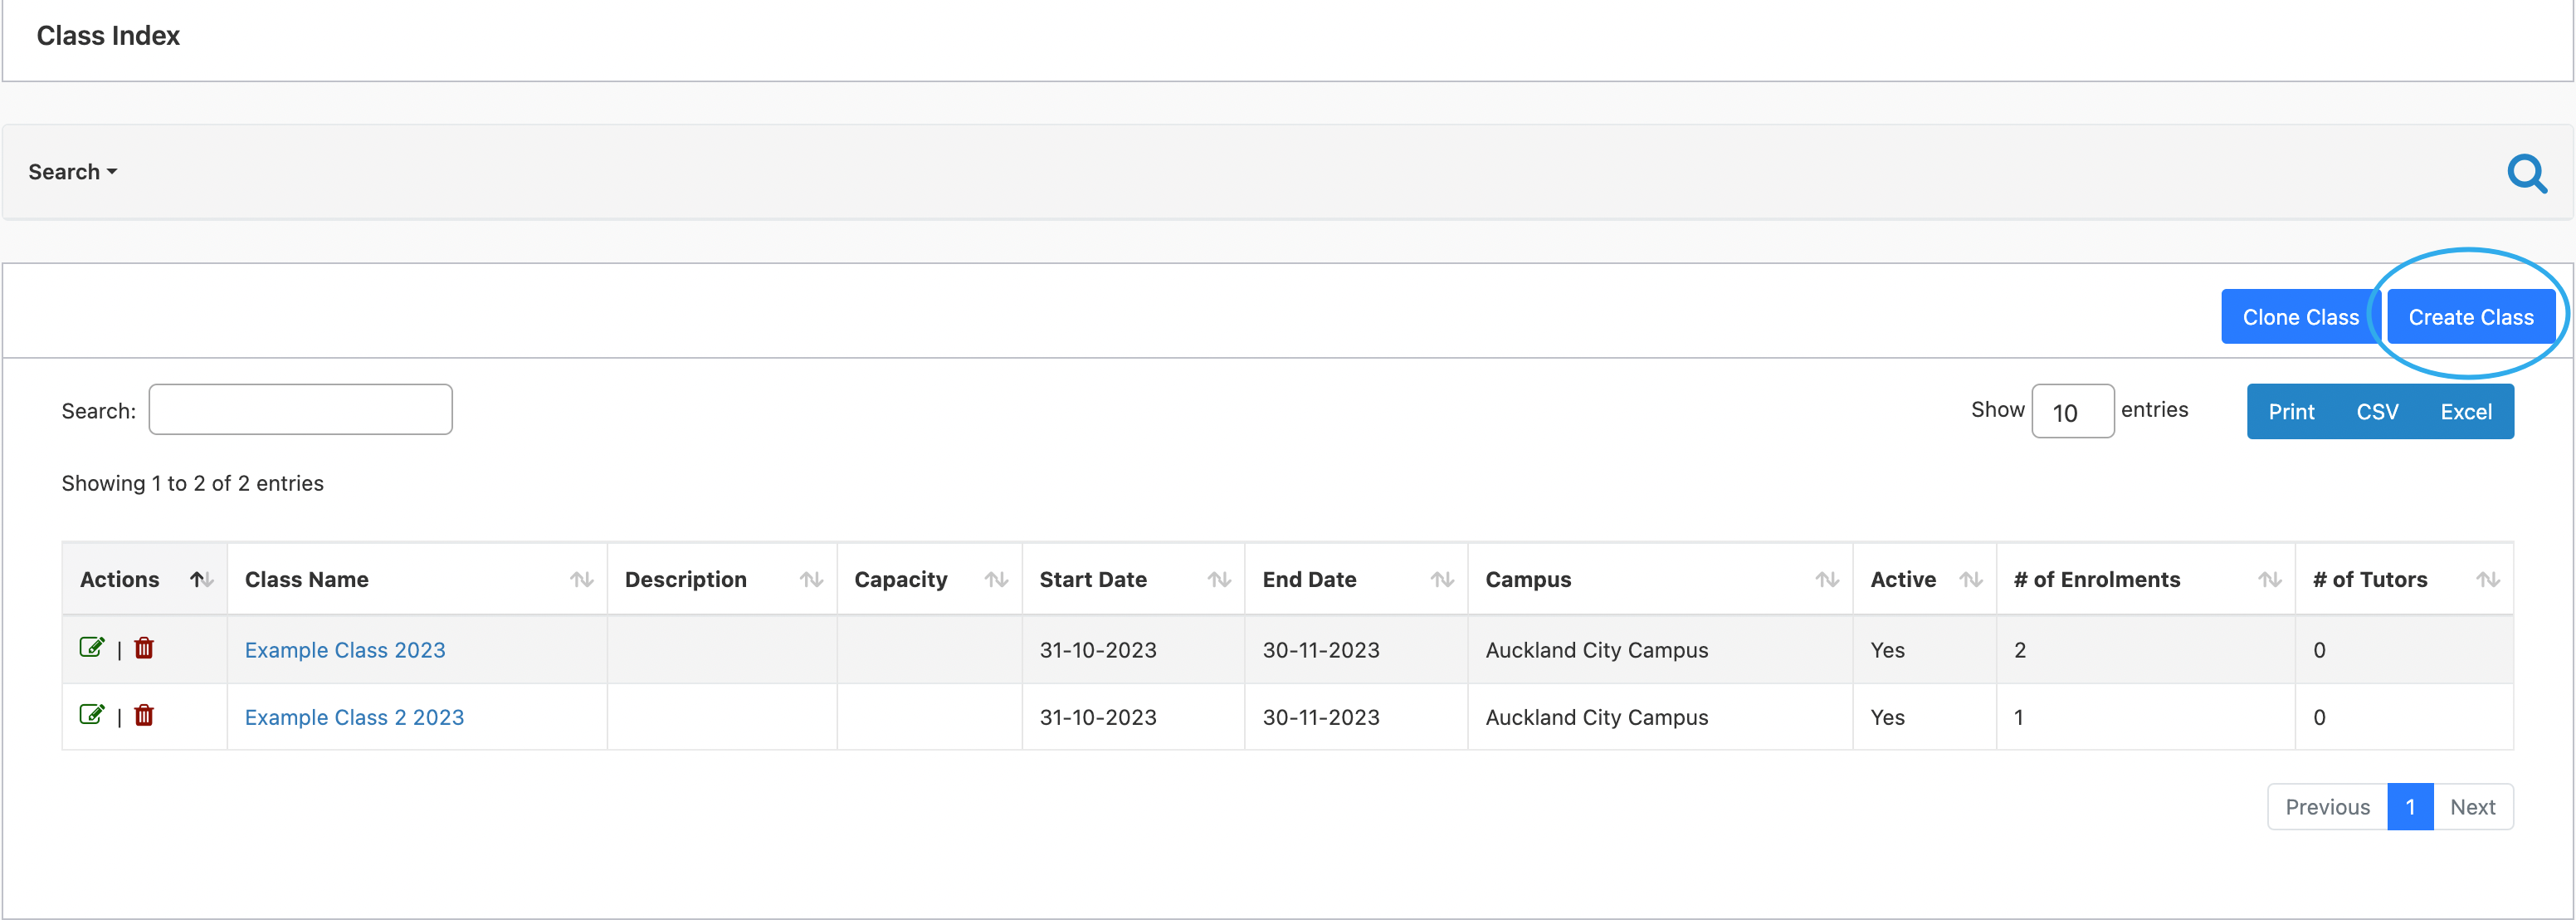
To start setting-up click on Create Class
Enter Class Details and remember to click on slider to indicate that class is active.
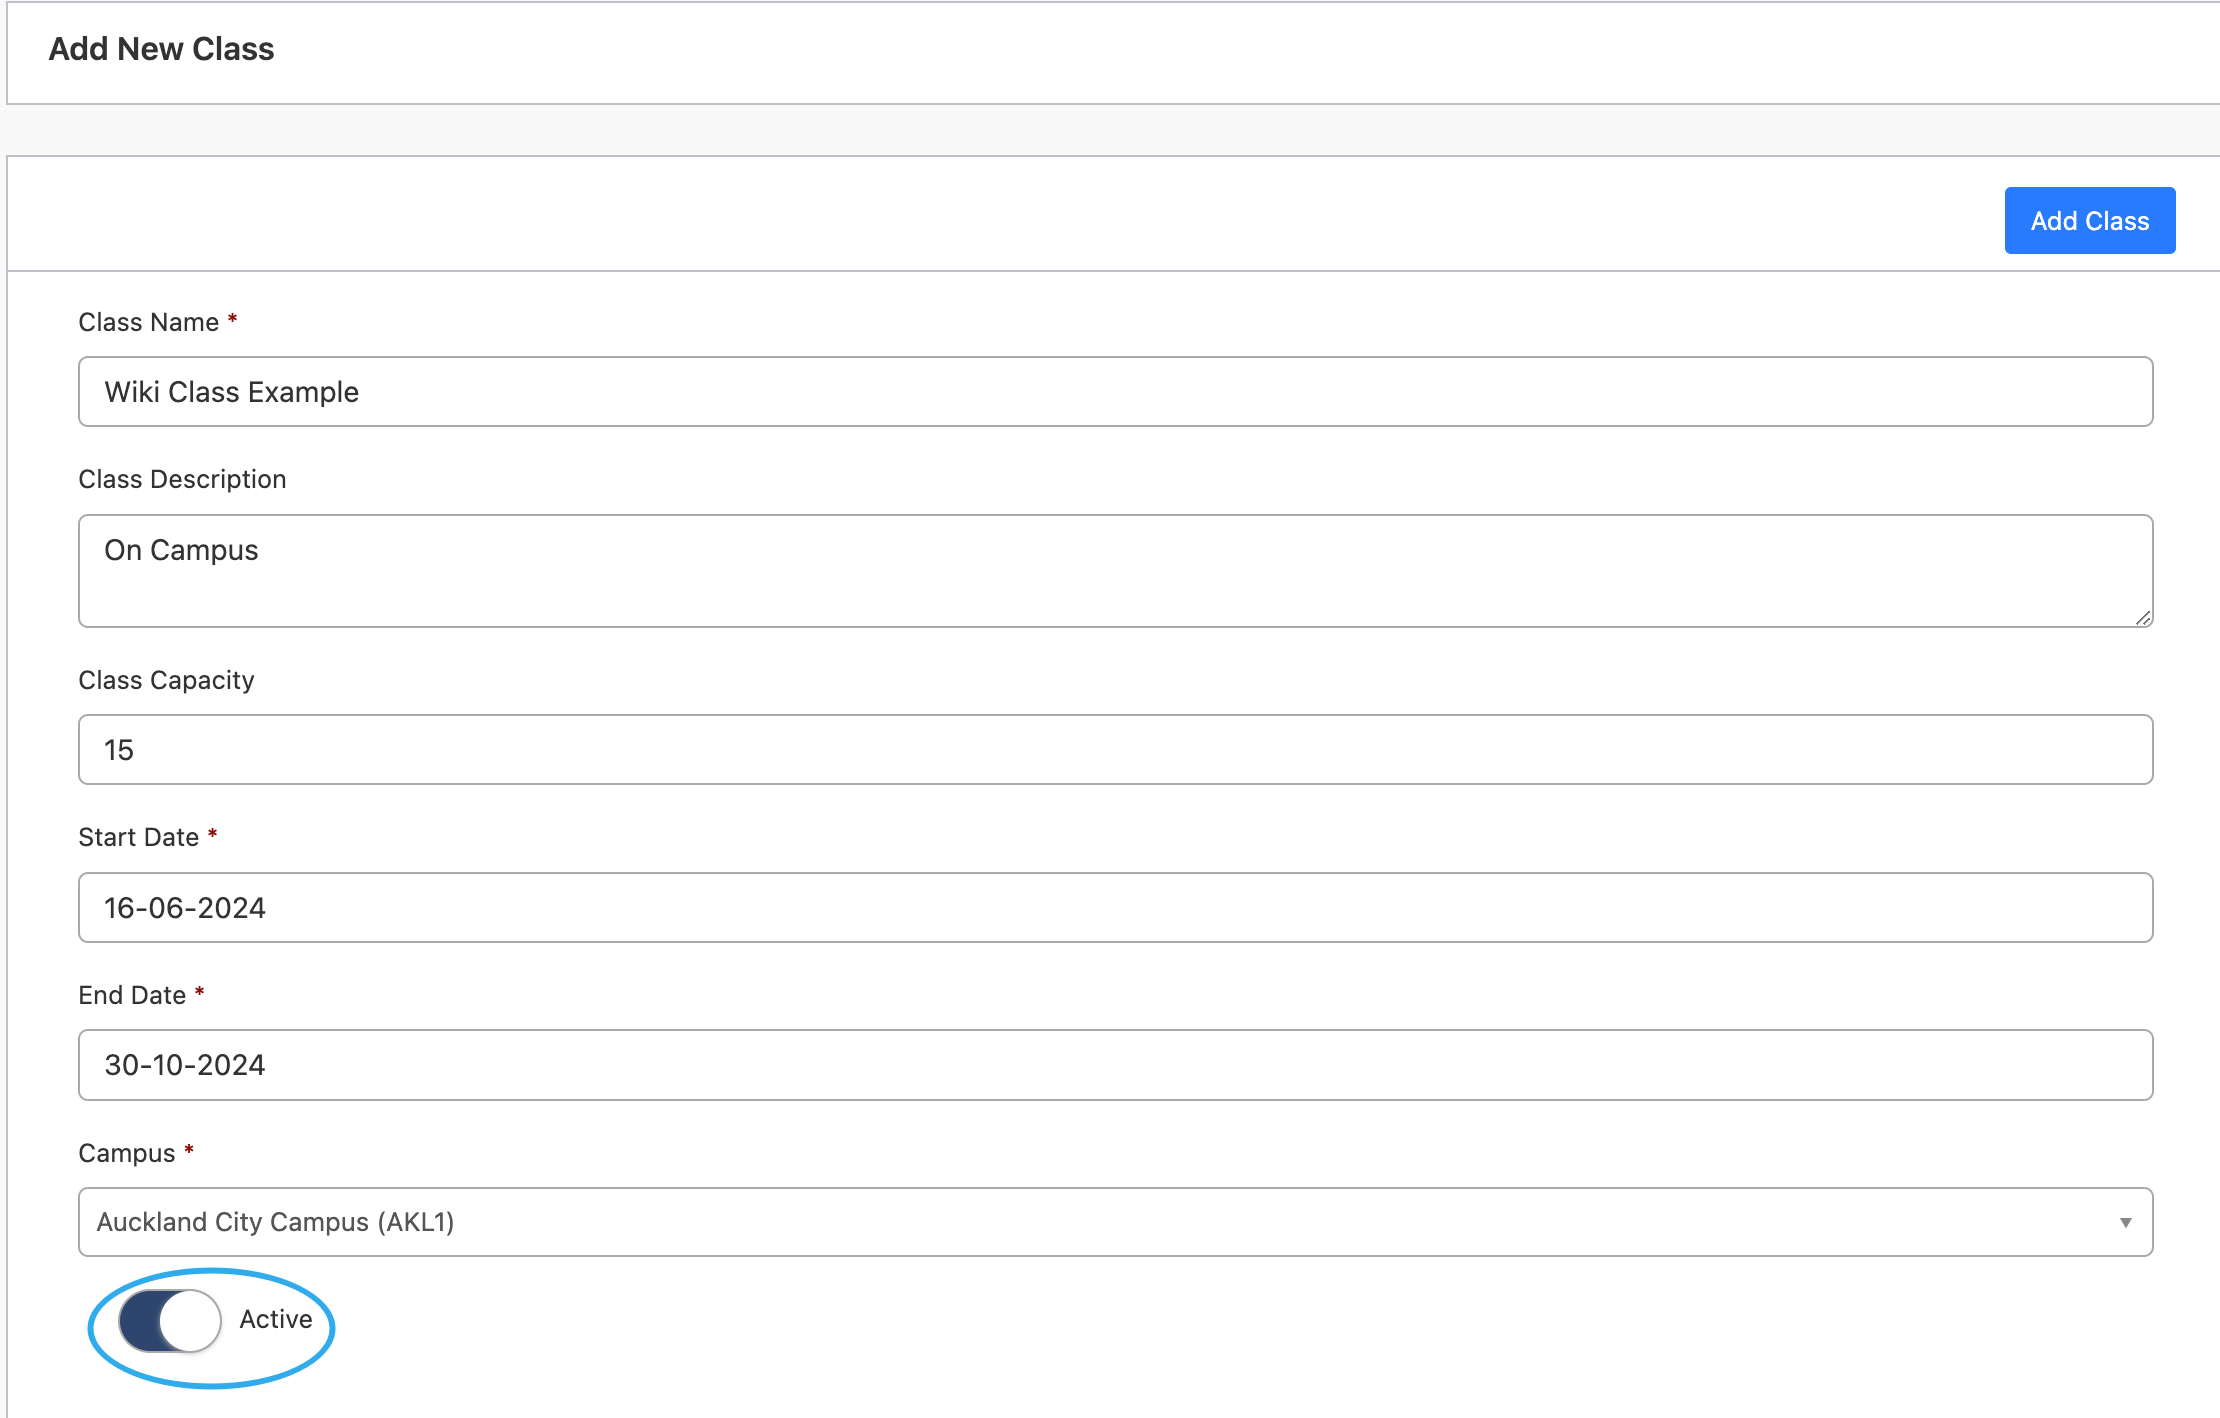
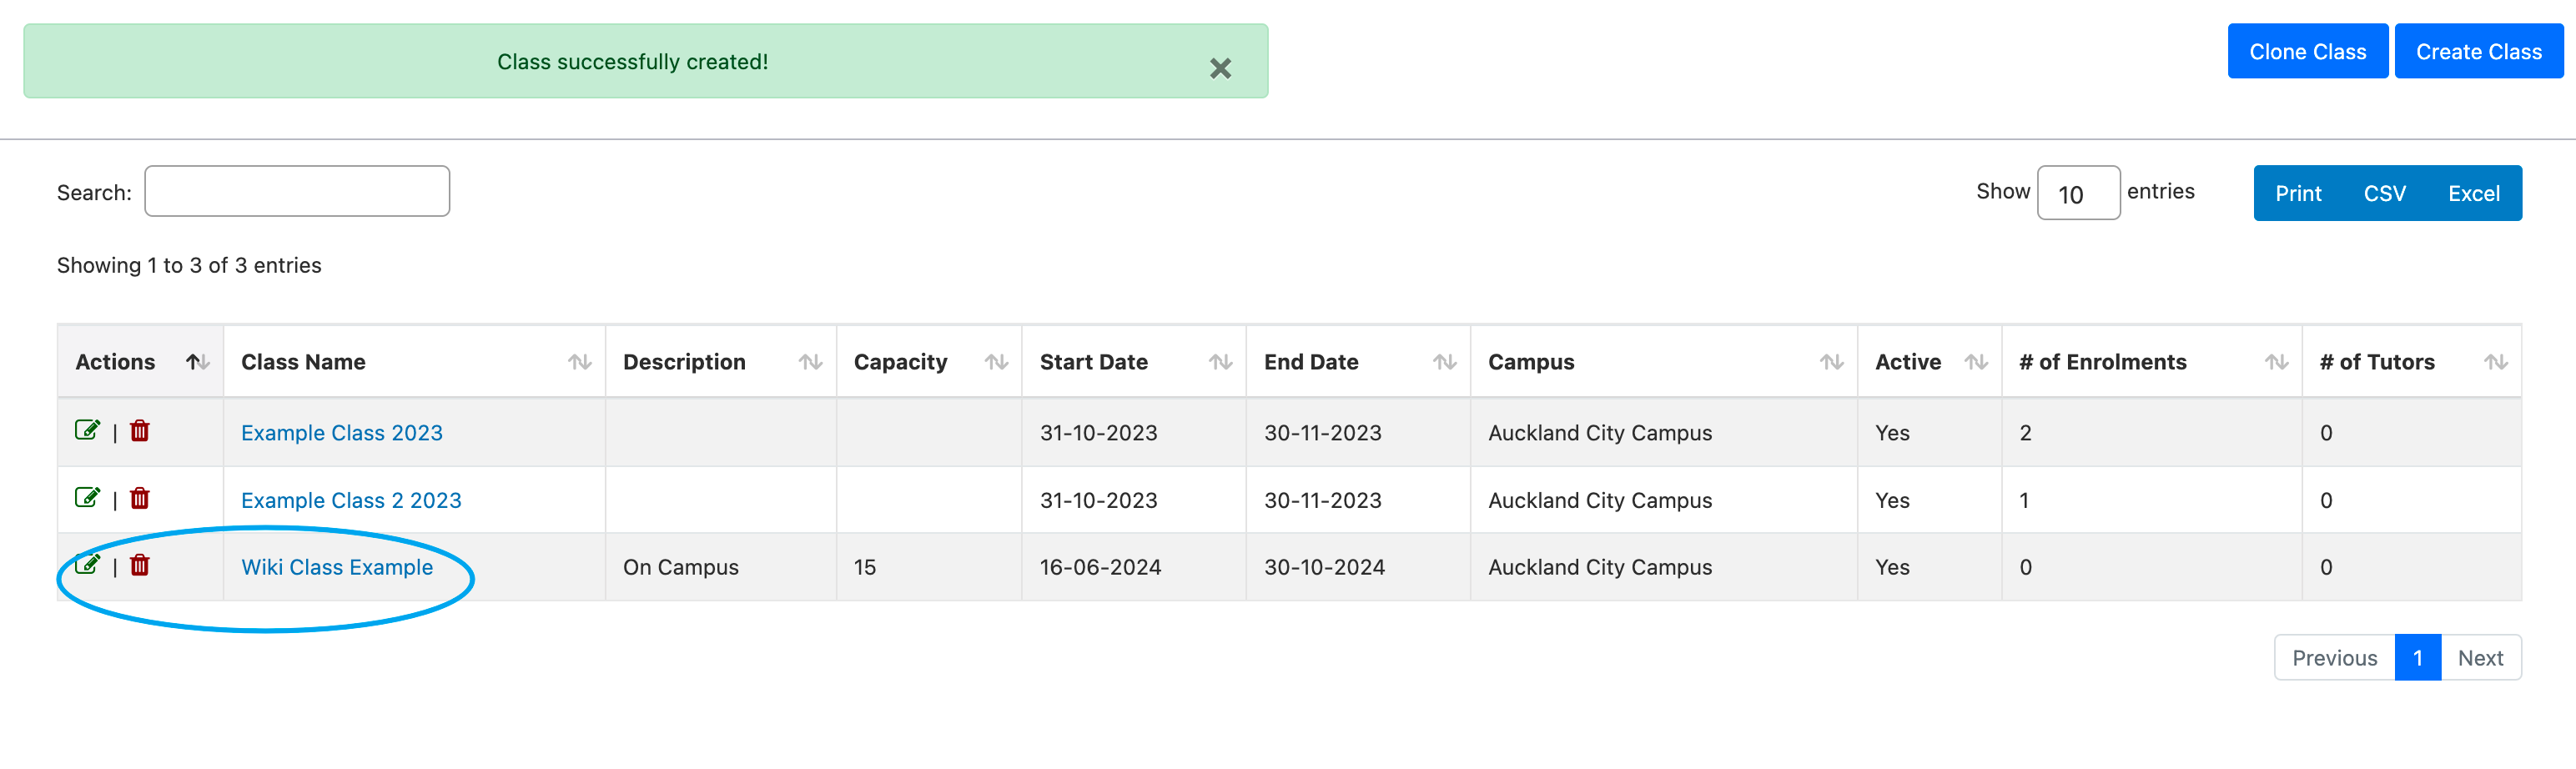
Once complete click on Add Class
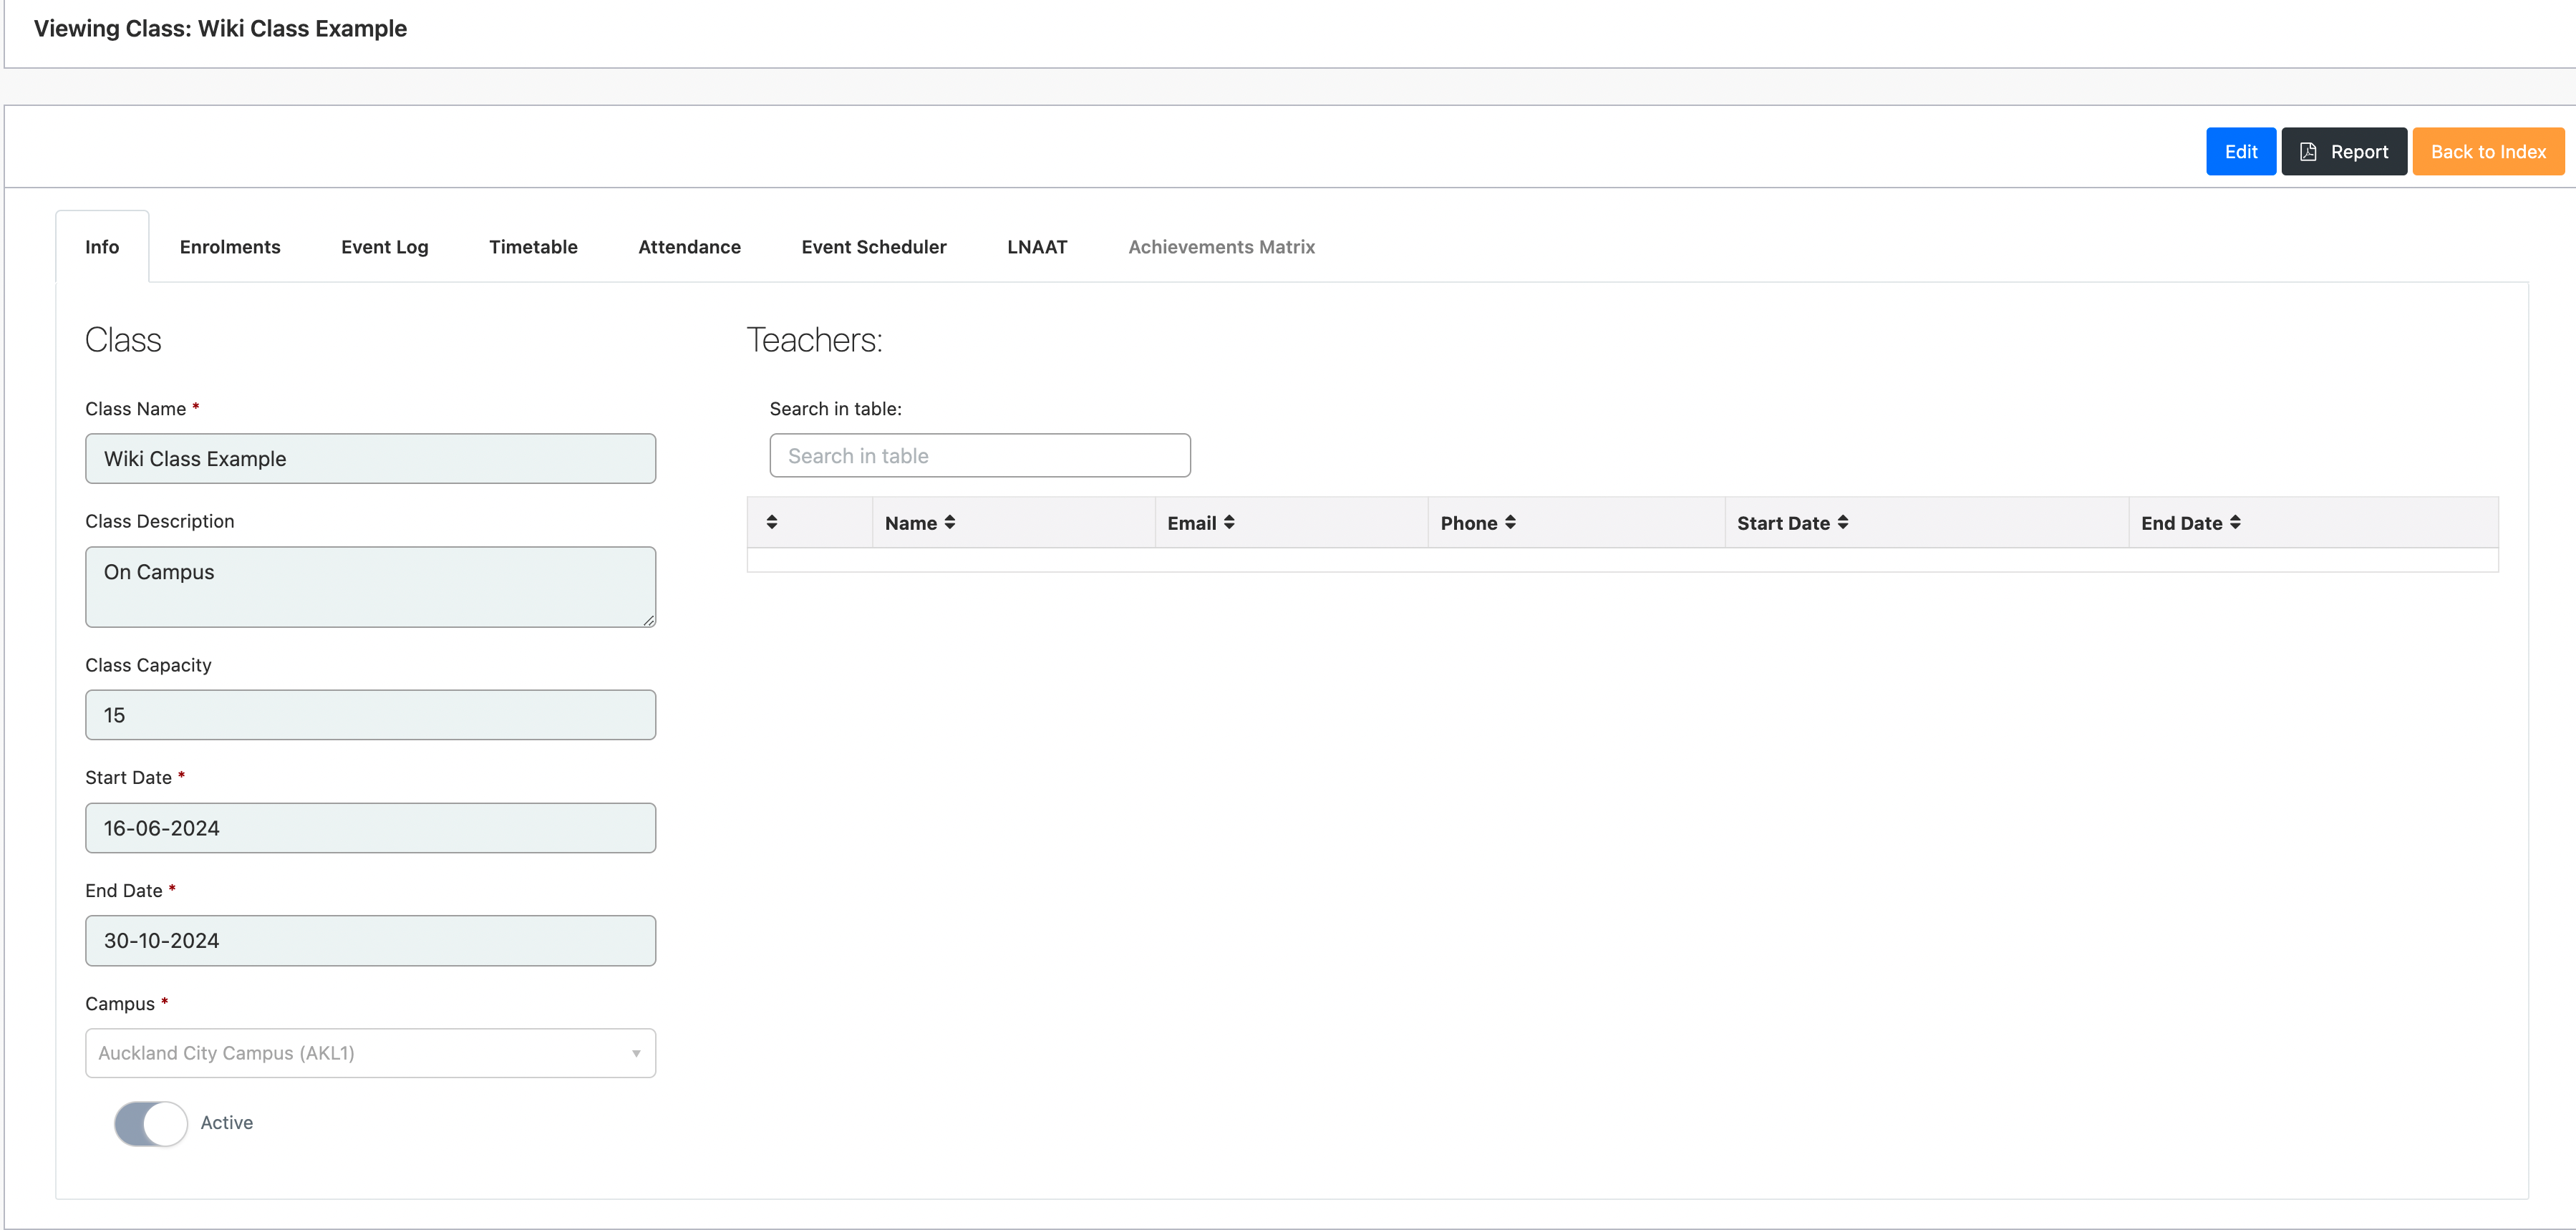
All classes can be viewed on the Class Index
When you click on the class you have created you can access an overview of the class details and various tabs at the top of the page
Linking Enrolments/Student to a Class
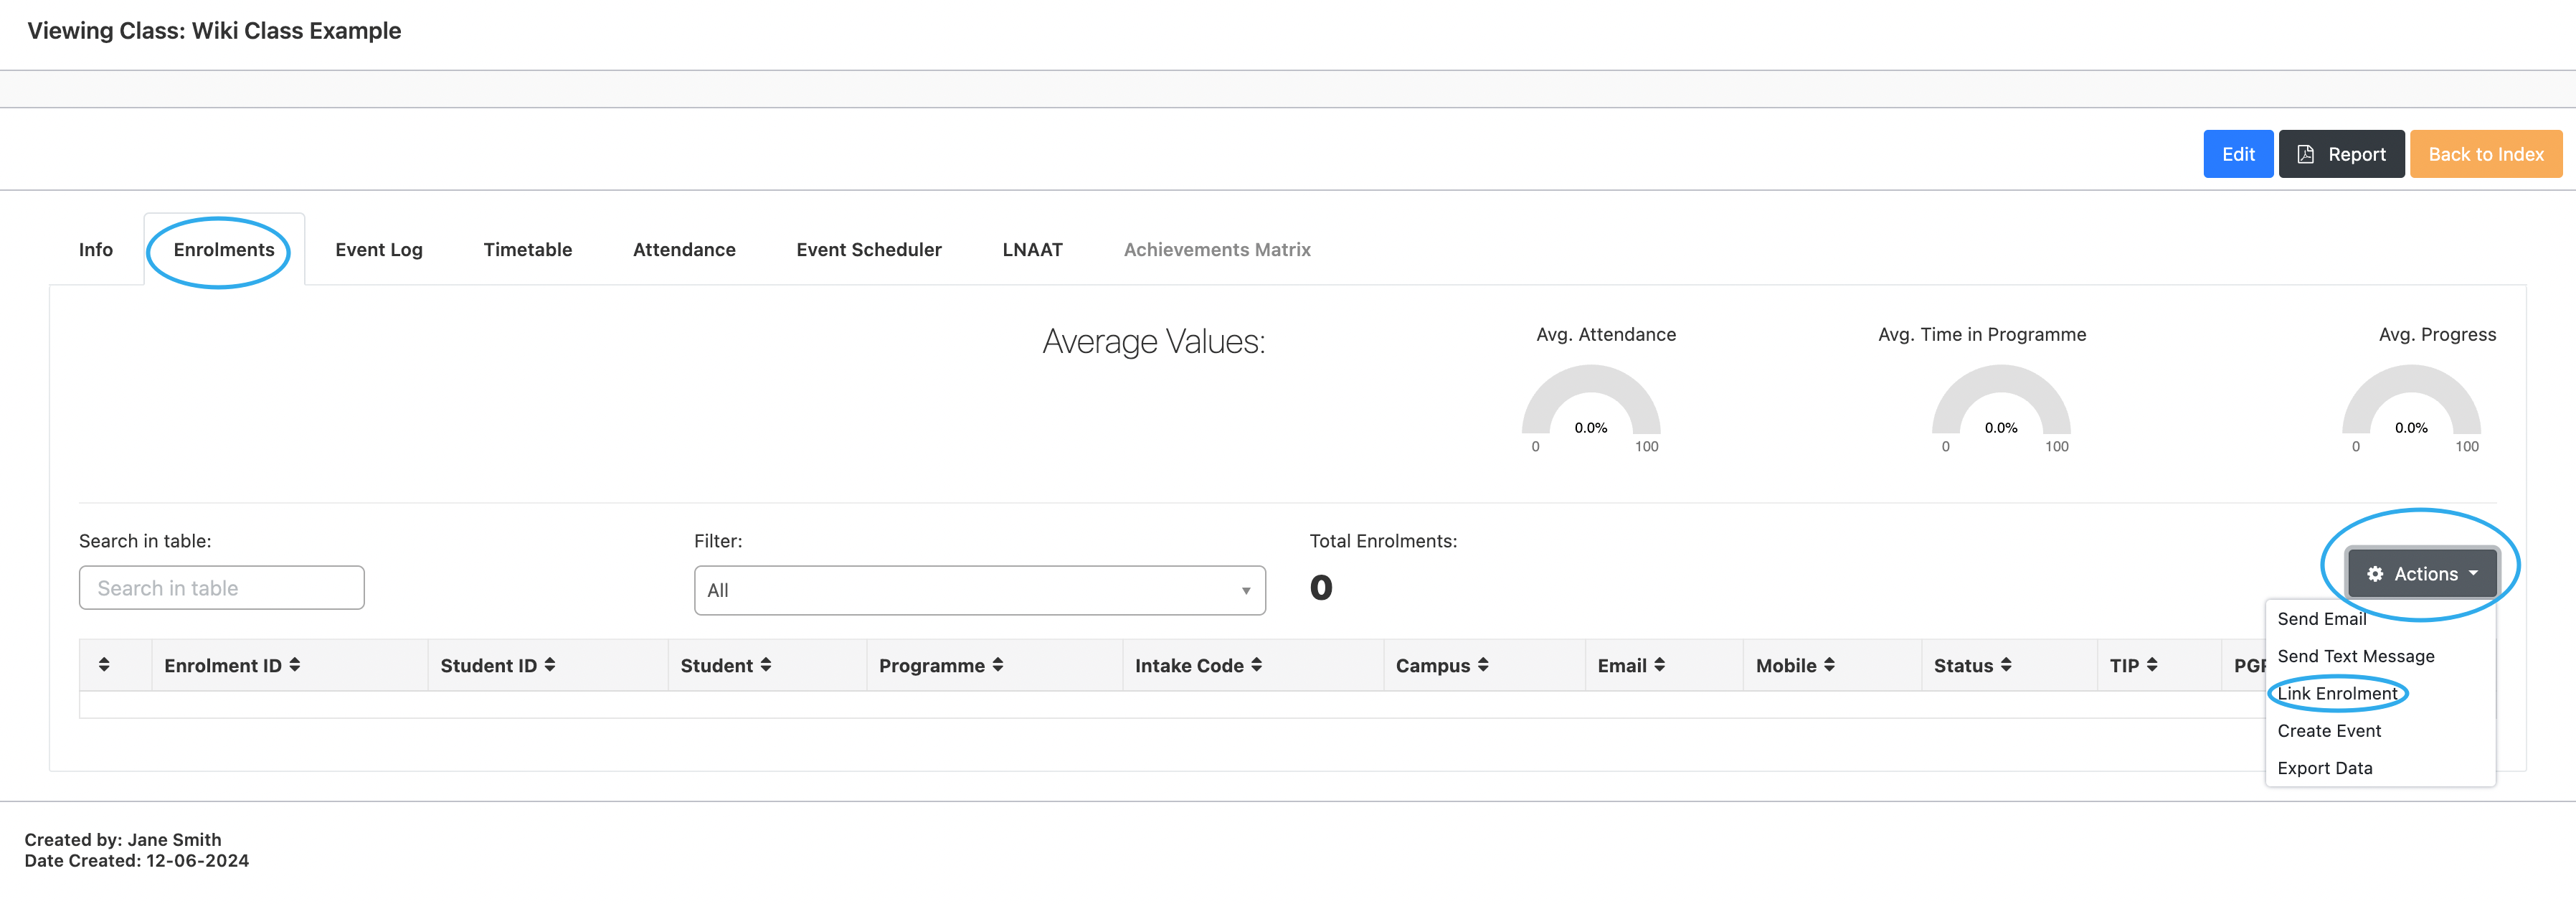
Click on Enrolments Tab -> Then Click on Actions button and select ‘Link Enrolment’
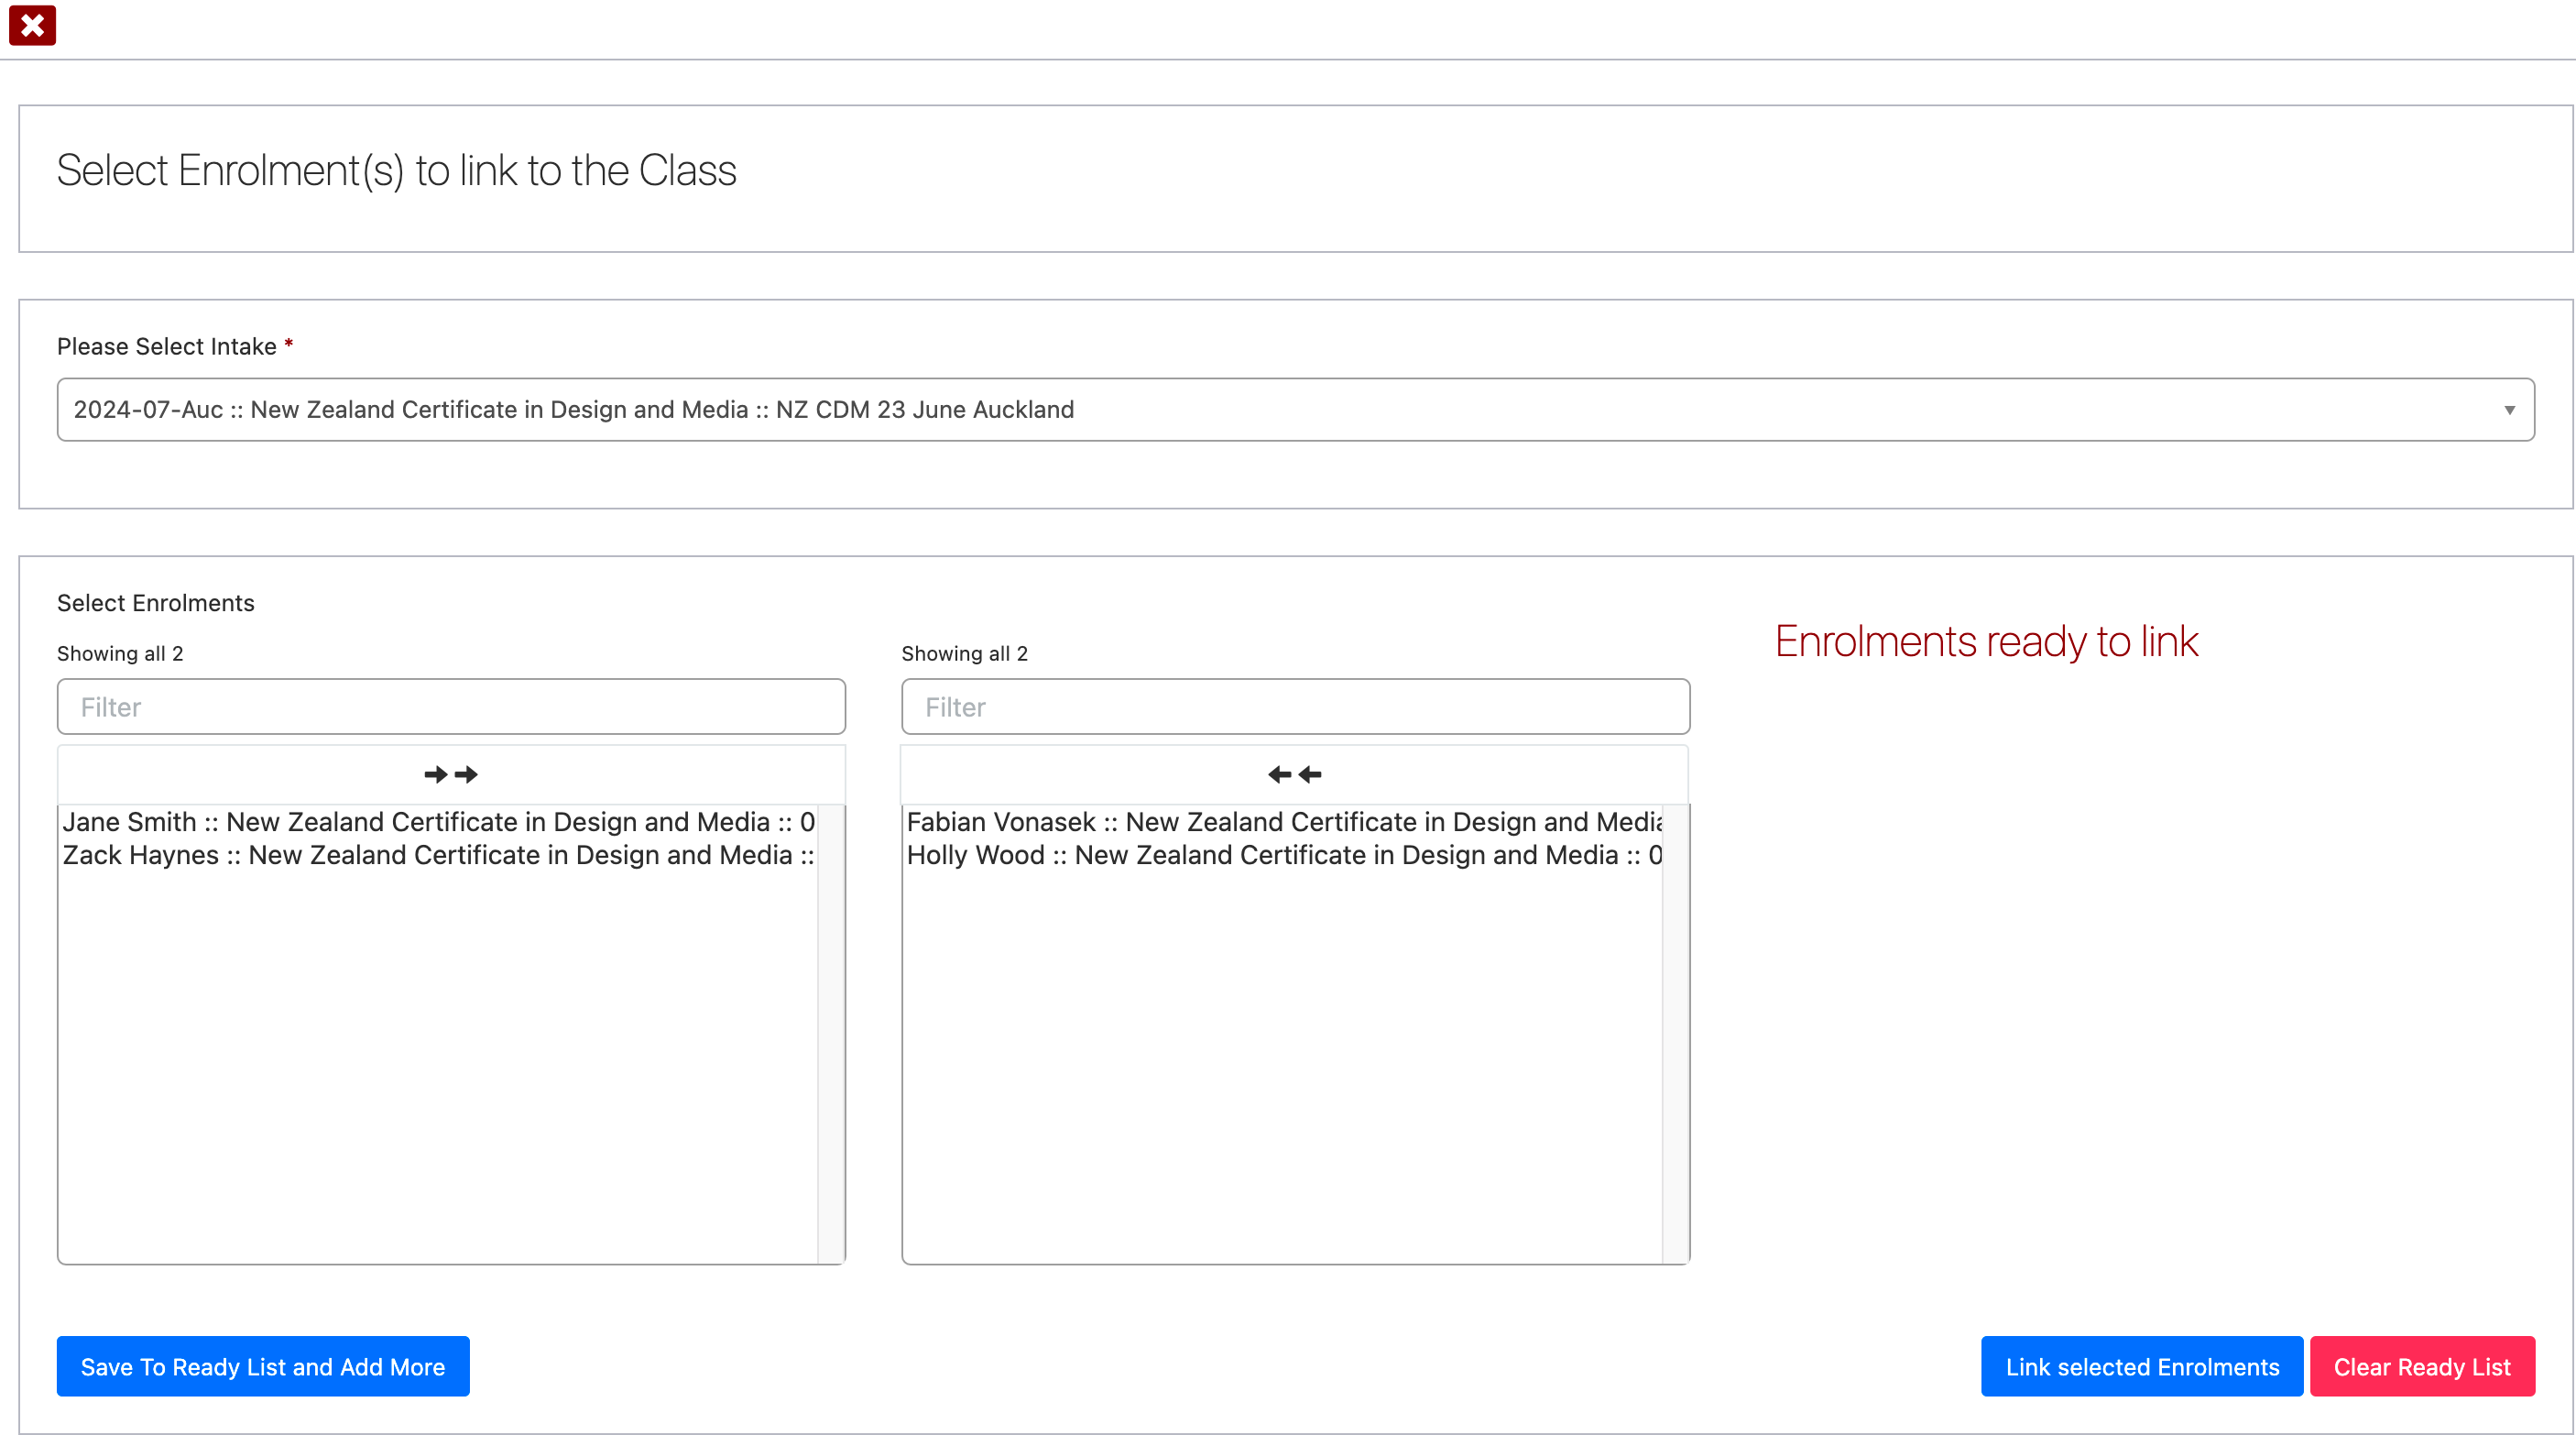
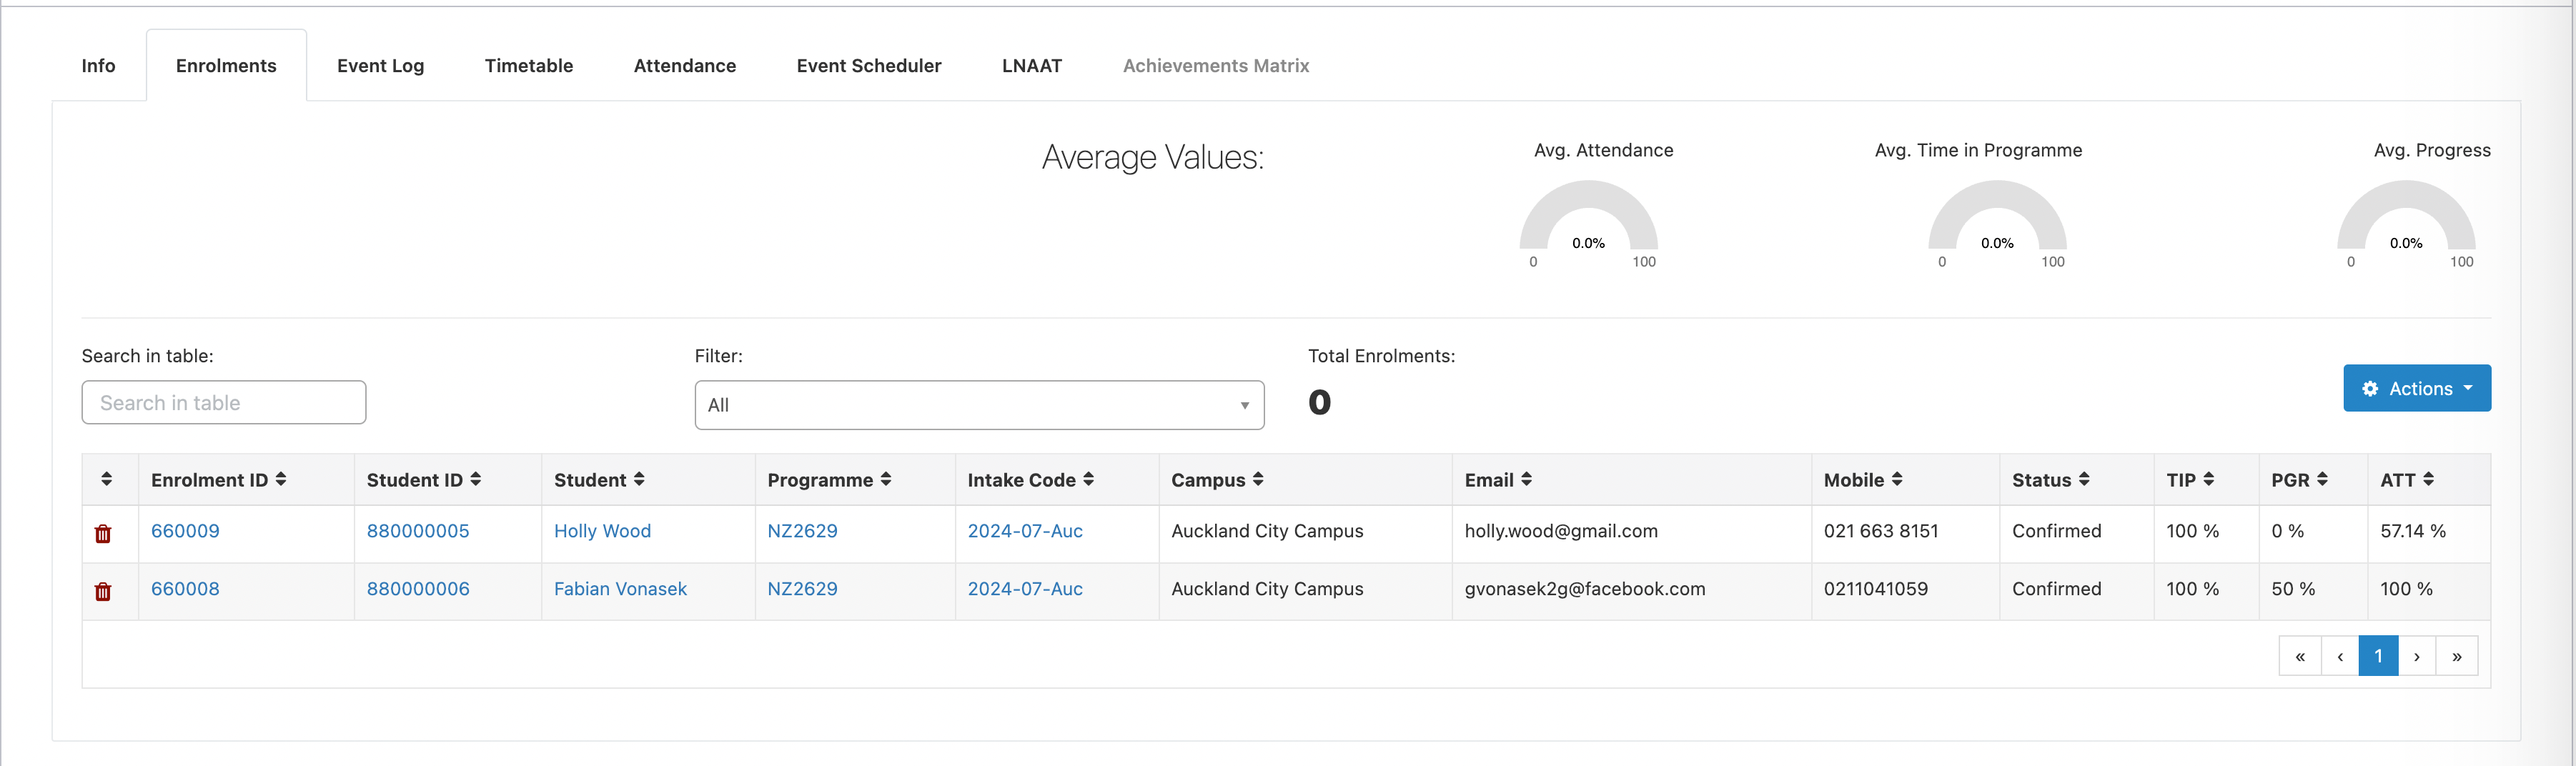
On the Enrolment Link screen you can Select the relevant Intake and students. Once the selection is complete, Save to Ready List and then click on Link Selected Enrolments.

Event Log in Classes
An event log can be accessed via the Event Log Tab
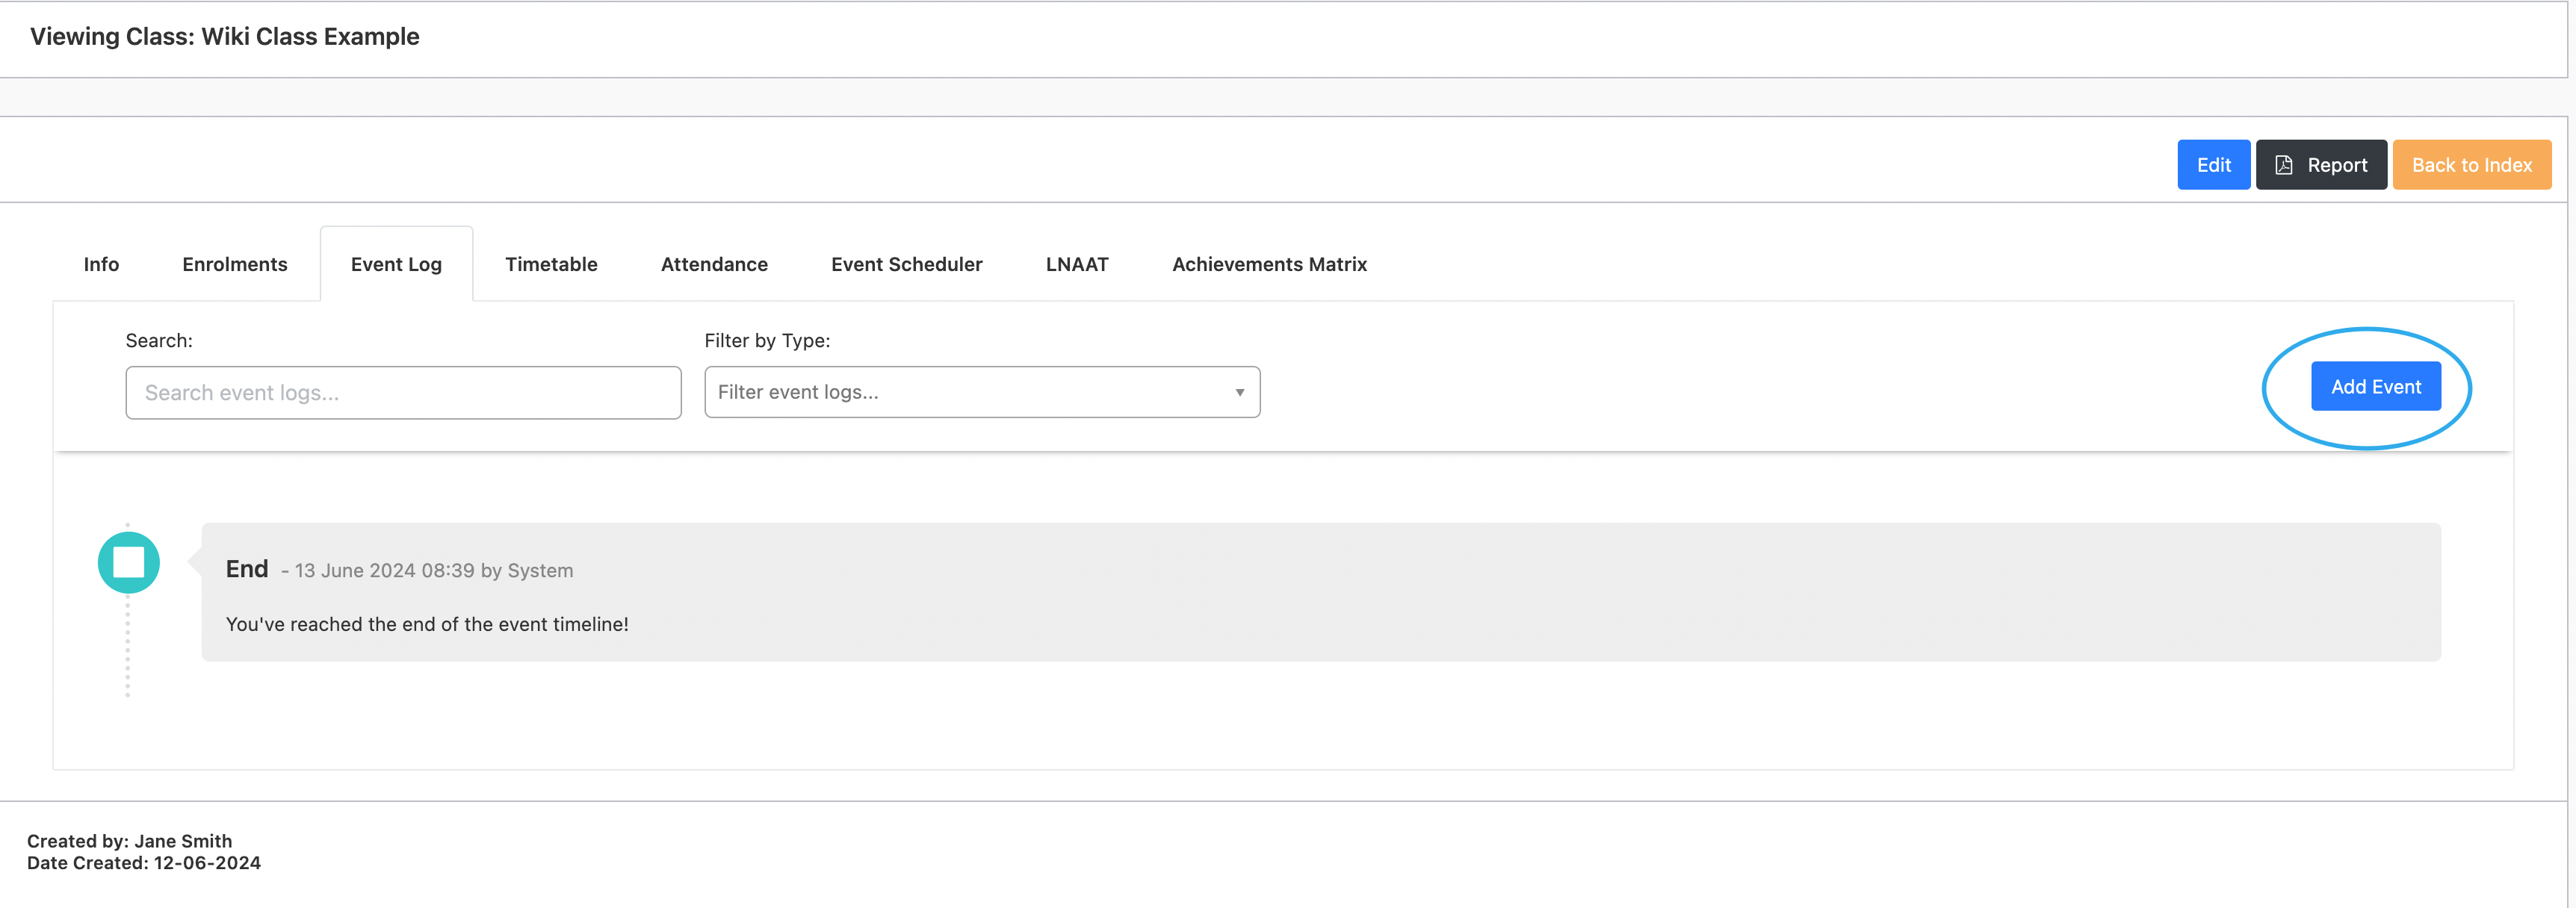
Complete the pop-up to create your Event
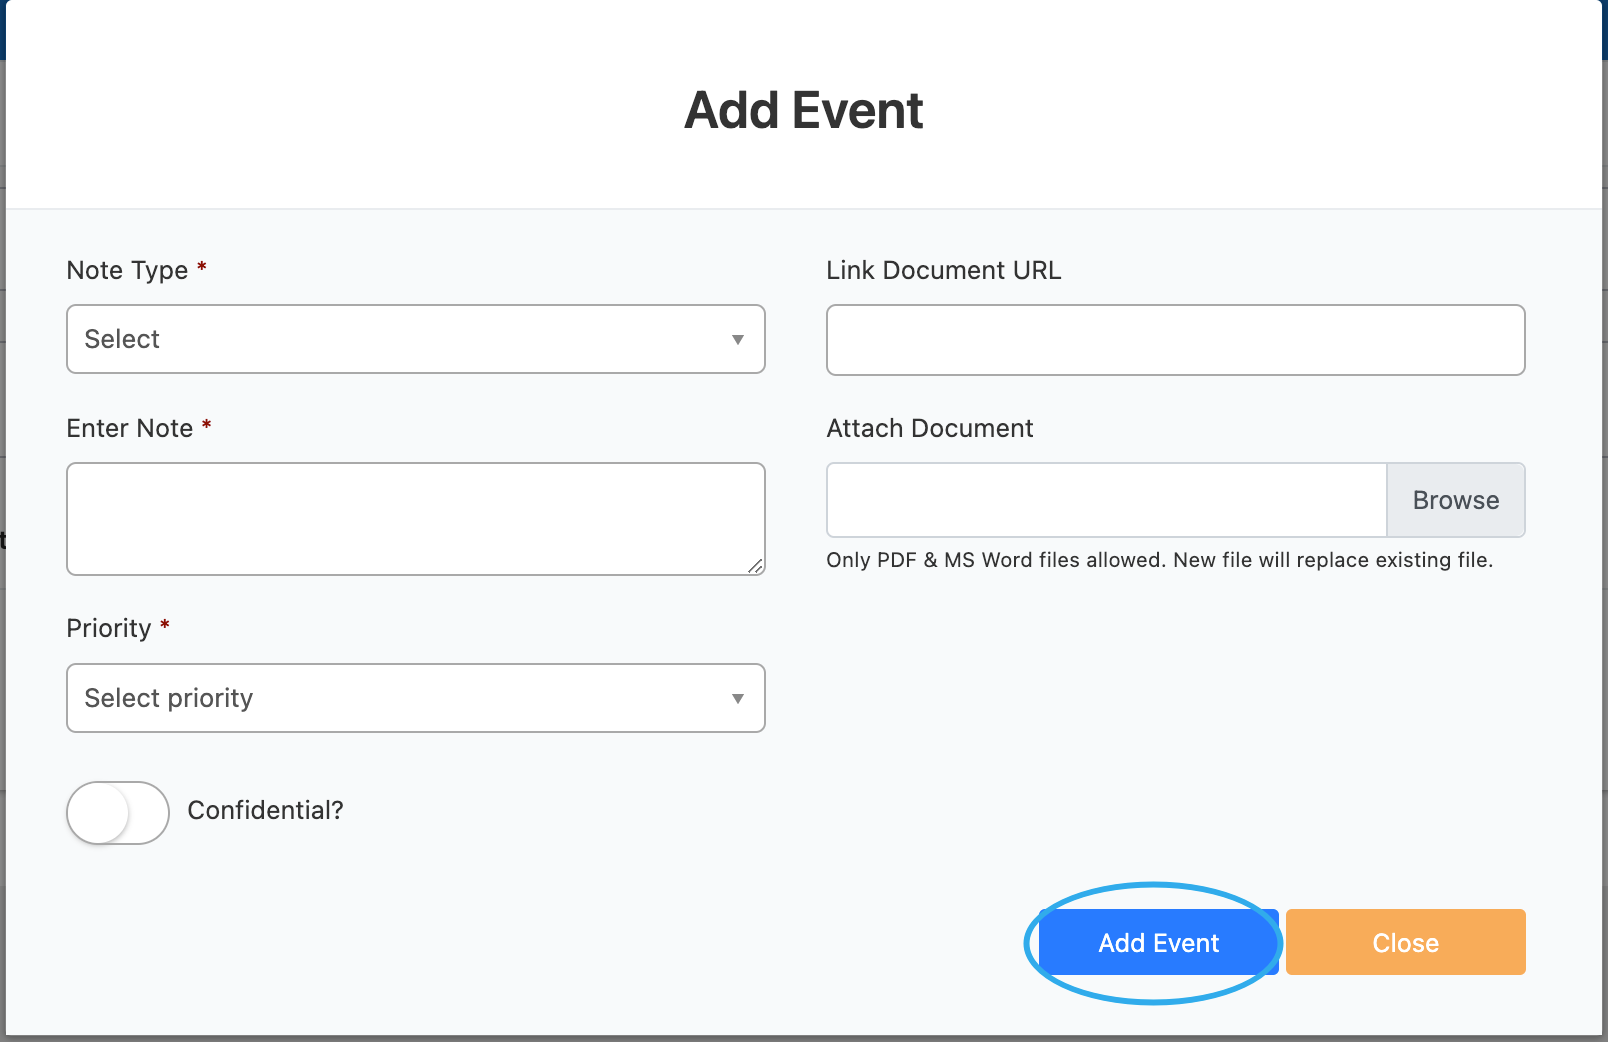
Event will appear on the event log and if tagged as confidential, will only be available to admins and the task creator

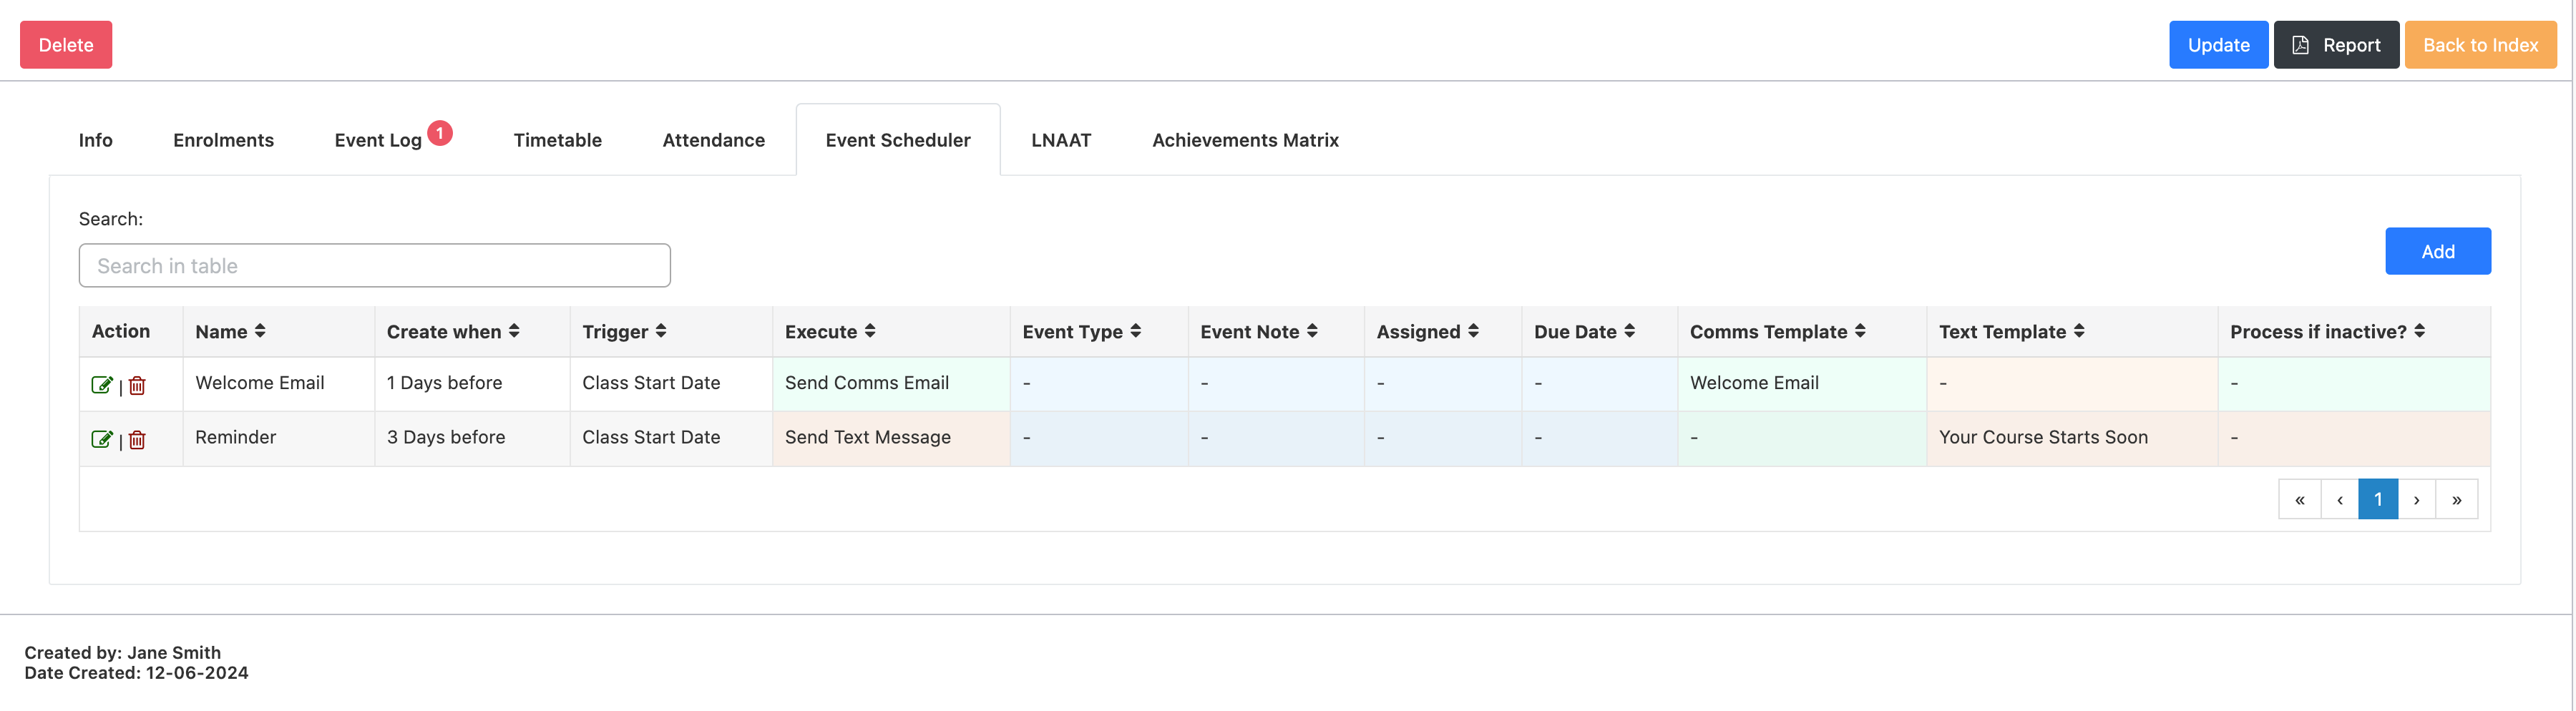
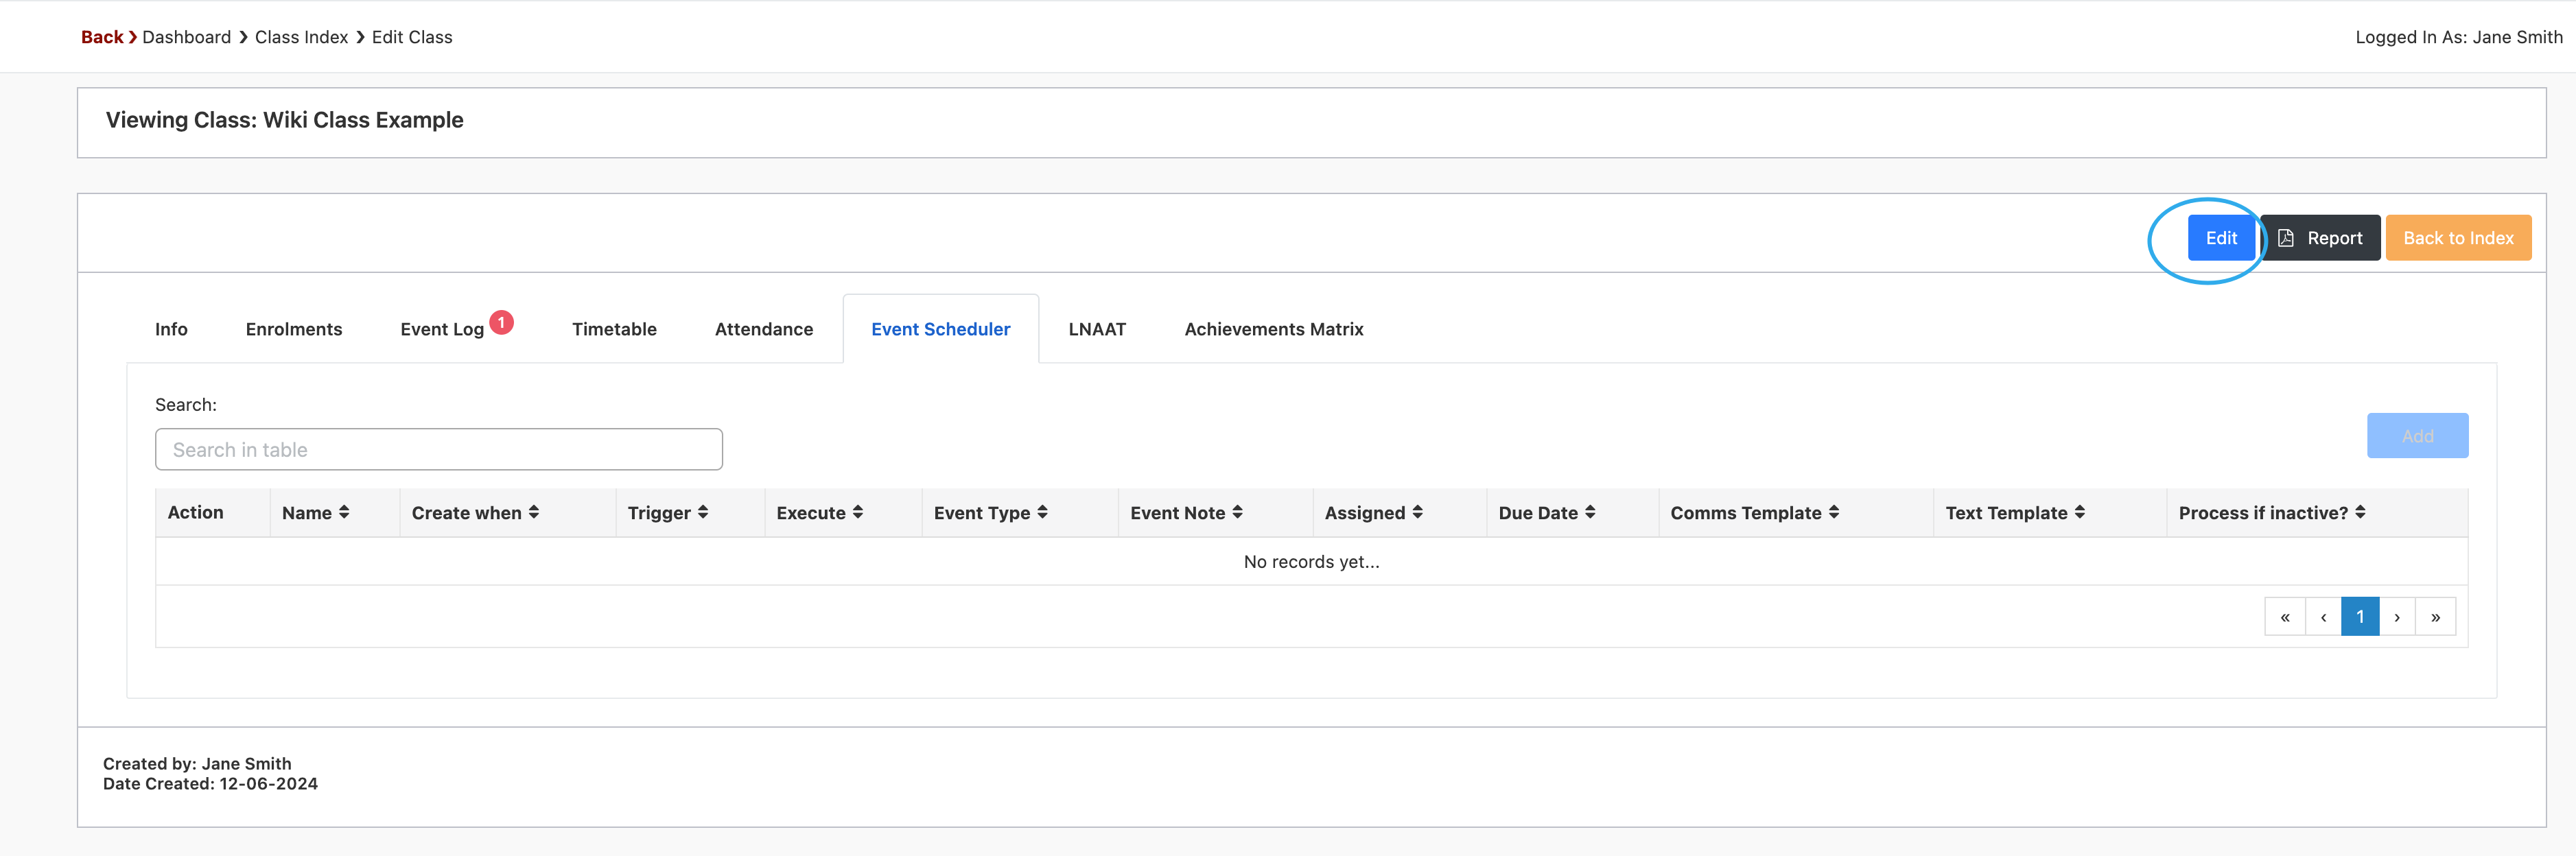
Event Scheduler for Classes
An event scheduling function for class cohorts can be accessed via the “Event Scheduler” tab
Add an event by clicking – “Edit”
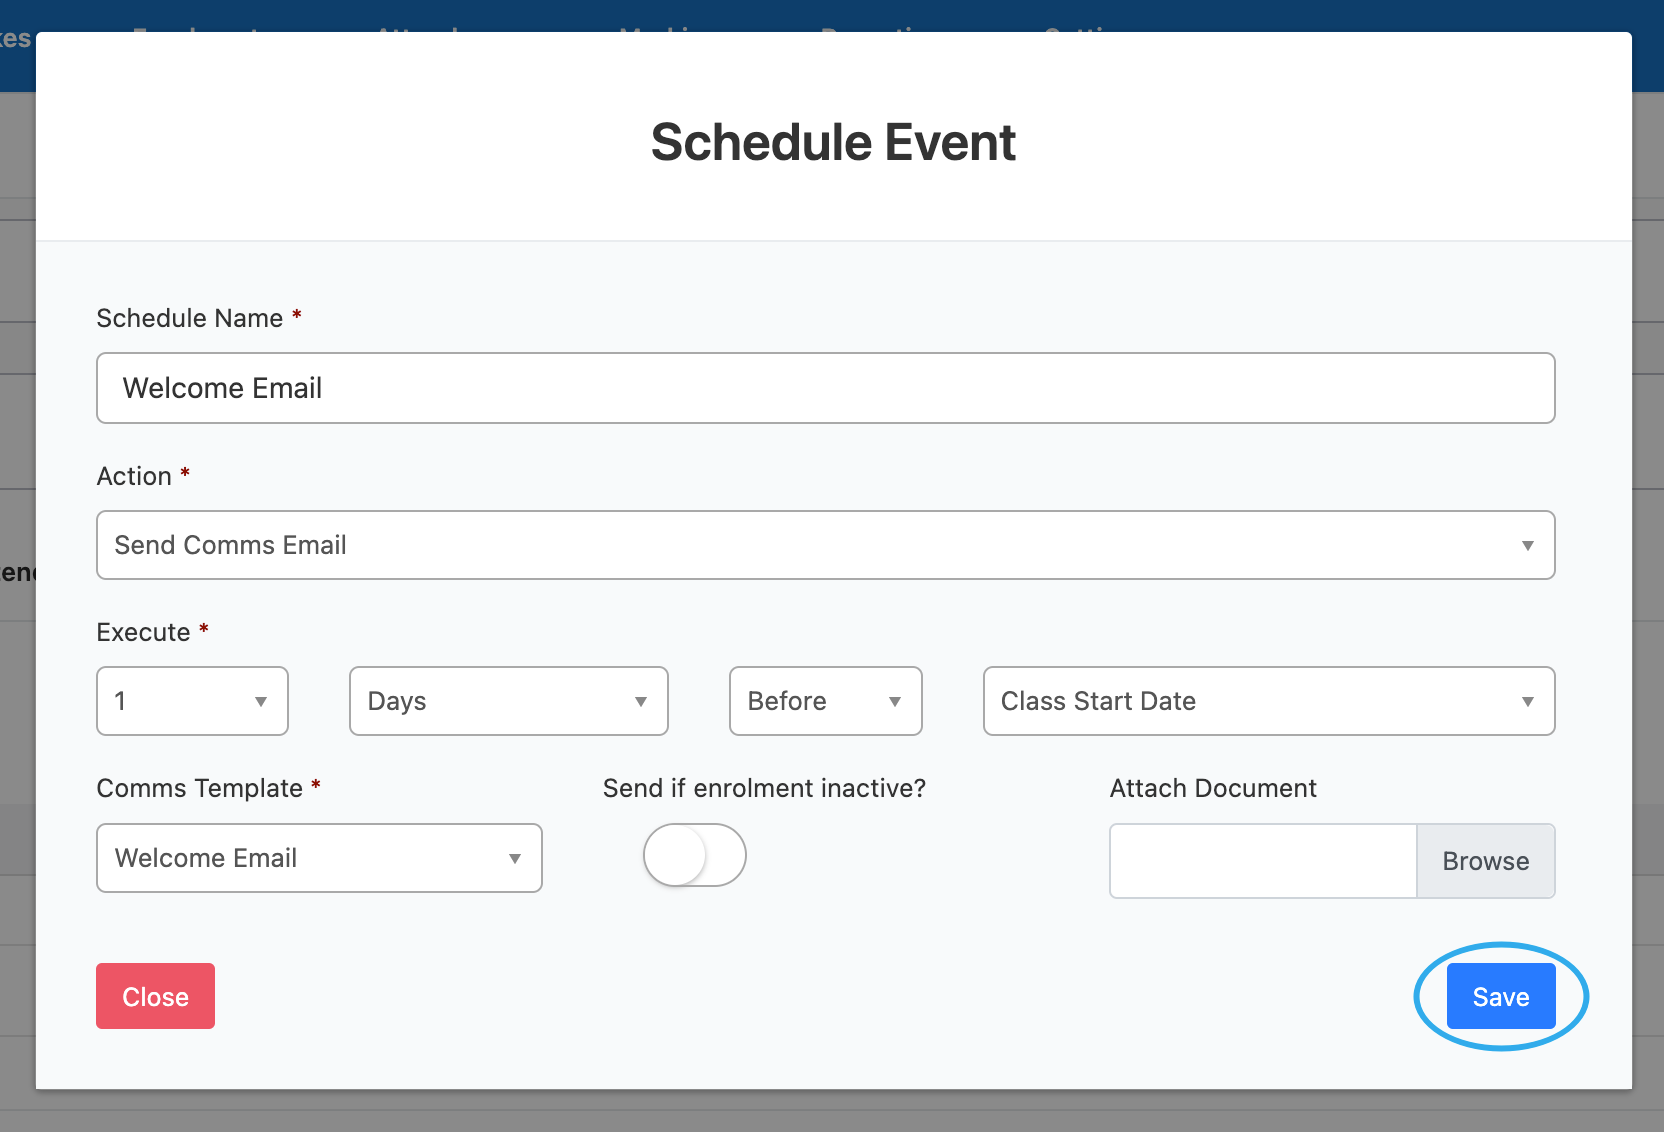
In this case we will be adding an email
Then click – “Add”
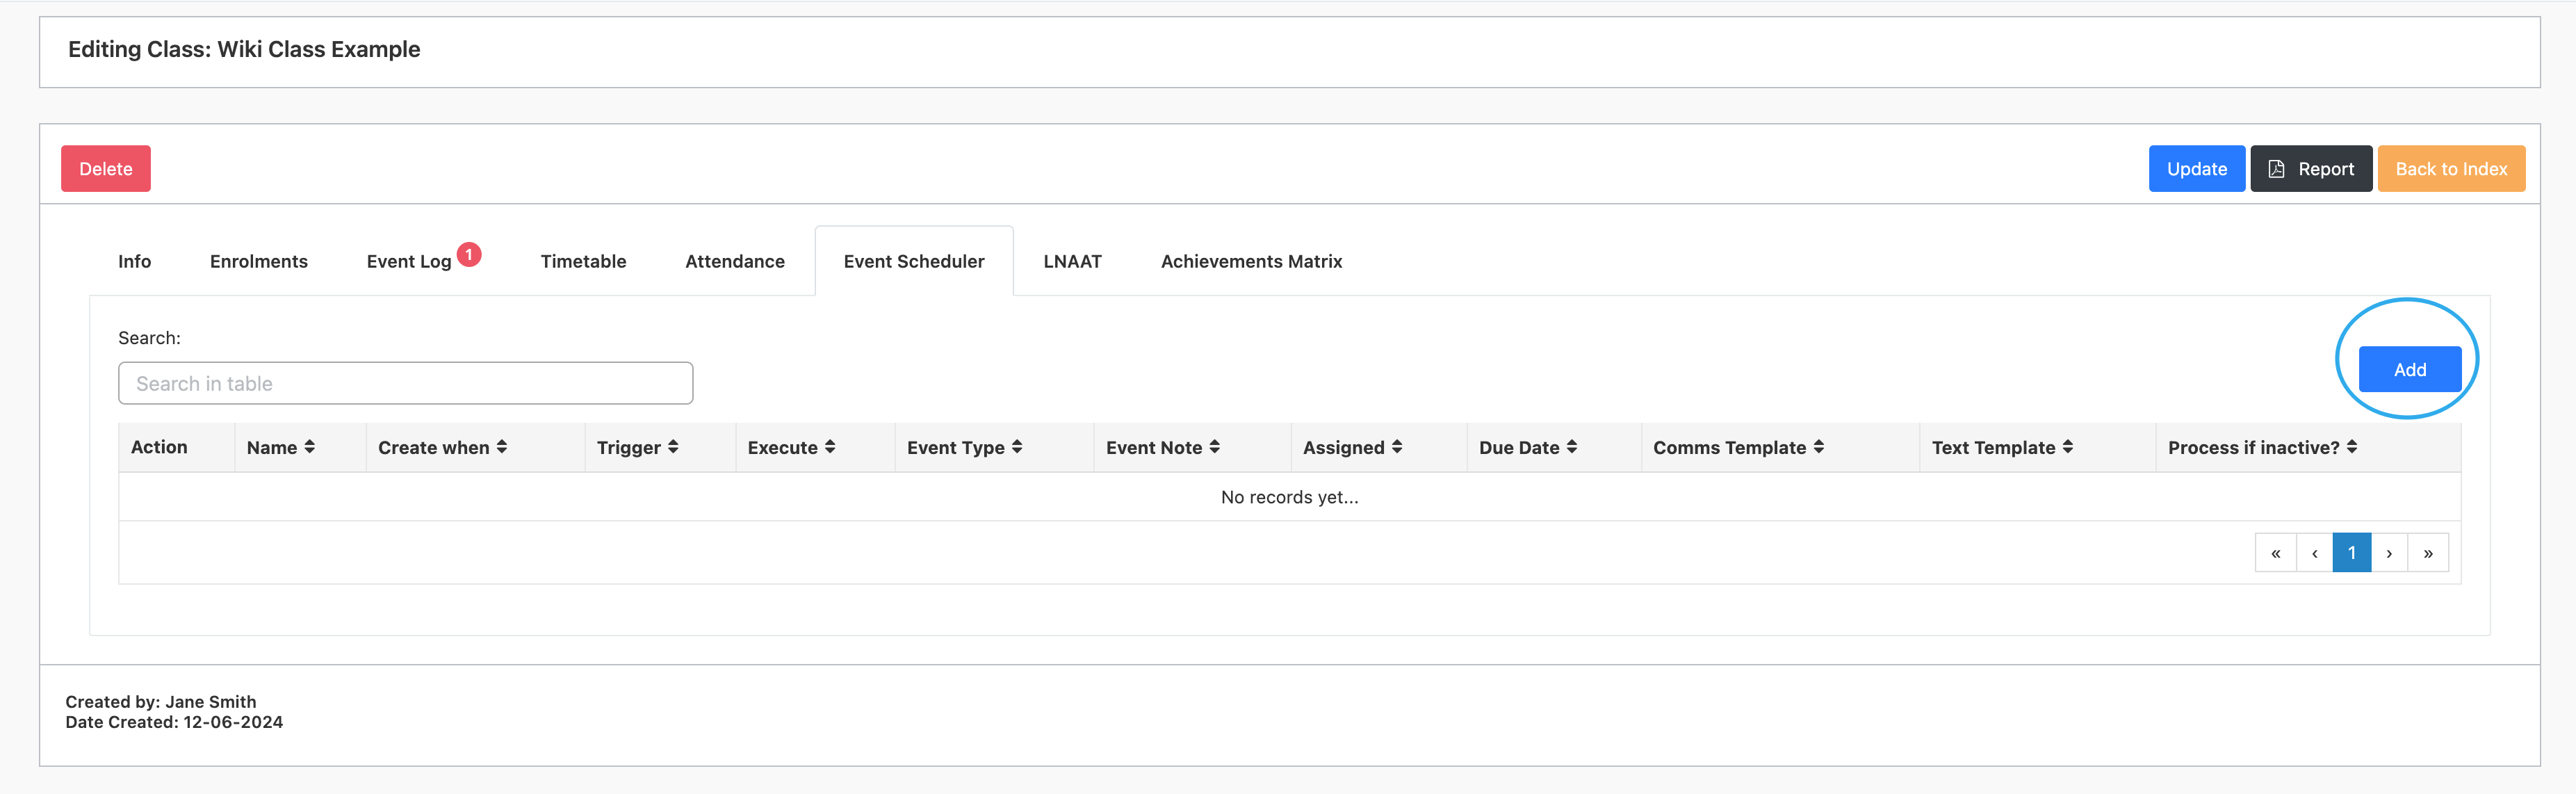
Complete the pop-up form to create your scheduled event and click on Save
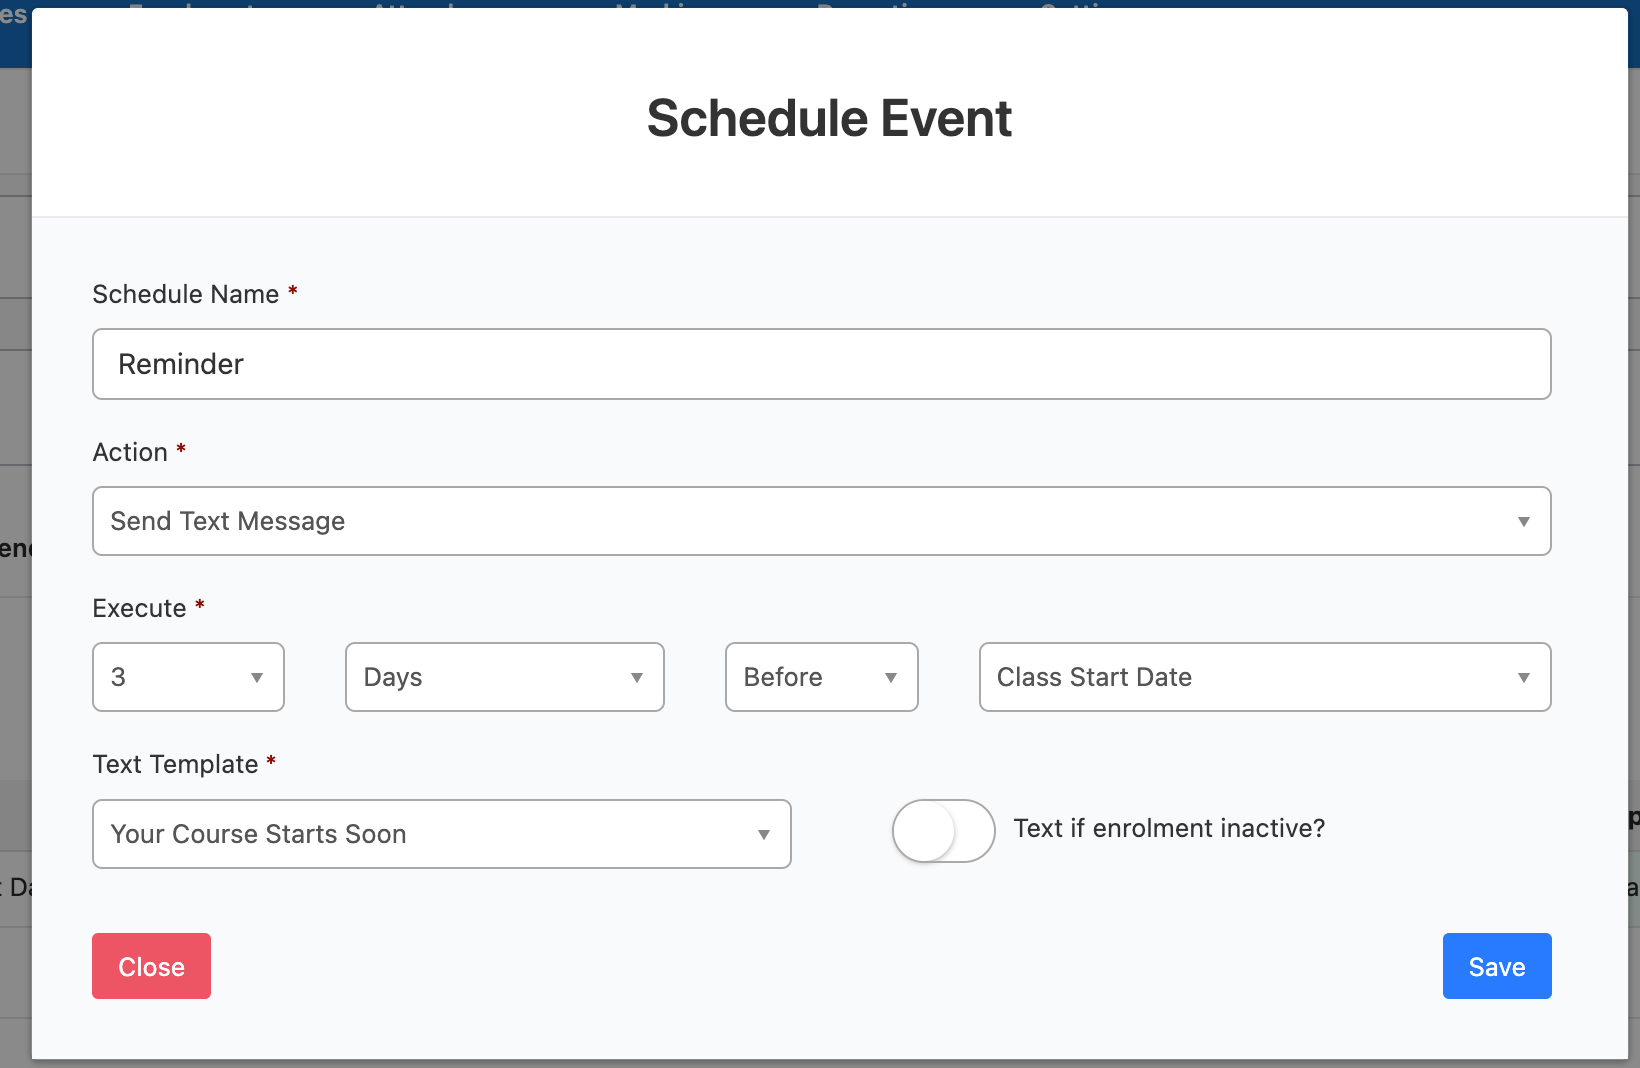
You can also send a mass Text Message to all the students in the class by following the same steps and selecting ‘Send Text Message’
All scheduled events can be viewed in the Event Scheduler Grid