Bulk Upload of Student Photos
With this functionality, SELMA users can bulk upload student photos to the relevant student’s record which will update their student display picture in SELMA.
From the SELMA dashboard, click “Students” and then “Upload Photos”.
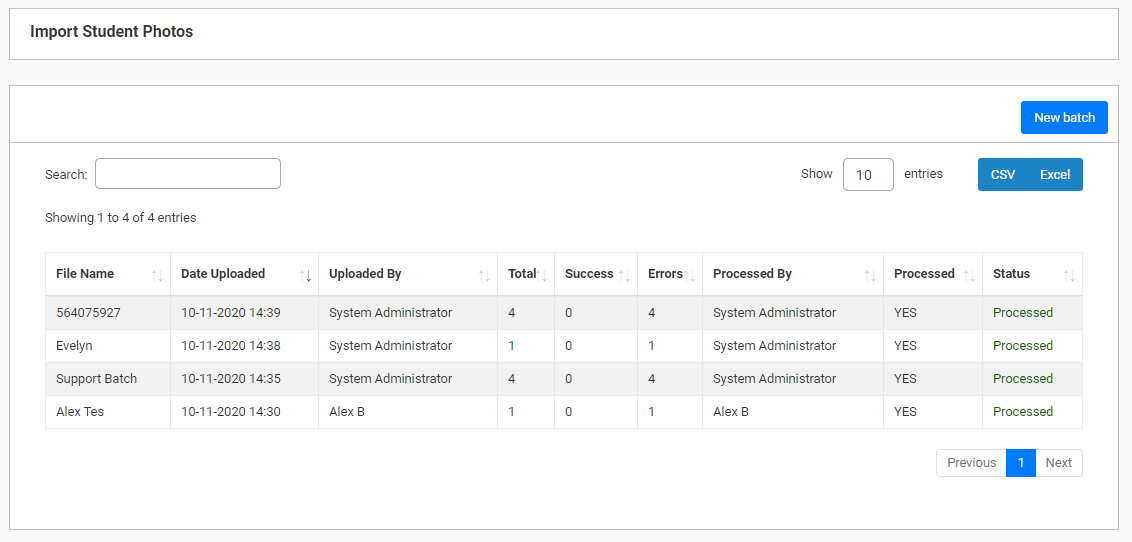
Then click “New Batch”:
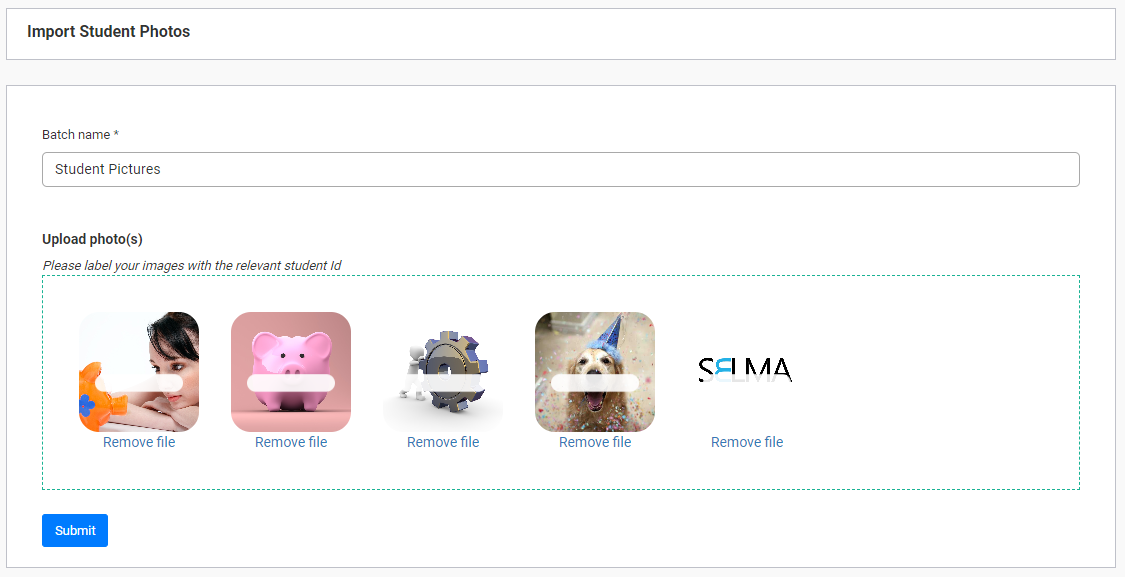
Give the batch a name, and then use the “Upload photo(s)” section to select photos to be uploaded.
IMPORTANT: for the picture to be uploaded to the correct students’ record, you must label the image file to be uploaded with the student’s ID number!

You can only upload a maximum of 50 images in one batch.
Once you are happy with the selections you have made here, click “Submit”.
This will put the photo(s) in the batch listing.
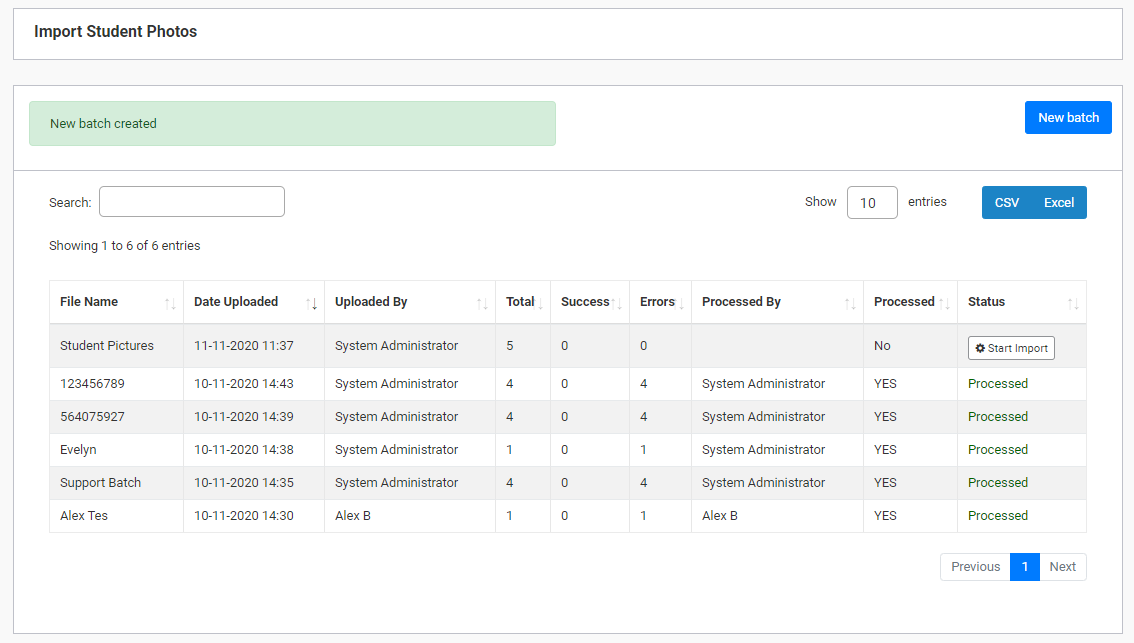
Then, click “Start Import” to begin the process of uploading.
The user will be asked to confirm with the following message:
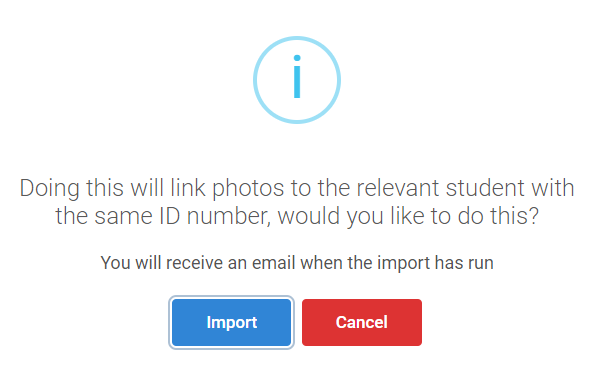
Click “Import”. The user will then be presented with the following message:
“Your import is processing. You will receive the result of your import by email when done.”
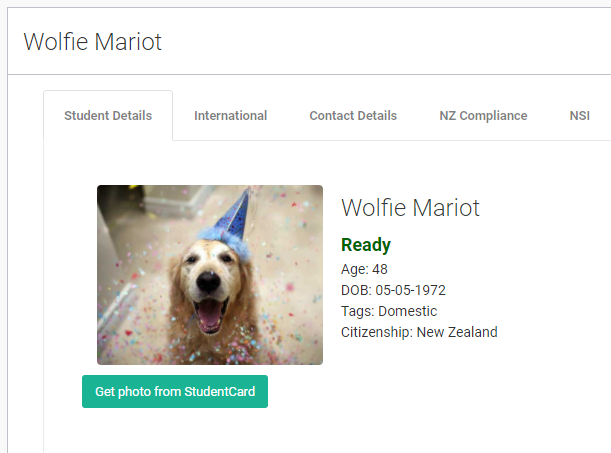
After this, the user will be able to locate the relevant uploaded image in the students’ record.