On this page:
- Student Screen
- Manage Student
- Create and Edit Students: Student Details
- Enrolments
- Merging Students
- Event Log
- Documents
- Miscellaneous (“Misc”)
Use SELMA’s Student Module to create and manage students’ records.
Student Screen
The profile contained in the student screen contains batches of information relating to the student and their relationship with you, the education provider.
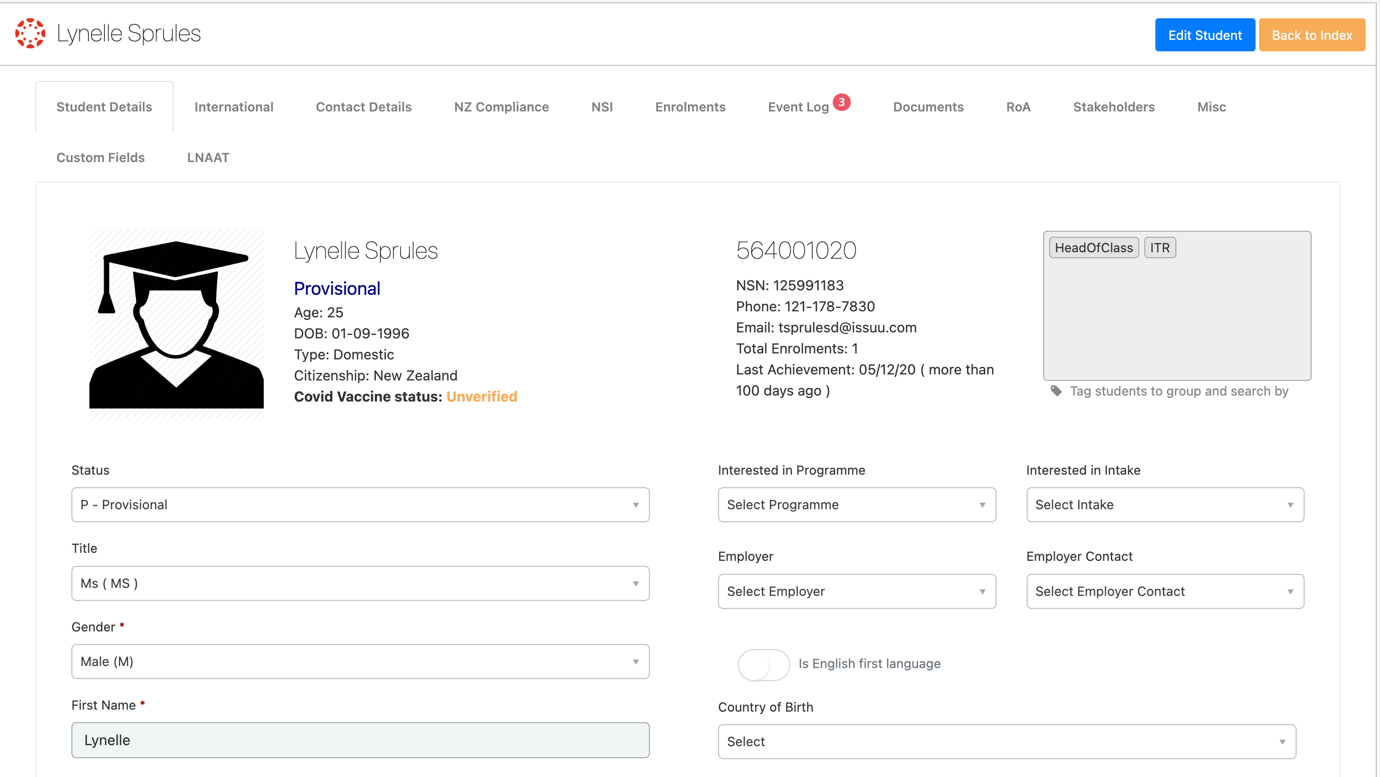
Please note: In this screenshot, there is a “Stakeholders” tab. This is only available to those customers who have subscribed to the Stakeholders module with SELMA. The Stakeholders tab contains information for contacts and organisations that relate to the student, and can be linked to the student profile in the Stakeholders tab.
Manage Students
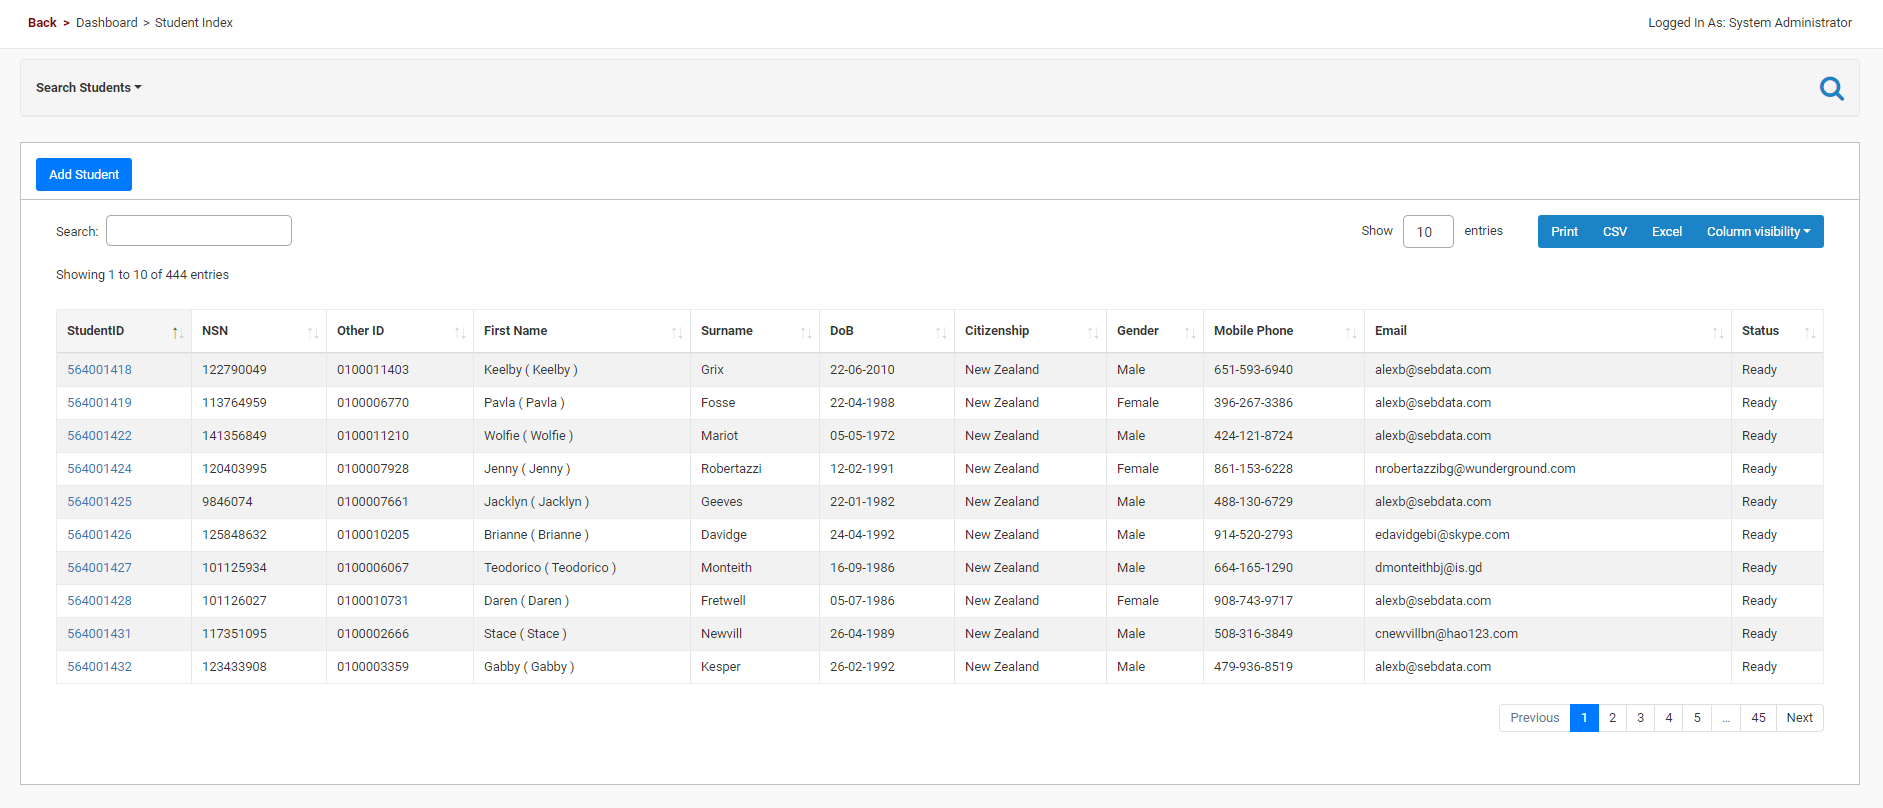
‘Manage Students’, allows you to search for students in your organisation. If you have not created a student yet, please refer to the below section, “Create / Edit Student”.
In the ‘advanced search’ section (hidden by default), you can search by one or more attributes and choose whether you would like your search phrase to contain, be equal to, or be larger/smaller than your chosen value.
From the ‘manage student’ screen you can either find a student you want to view or edit or add a new student into SELMA.
Please note: Learn about using SELMA’s student grid in the “Working with Grids” article.
Create and Edit Students: Student Details
Create Student
To create a new student, navigate to Students -> Manage Students, and then click the “Add Student” button on top of the Student Index (Grid) or use the Quick Access menu item “Add Student”
 | If you use the NSI interface or have a CRM integration – this is where you can click the “Get” buttons on top right to pull information form NSI or the CRM. This will bring across all Student Information you already know without you having to type it into the form. |
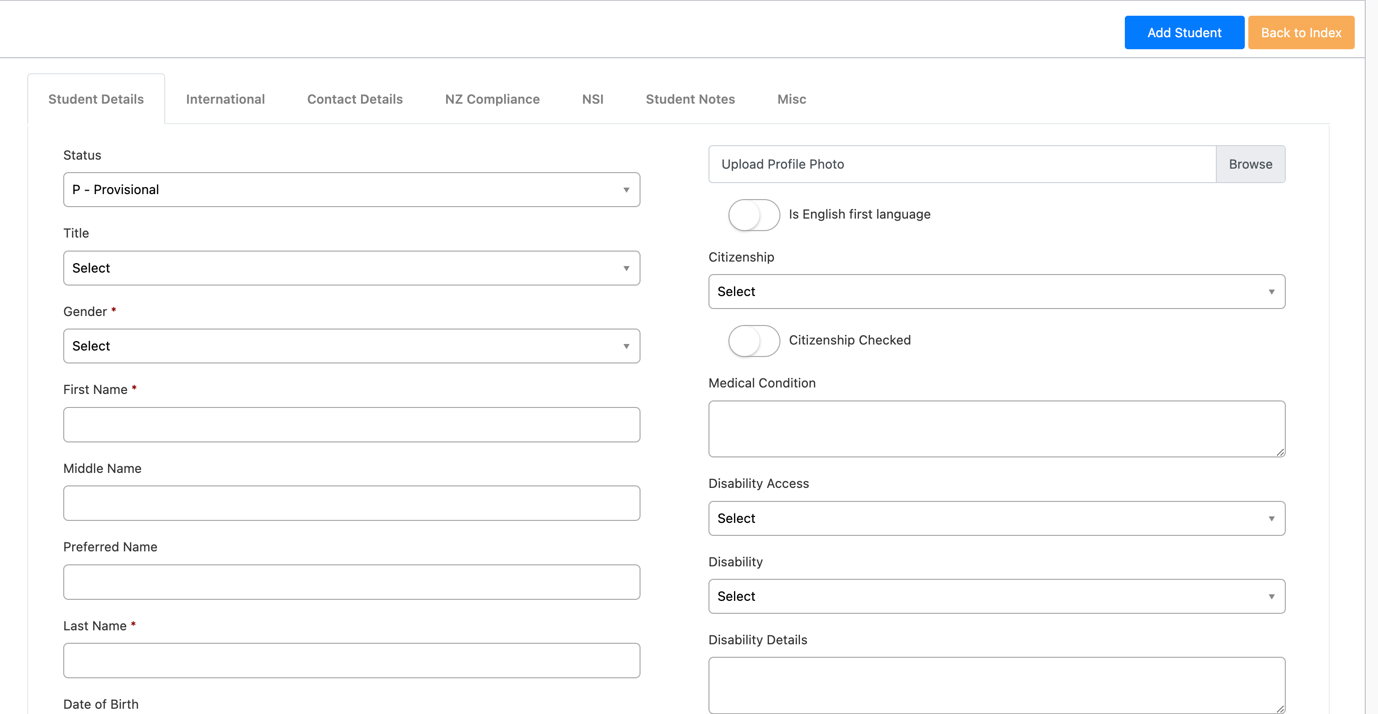
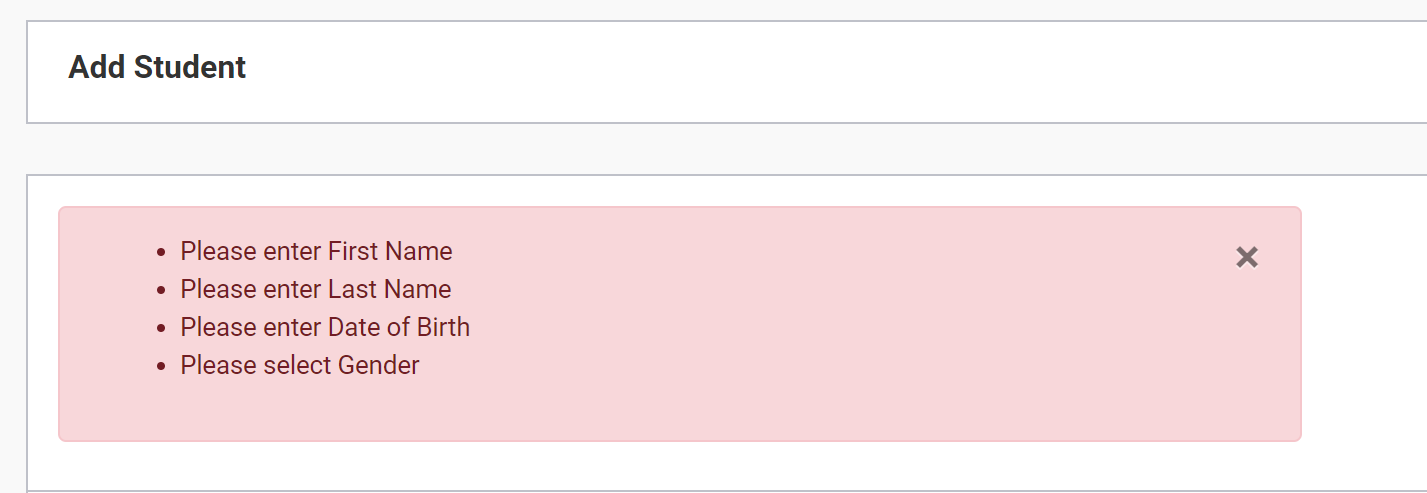
The minimum information required to create a student in SELMA is –
- First Name
- Last Name
- Date of Birth
- Gender
If you neglect to fill any of these fields the following message will pop up:
You can also add information pertaining to –
- Medical Conditions
- Learning Behavioural Needs
- Disability Details (if applicable)
- Primary and secondary learning styles
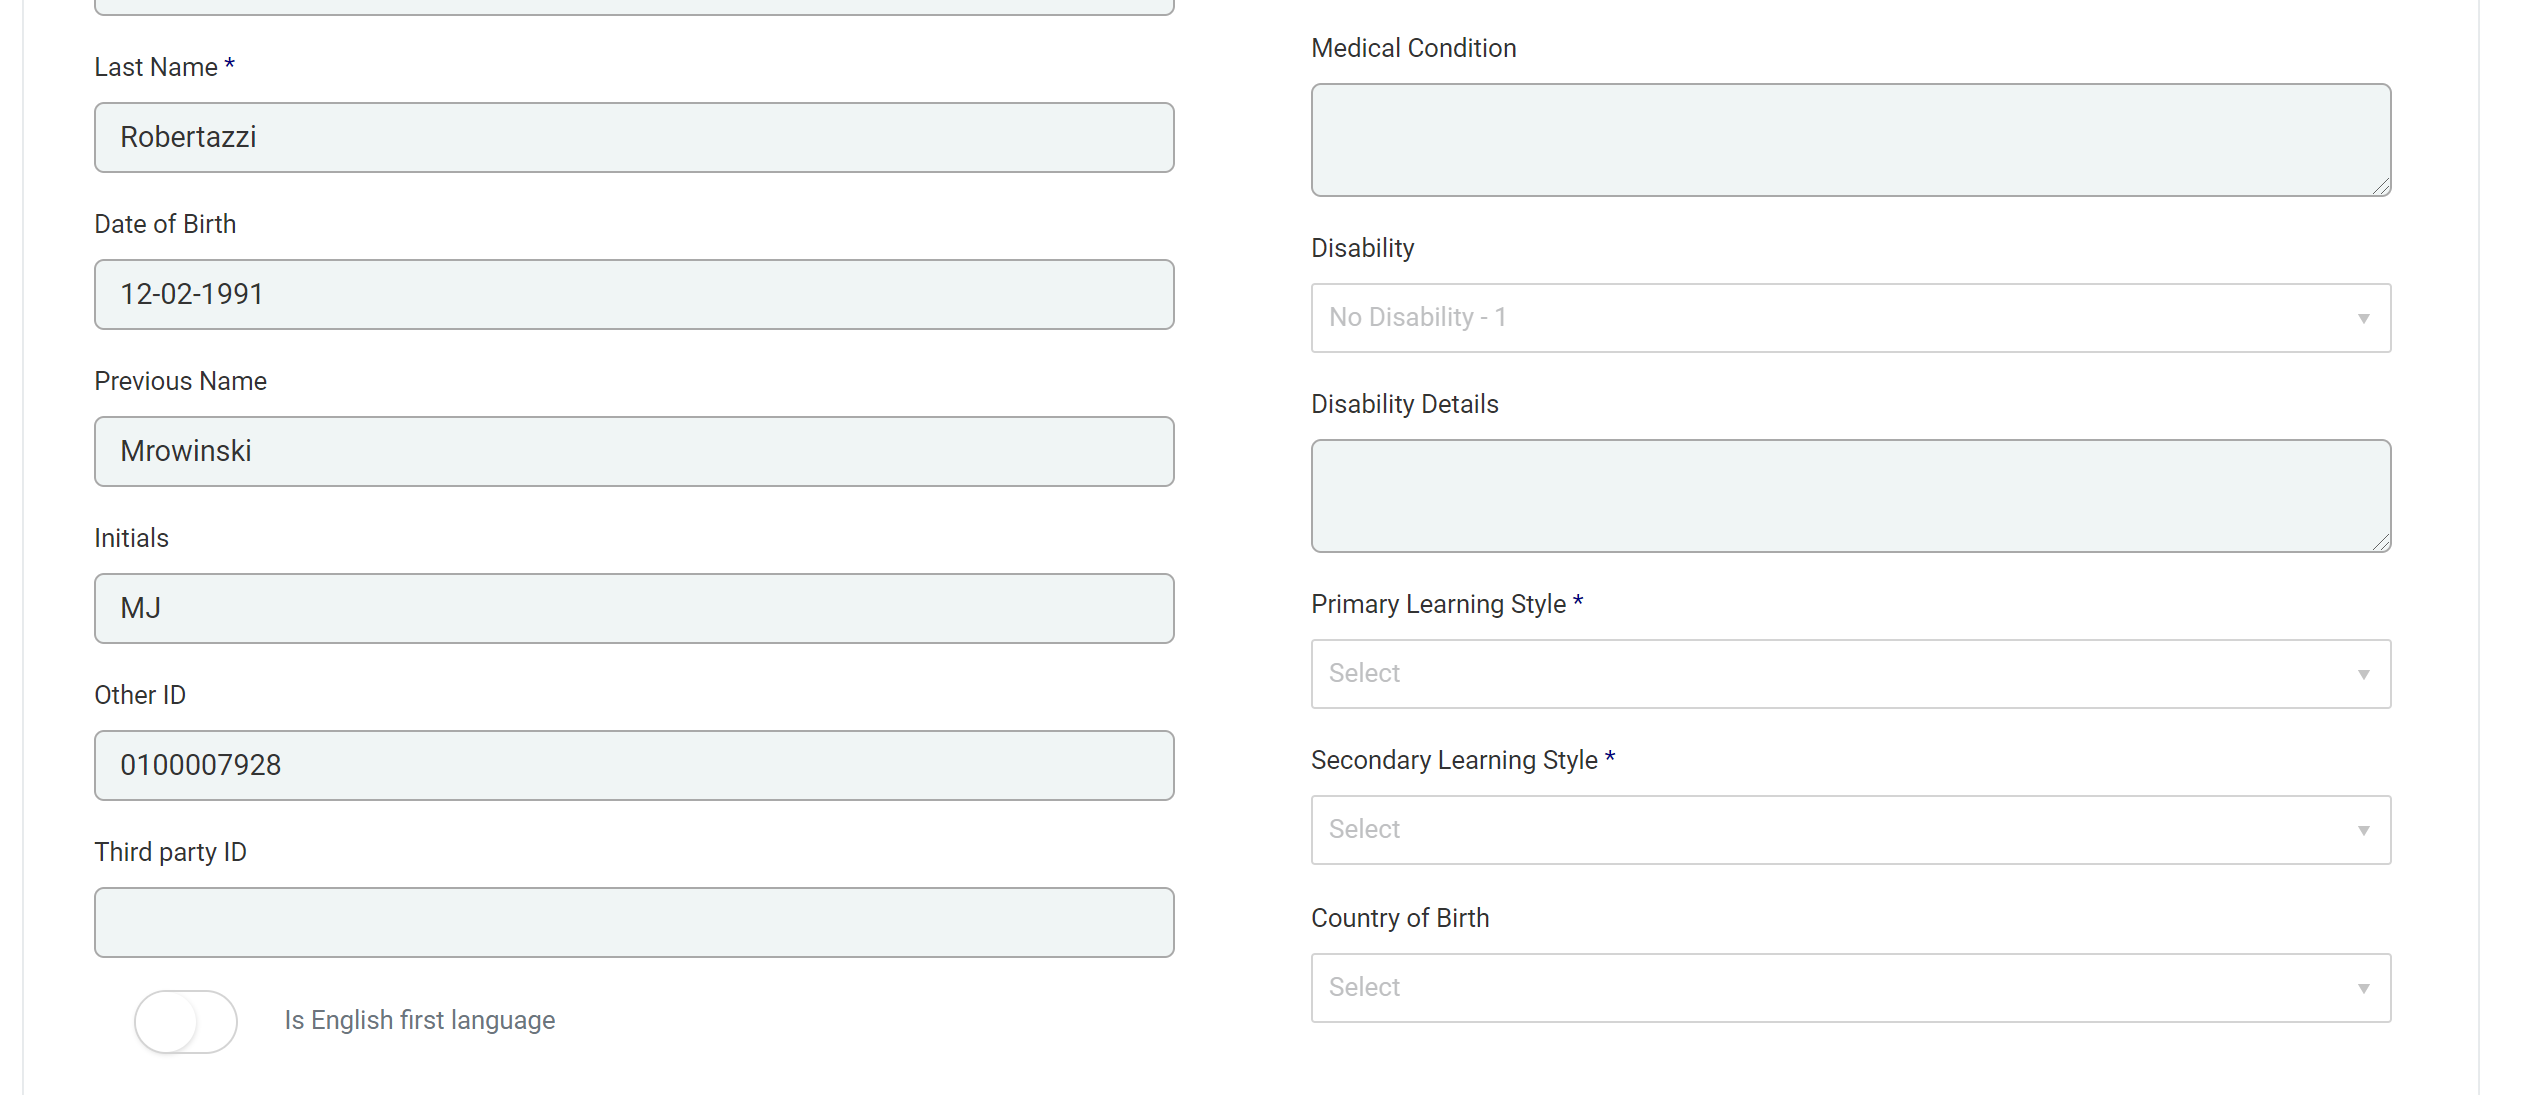
Once you have entered all the minimum/relevant information about the student you can add them.
ID Number
A default ID number is allocated to students when their record is created by the system. There is another field – “Other ID” – which can be used by you to add an internal ID number that is applicable to your education provider.
The default ID number is system generated and therefore cannot be altered or deleted.
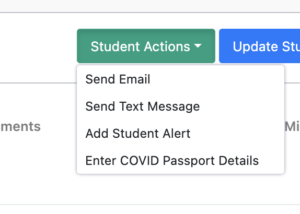
Student Actions
To access ‘Student Actions’ click on ‘Edit Student’. The drop-down is top right and options include:
- Send Email
- Send Text Message
- Add Student Alert
- Enter COVID Passport Details
Student Status
The status of a student is by default “Provisional”. In order to enrol a student, you have to change the status to “Ready”. Workflows are available to validate your information before making a student “Ready”. Talk to the SELMA team at support@selma.co.nz for a custom workflow.
Older records will be marked as inactive if there was no activity for a while (this is automated by SELMA). As soon as there is activity for the student again, the status will change to ‘Provisional’.
Inactive students are hidden by default on search grids – this improves the speed and handling of the software. If you want to search for inactive students, you can change the default criteria in the advanced search.
Bulk Upload of Student Photos
With this functionality, SELMA users can bulk upload student photos to the relevant student’s record which will update their student display picture in SELMA.
From the SELMA dashboard, click “Students” and then “Upload Photos”.
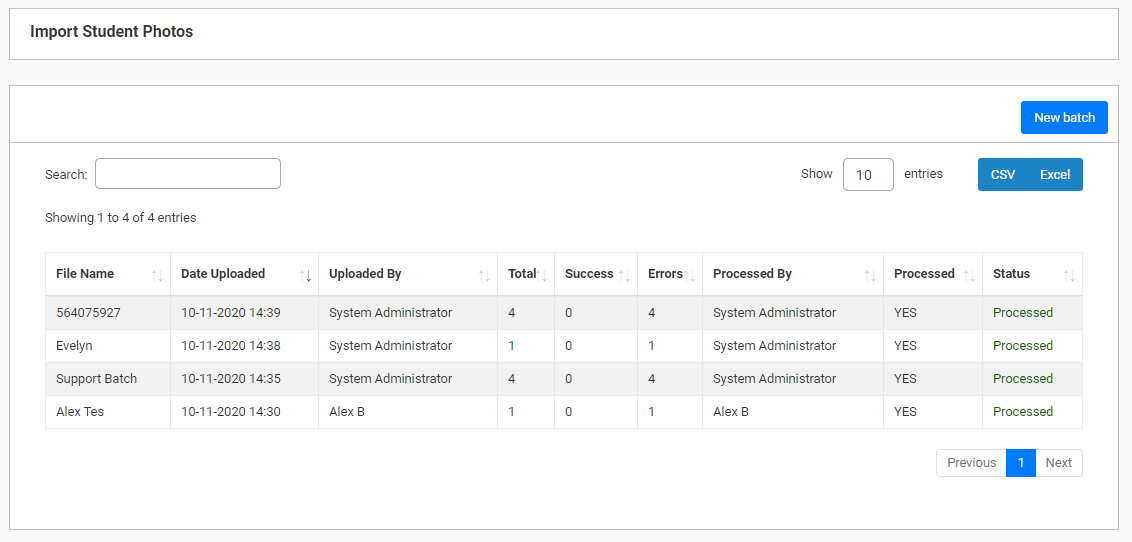
Then click “New Batch”:
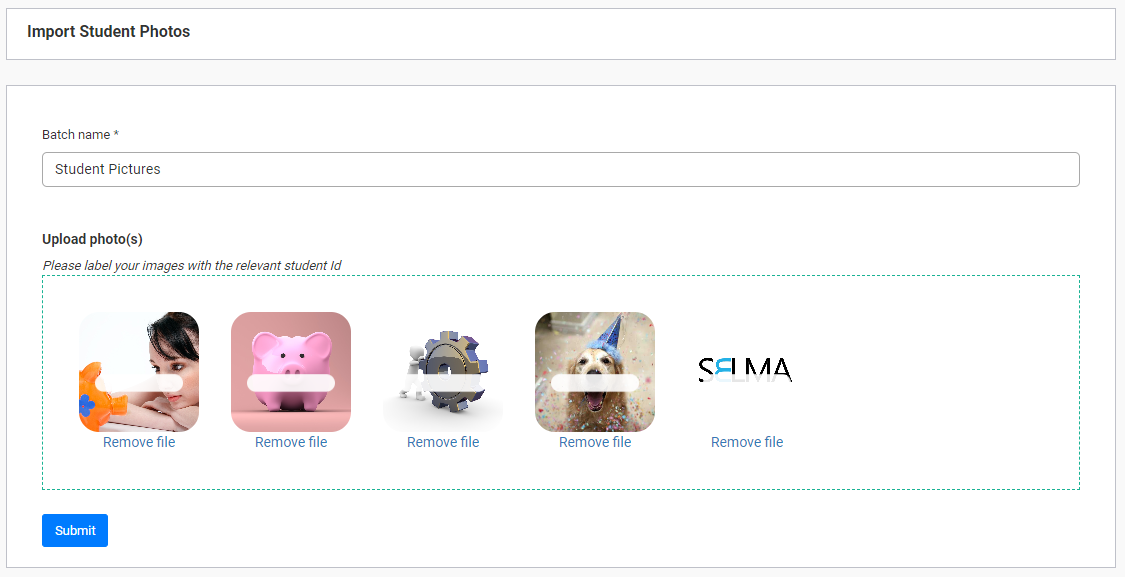
Give the batch a name, and then use the “Upload photo(s)” section to select photos to be uploaded.
IMPORTANT: for the picture to be uploaded to the correct students’ record, you must label the image file to be uploaded with the student’s ID number!

You can only upload a maximum of 50 images in one batch.
Once you are happy with the selections you have made here, click “Submit”.
This will put the photo(s) in the batch listing.
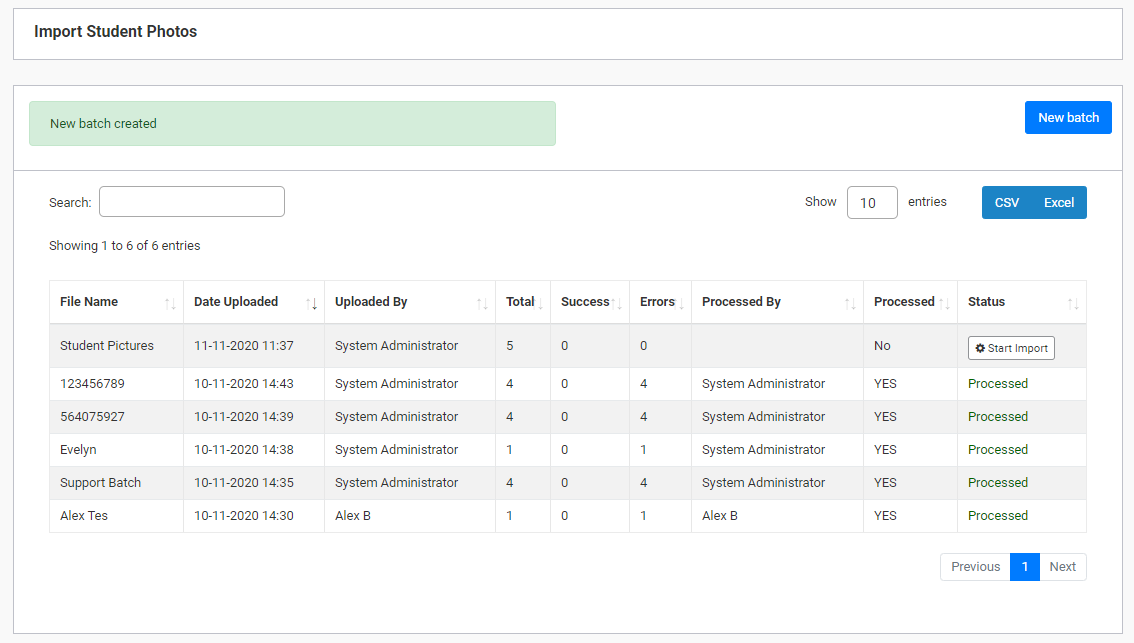
Then, click “Start Import” to begin the process of uploading.
The user will be asked to confirm with the following message:
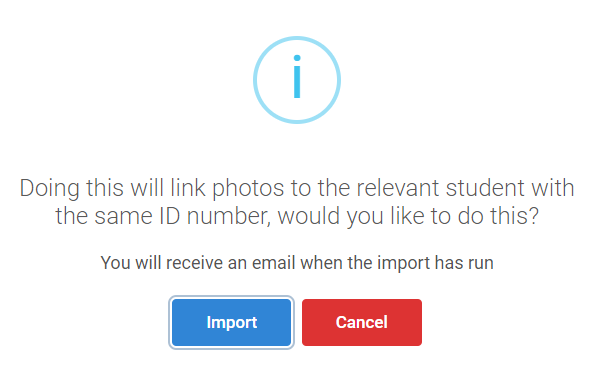
Click “Import”. The user will then be presented with the following message:
“Your import is processing. You will receive the result of your import by email when done.”
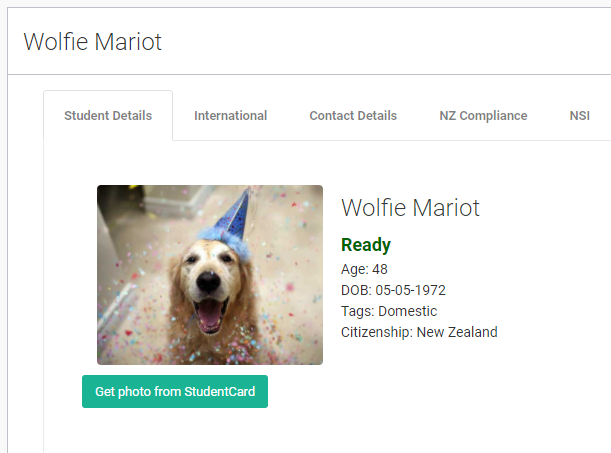
After this, the user will be able to locate the relevant uploaded image in the students’ record.
International Students
The “International Student” tab allows you to enter all information relevant to international students. Go to the “Other Organisation” section to create Agents, Medical Insurers and Homestay providers which can then be chosen in the drop-down lists of this tab:
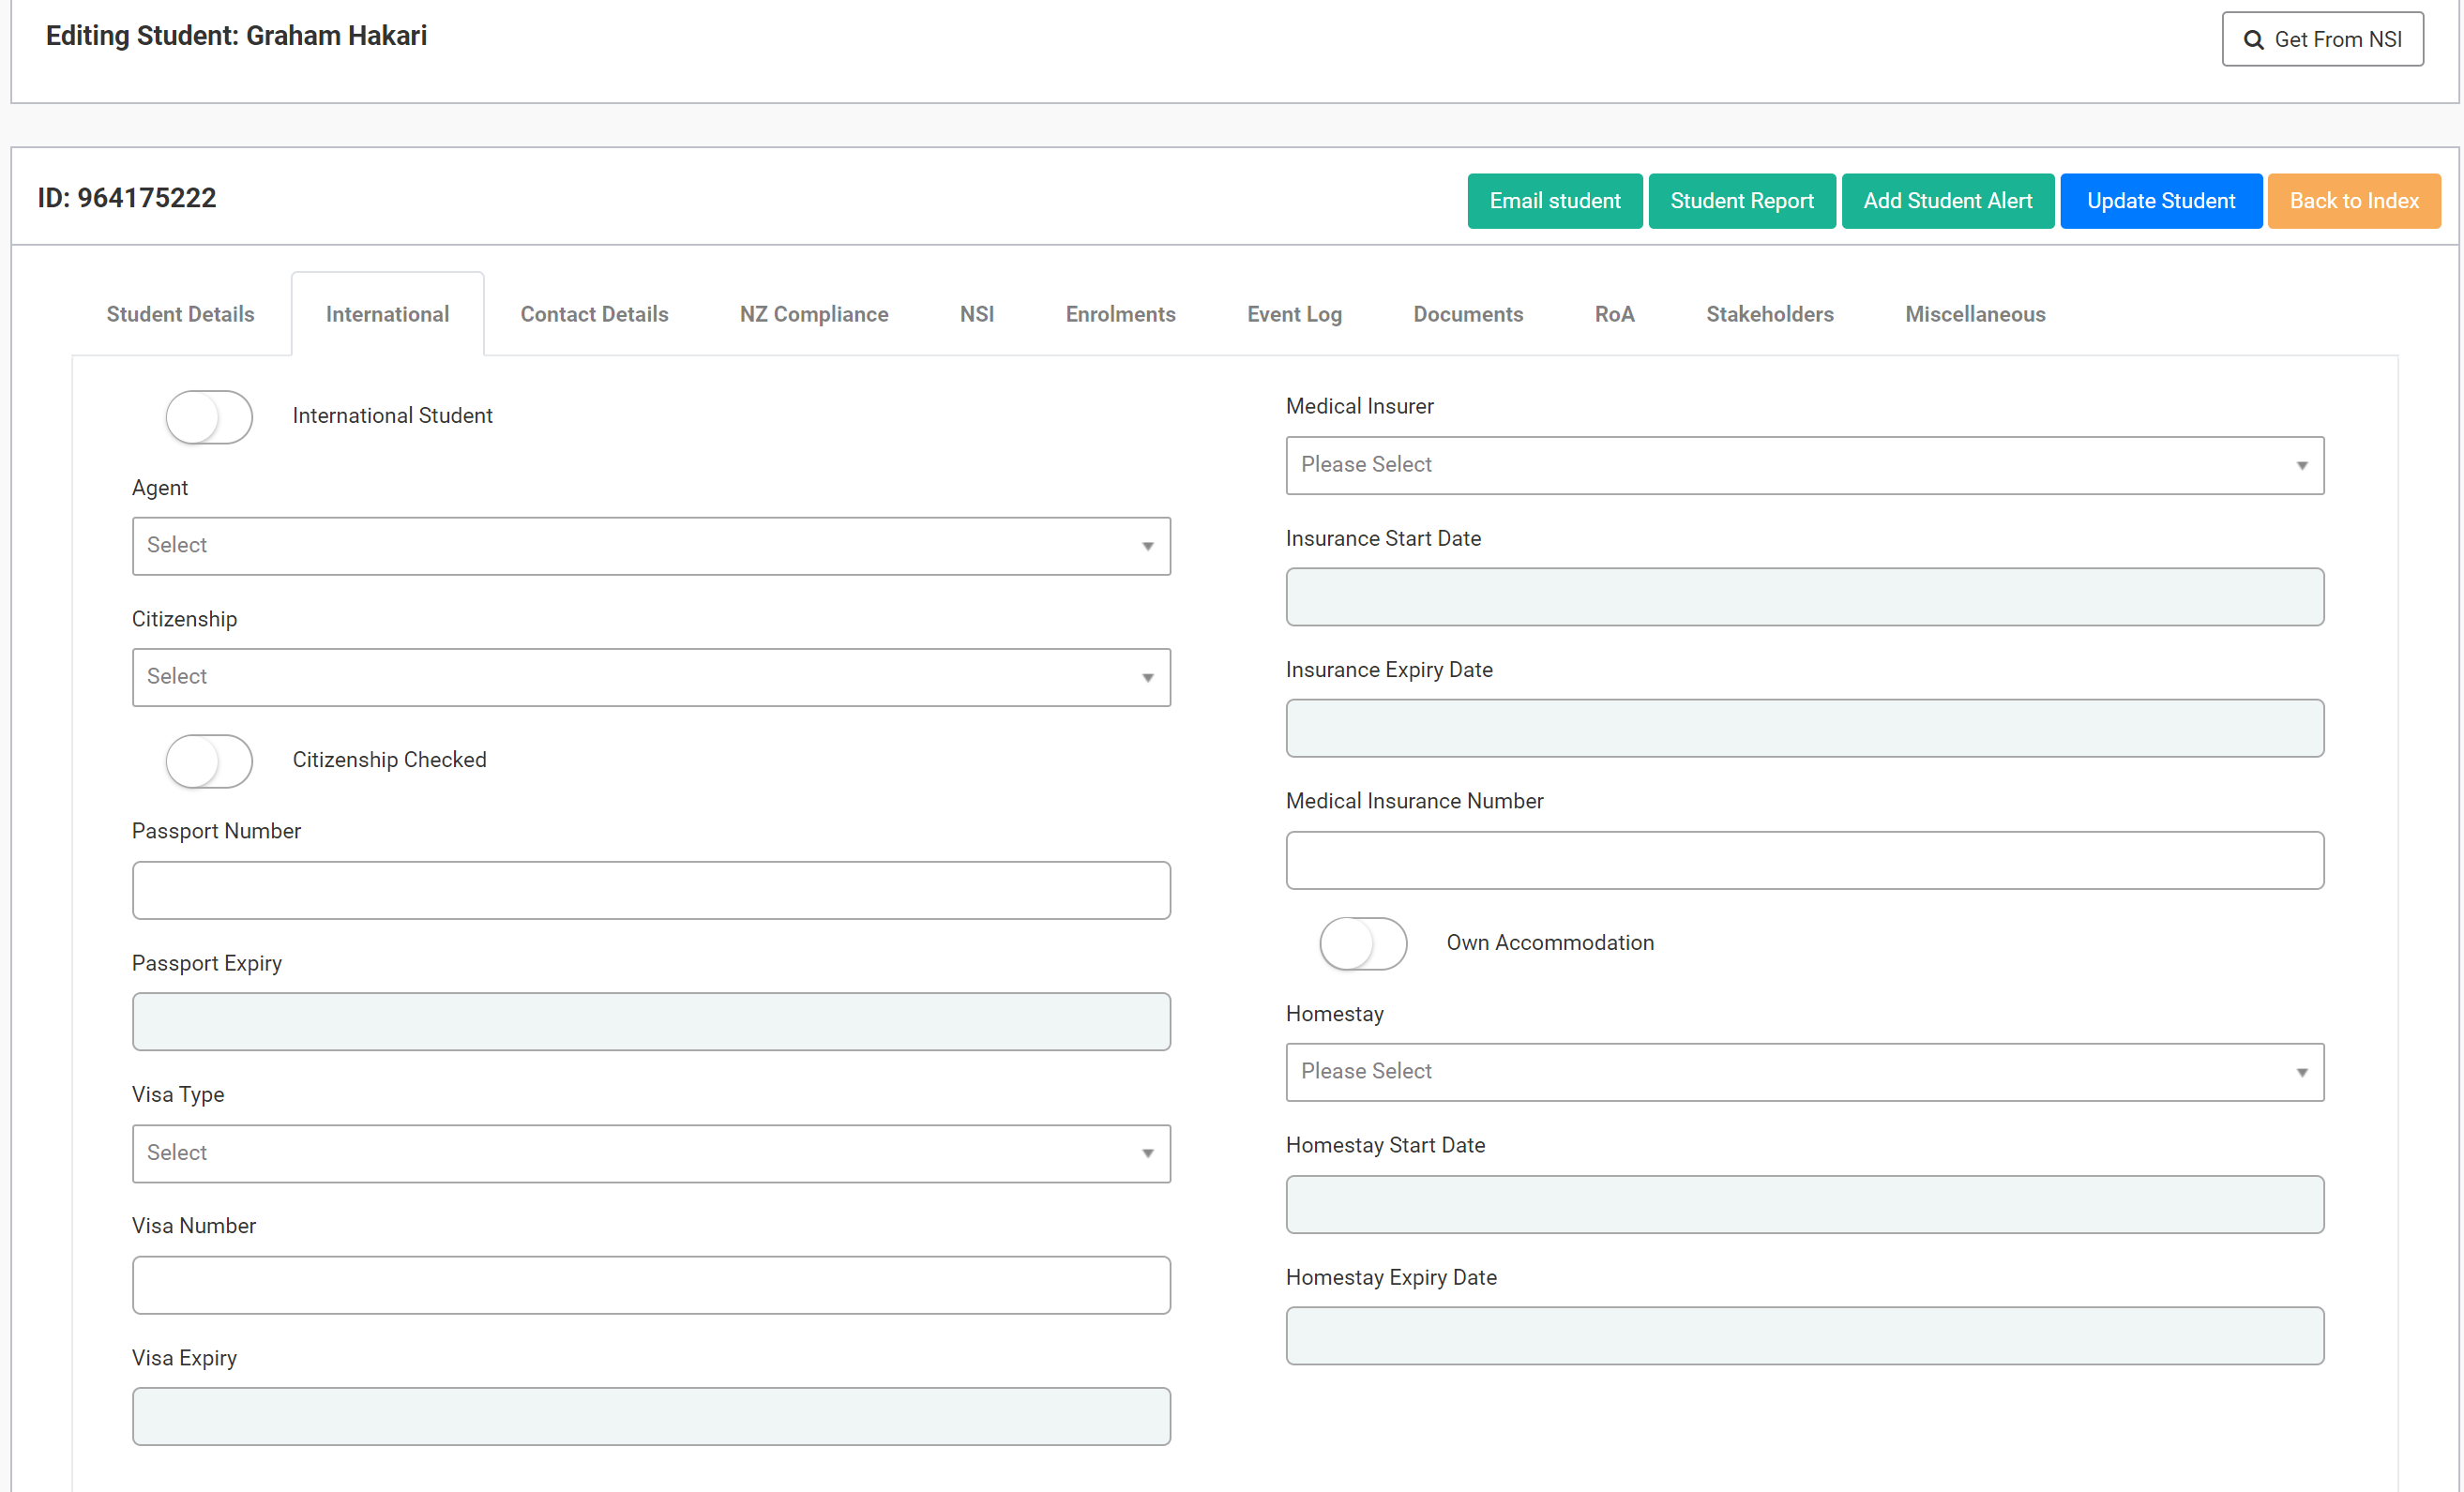
A few of these fields are reliant on you first setting up the relevant organisations in the “Organisations” section mentioned above. For example: agents, medical insurer, homestay. These both need to be created as Organisations first before they can be selected and applied to a student’s record in SELMA.
Be sure to fill out the visa and visa expiry information as fully as possible.
You can create an Event ‘alert’ to let you know when a student’s visa has expired or is about to expire. Please see the “Events Log” section of this manual for more information about this.
Alternatively, you can request a report where a listing of students and their visa information is displayed so you can readily see this information. To enquire about creating this report, please get in touch by sending an email to support@selma.co.nz
Contact Details
In the contact details tab, add phone number and email address.
It is important here to input the correct contact information, especially if the student is an international one.
For international students, be sure to clearly indicate what “type” of address it is. If it is their home address in their country of origin, this will usually be type “overseas”. Then after this it is important for these international students to have a New Zealand based “mail” address, to indicate their mailing residence while staying in New Zealand.

For current addresses, you will notice that the SELMA system defaults the “Valid To” date as being XX-XX-9999.
SELMA will manage the expiry of addresses automatically. If you create a new address of the same type for a learner, SELMA will automatically retire the old address by changing the “valid to” date to the date in which you created the new address record and add the new address with the correct “Valid From” date.
This process in SELMA creates a time log of different addresses added to the student’s record.
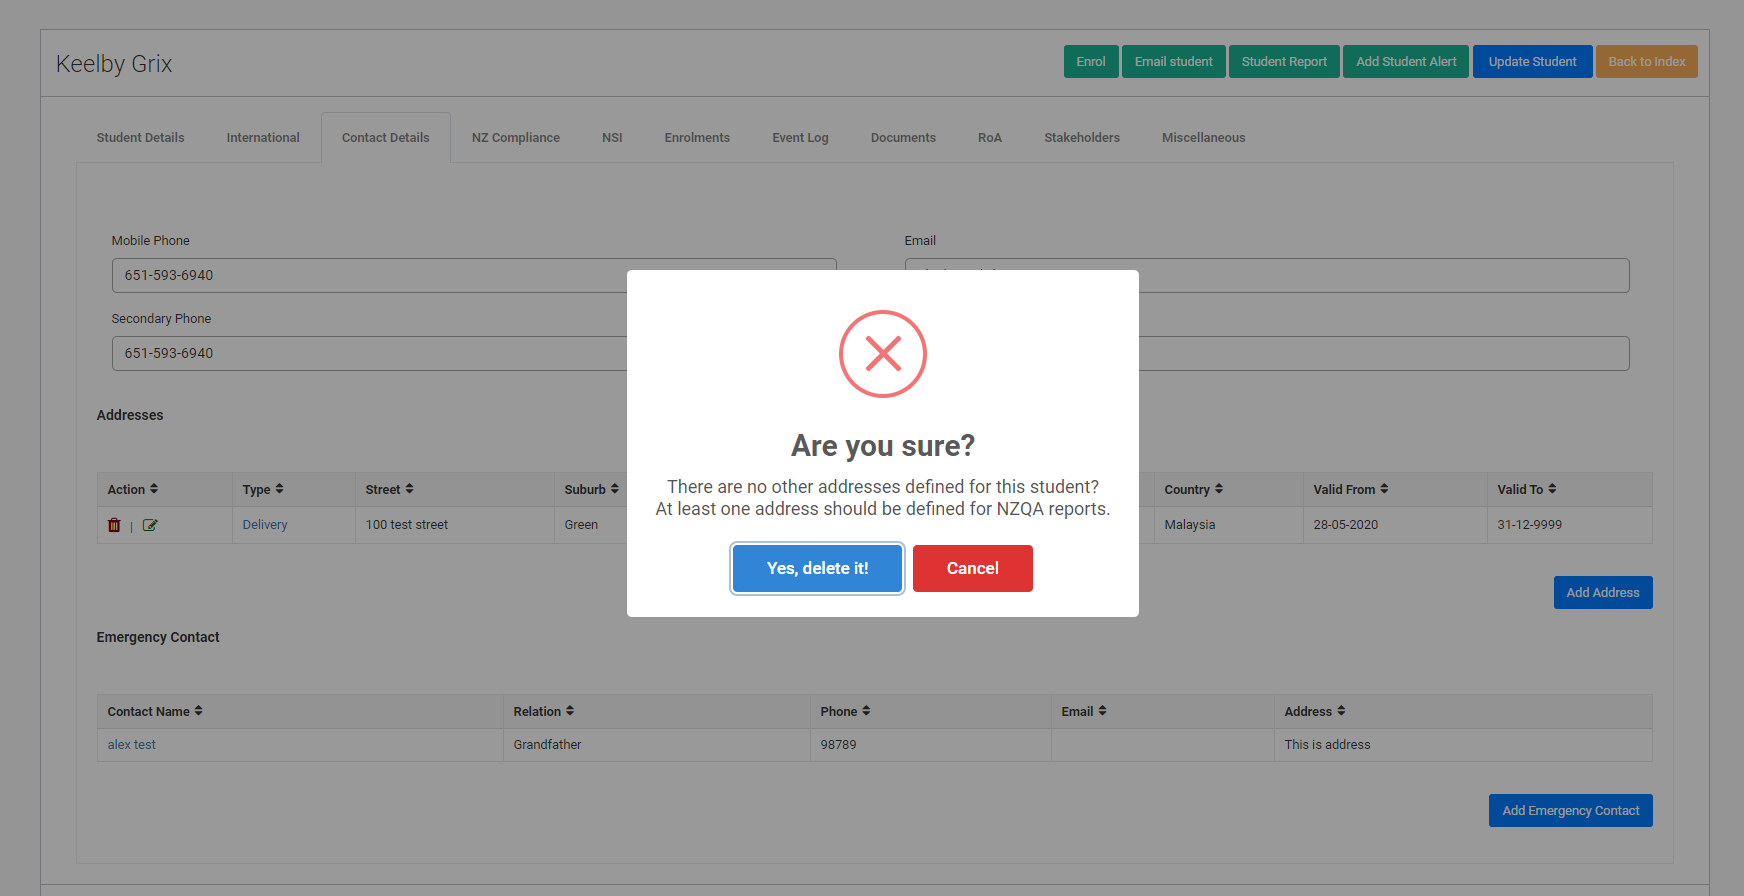
Please note that addresses can be deleted by users for convenience, however the following should be kept in mind when doing so:
- If there are two or more address line items, deleting the current address will revert the most recent address before that one to becoming the new current address.
- The user has the option of deleting a student address if they wish to do so and there is only one, however this is not advised. For this reason, if a user attempts to delete a student address when there is only one a pop-up message will appear on the screen, informing the user that doing this will have implications for SDR and NZQA reporting.
 | If you use the communication module, make sure you enter a valid email address and mobile phone number in this section. |
NZ Compliance
To ensure a smooth SDR processing, add all the relevant NZ Compliance information on this tab. If it is not a reported student, you can leave this section blank.
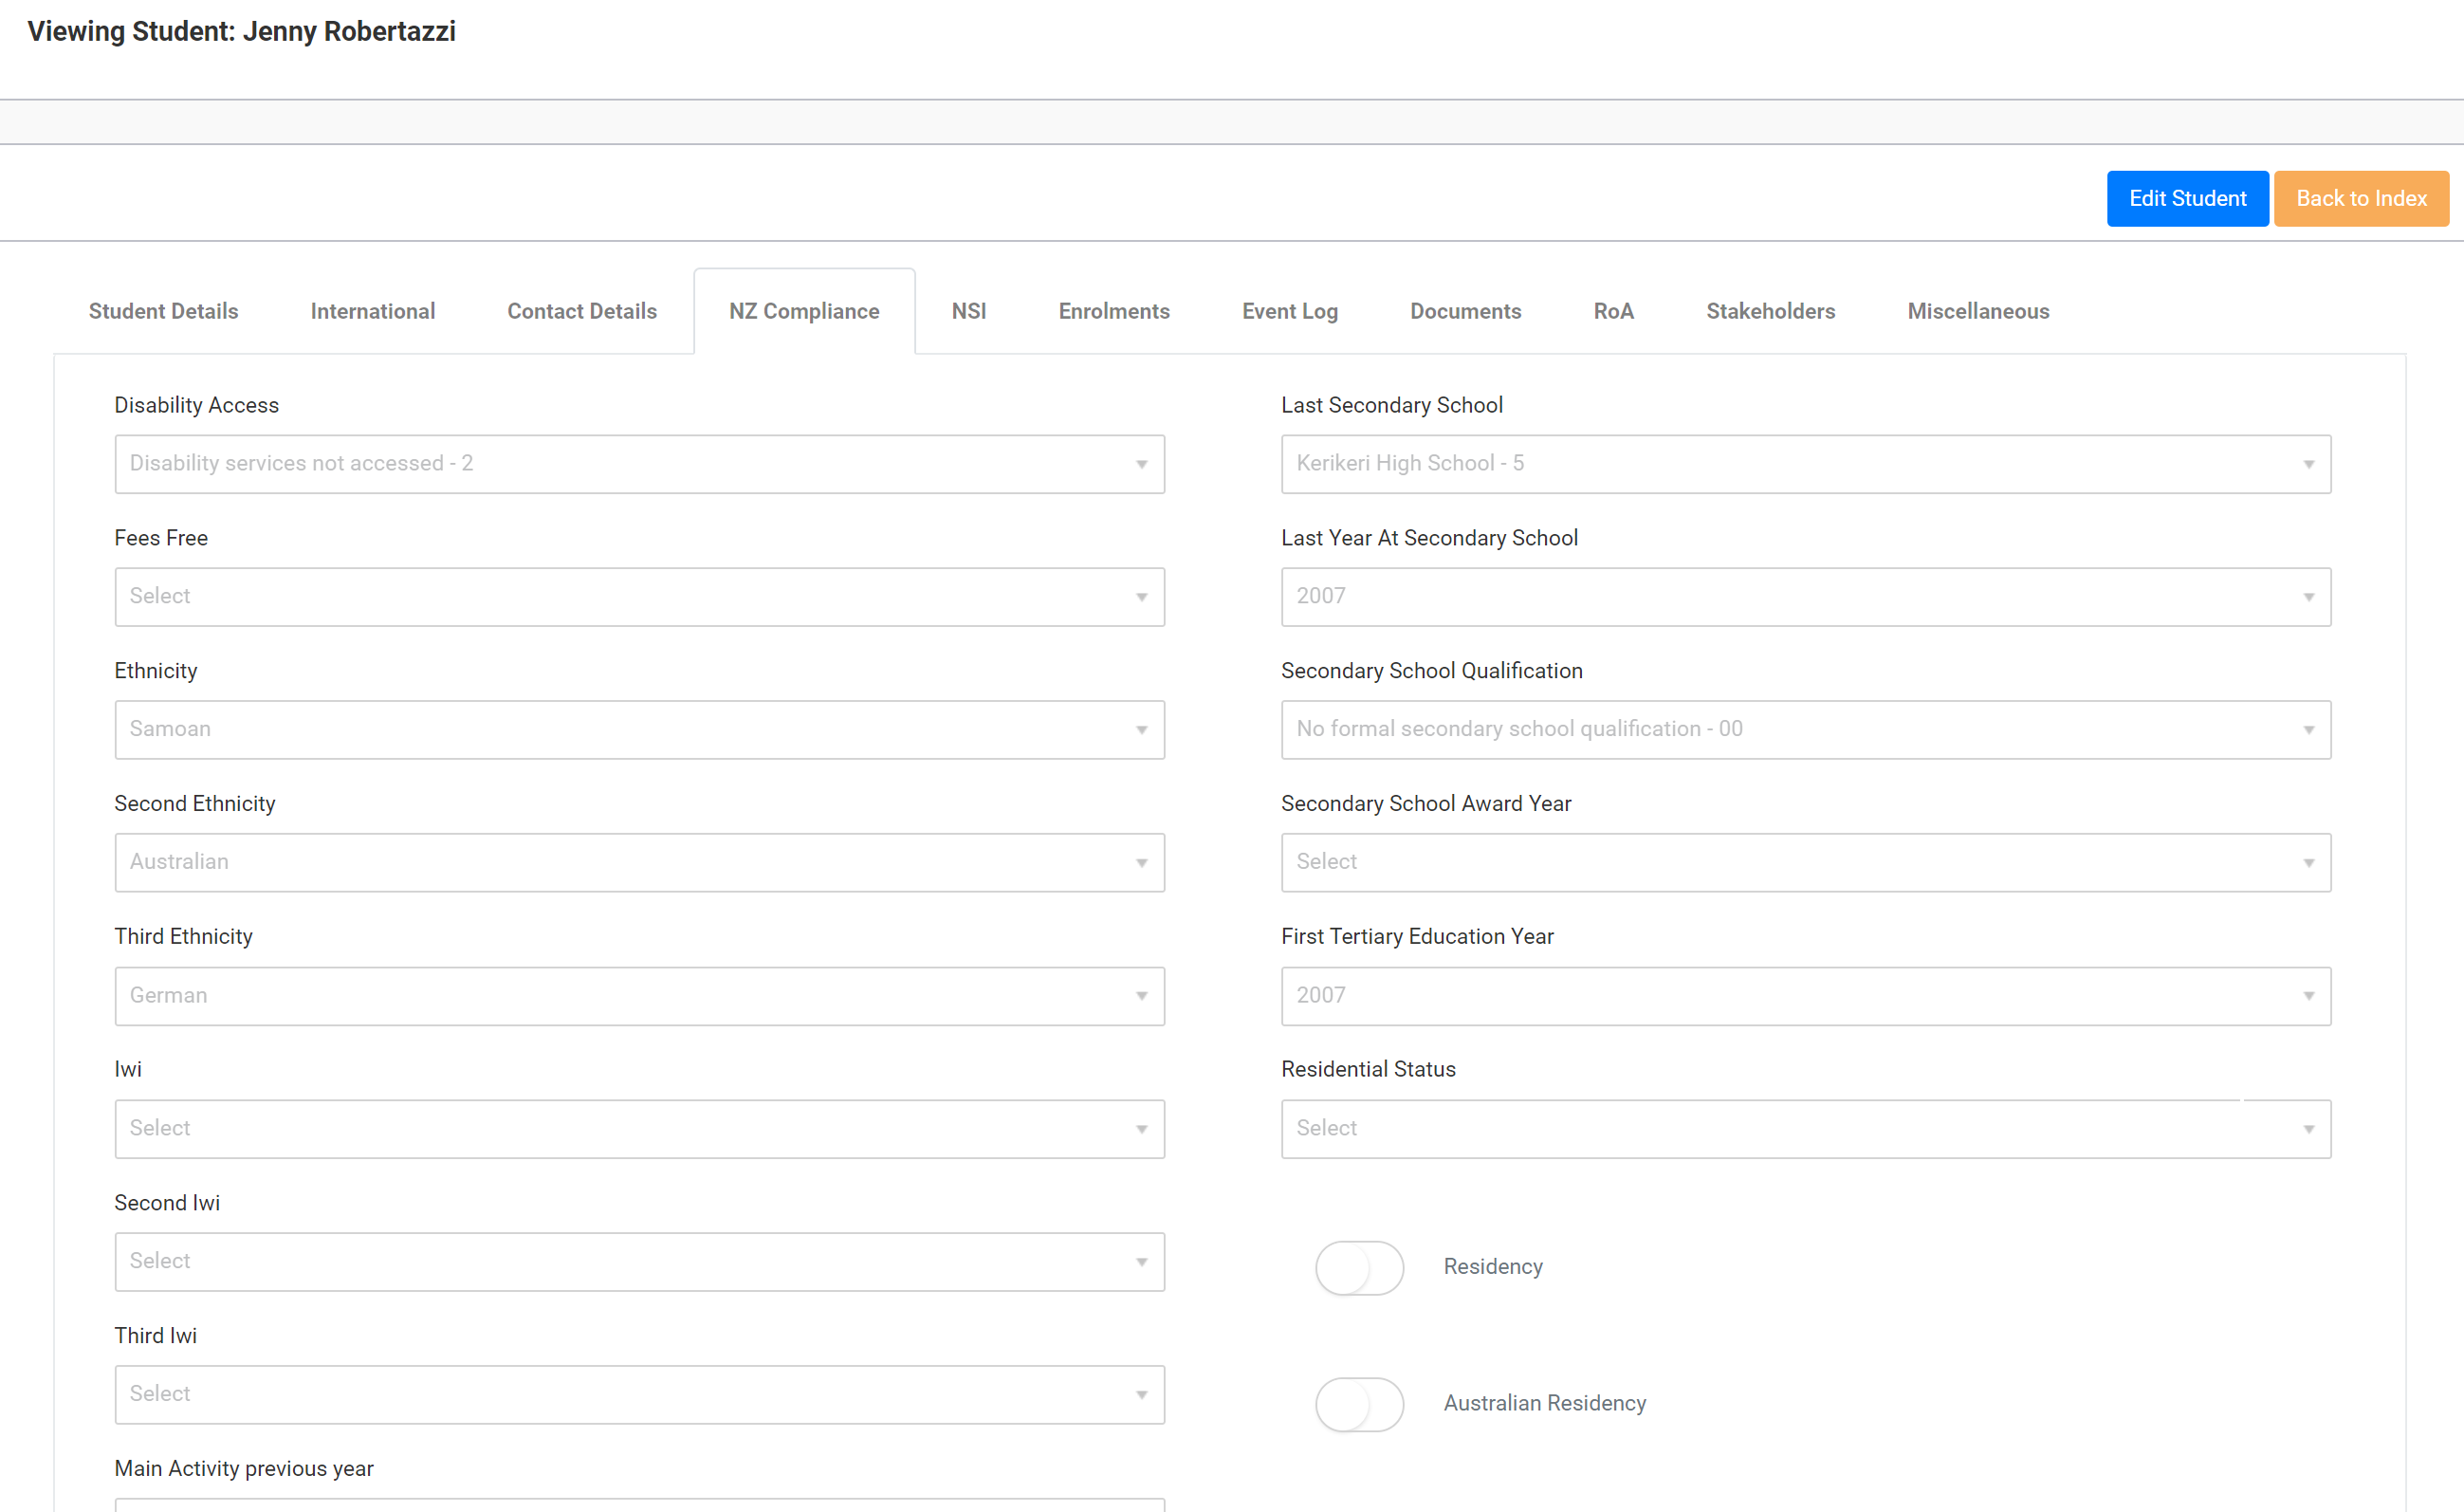
For this section, please pay particular attention to the schooling information as this is key for SDR reporting purposes.
Ministry of Education Exemption Note Field
Within student records, SELMA users will notice that – under the NZ Compliance tab – there is a field called “MoE Exemption”:

This is a note field that is designed to be informative for users, to outline any Ministry of Education exemptions that relate to that student.
Users might want to use this field to flag to other users that the student is under 16, studying with another provider at the same time, and/or add a relevant Ministry of Education exemption ID number, if applicable.
This field can be edited and typed into like any other text field in SELMA, the user need only enable the edit mode in the student record first.
This is a valuable field to have as often there are important Ministry exemptions that are relevant to a student’s record, yet the only section available to input this information is in the Events section as a note, where there is a risk of it being overlooked.
Placing it under the “NZ Compliance” tab makes this information readily available and thus due consideration can be placed on the information therein.
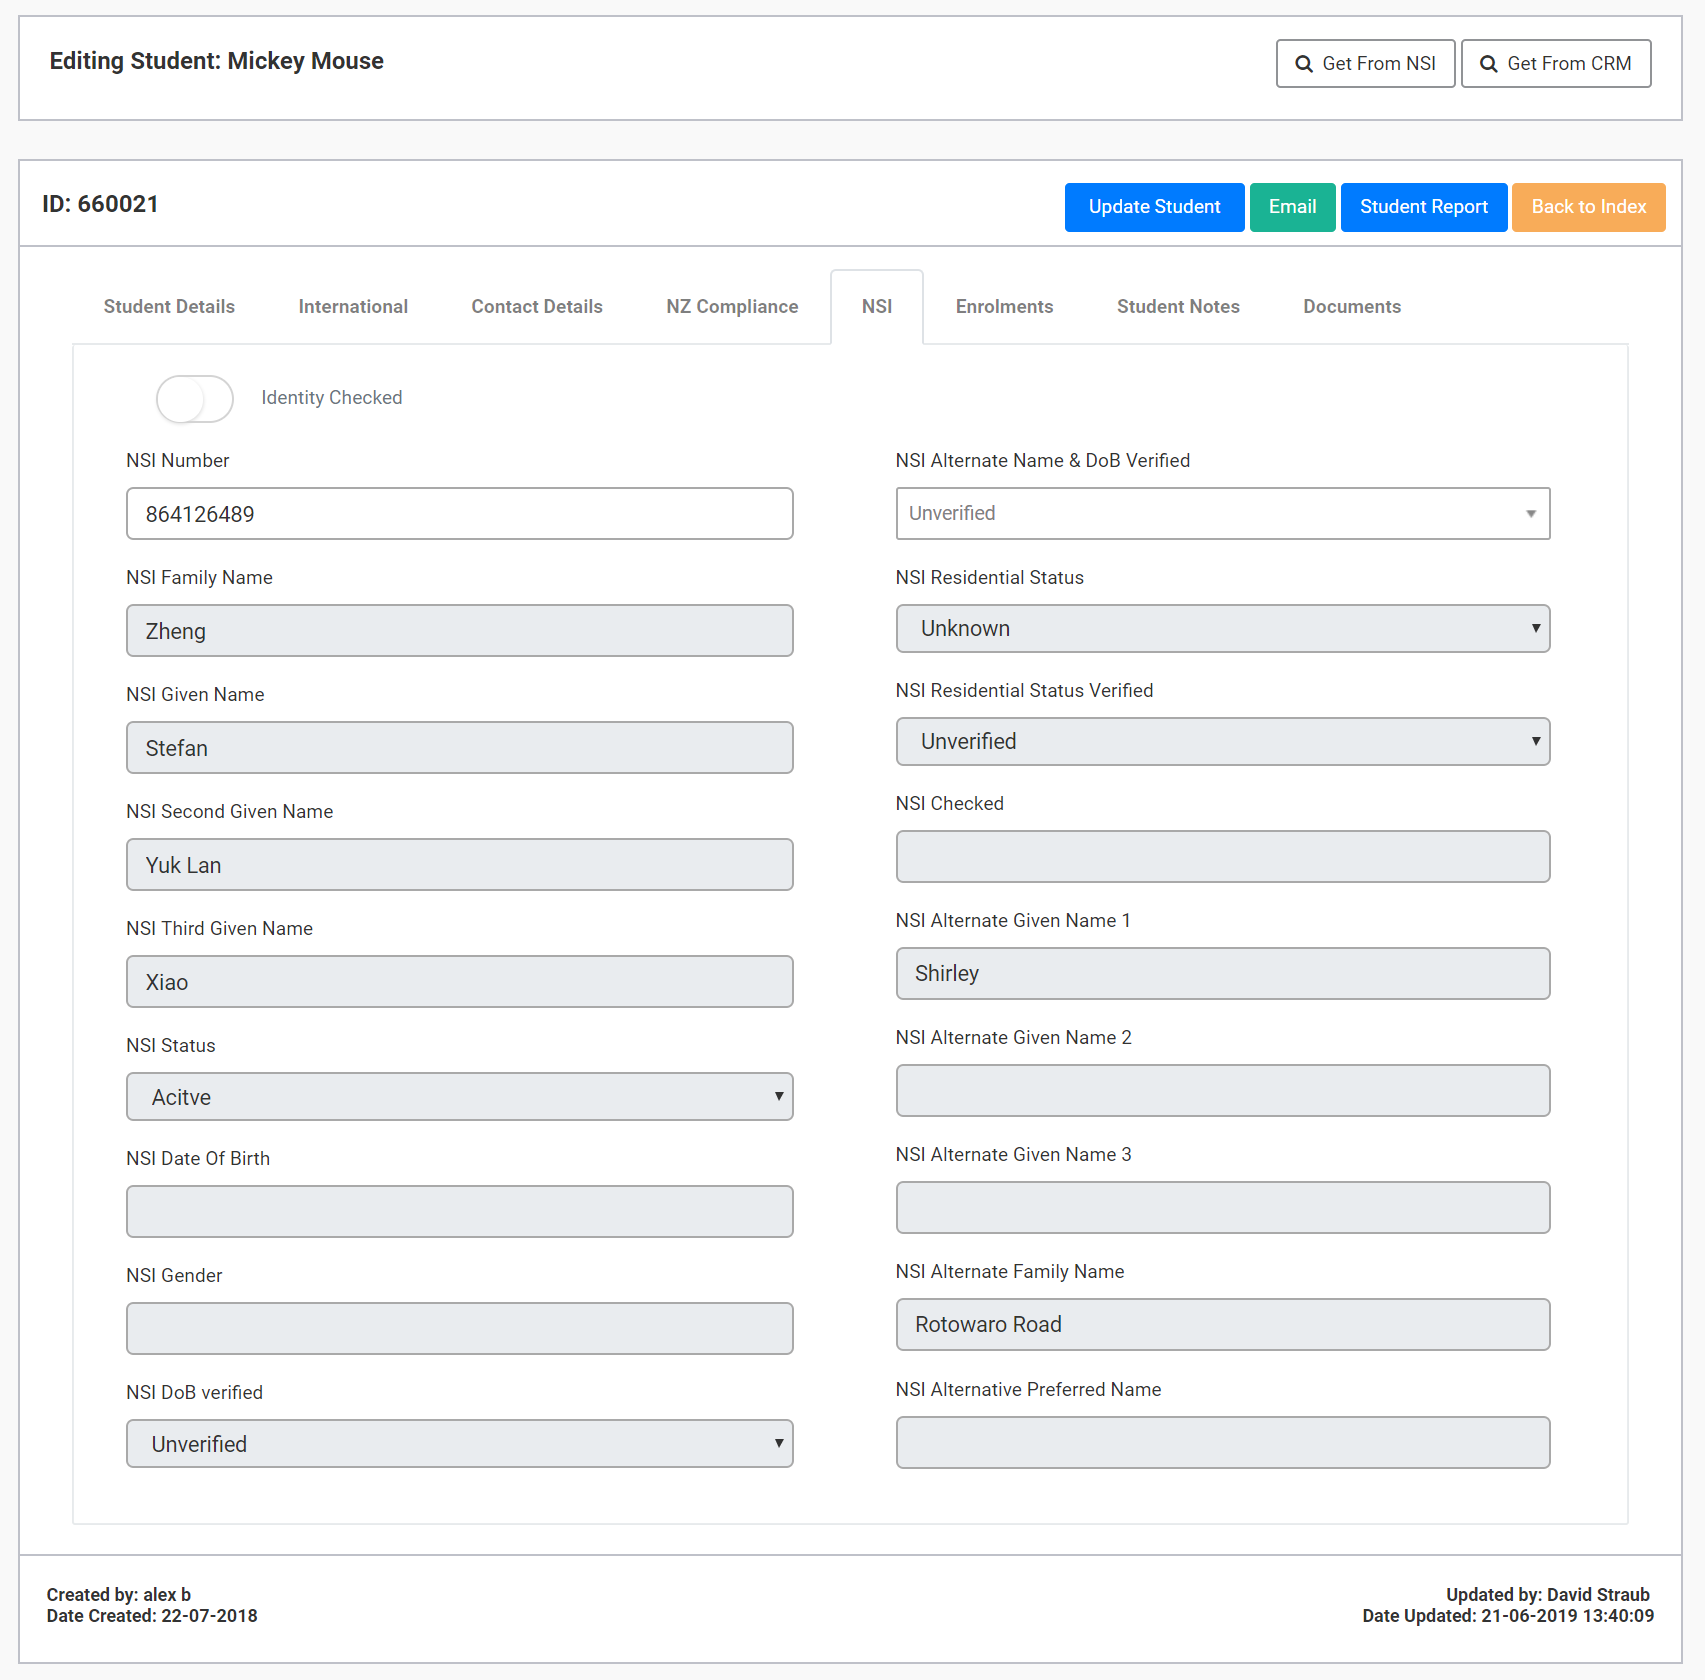
National Student Index (NSI)
There are two ways of accessing NSI information. The first is to use the NSI website. The second is to use the NSI interface within SELMA.
The NSI tab reflects all information that was downloaded from NSI. The information is not editable except for the NSI number itself. If you do not use the NSI interface, simply enter the NSI number here. If you use the interface, all information will be drawn automatically.
To get the NSI interface in SELMA working requires testing in conjunction with the Ministry of Education to be set up. This can sometimes take a few days.
Please note: as at the first half of 2020, the Ministry of Education (MoE) is overrun as a result of many clients being uprooted with Take2 leaving the market, so lots of businesses are connecting with MoE to try and set up an MSI integration.
You can contact/email MoE about setting up the NSI interface, and they will issue you with a help desk ticket number while placing you on the waiting queue for this. The last we heard; this waiting queue can take up to 8 months’ time…
To enquire about the process to set this up, please send us an email at support@selma.co.nz
For more information on how the NSI interface functions when it works, please see the later section “NSI Interface”.
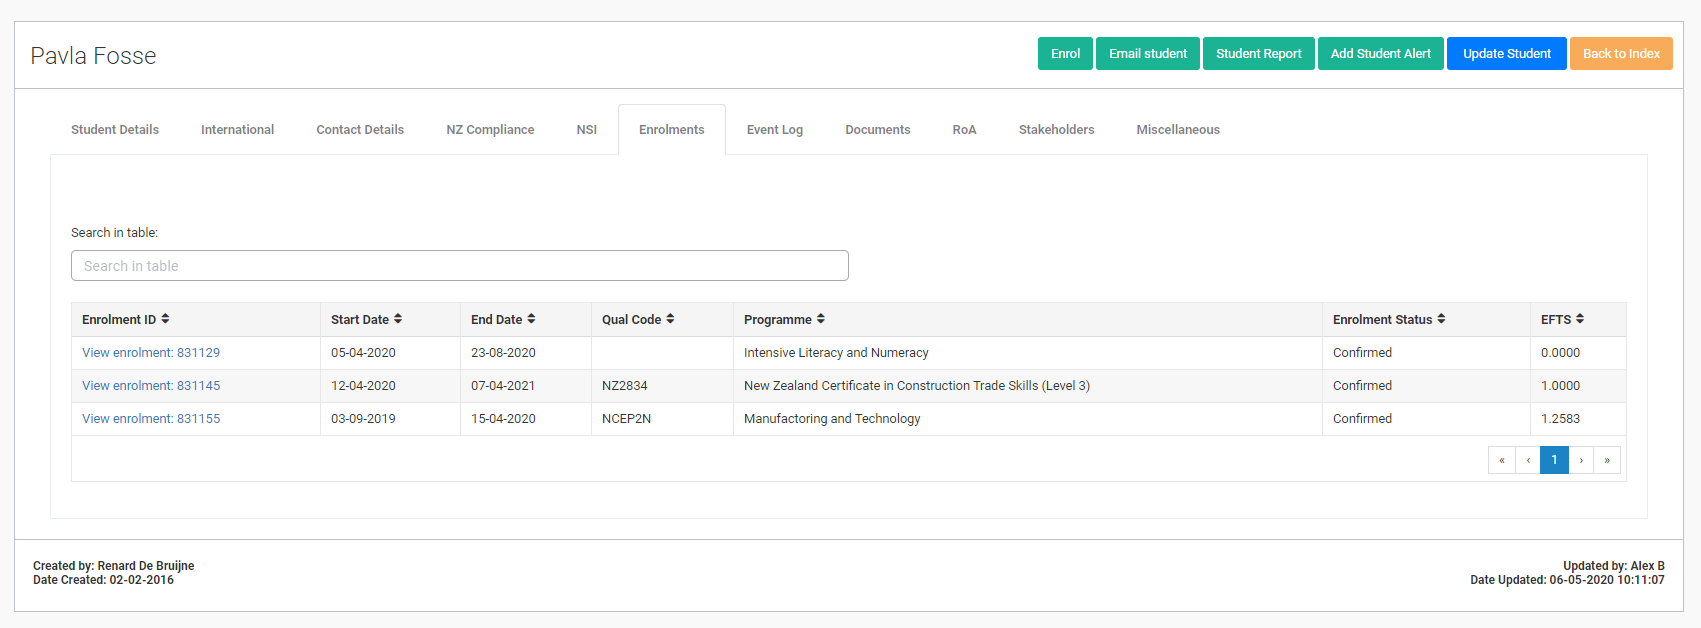
Enrolments
If your student is already enrolled, all enrolments will show up here with a direct link to jump to the enrolment.
This tab is not available when creating a student. Only on edit.
Merging Students
Students -> Merge Students
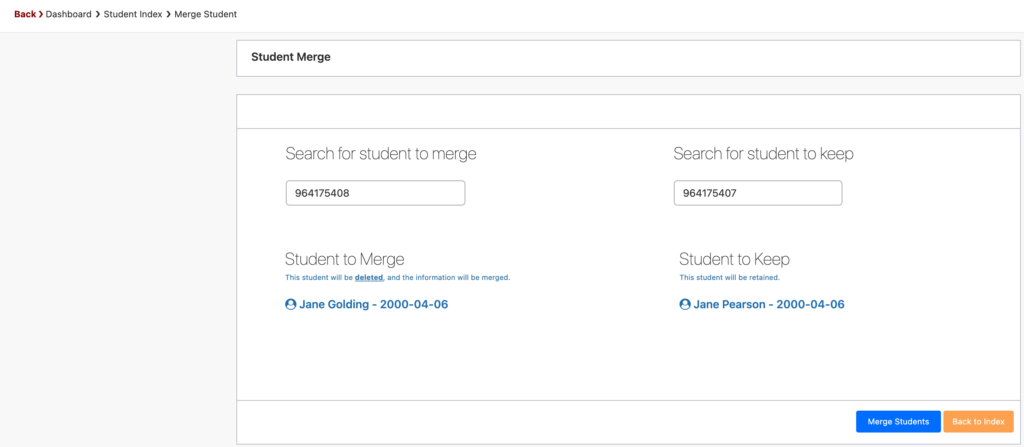
If you wish to merge two students select the ‘Students’ Tab from the top nav bar, and then click on ‘Merge Students’ from the drop-down menu –

You will be presented with the option to provide the User ID of the student you wish to merge (i.e. delete) and the name of the student you wish to keep (i.e. use as the main record going forward):
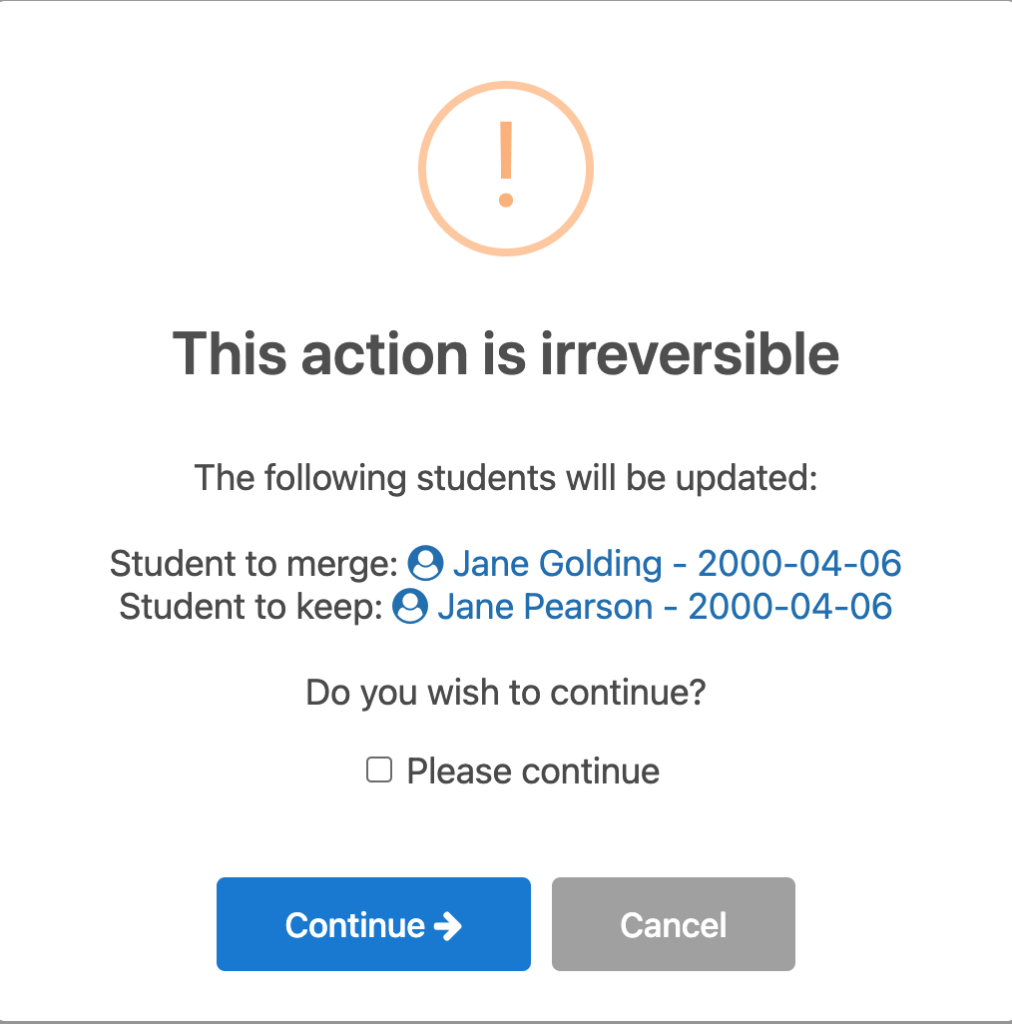
A warning screen will pop up for you to confirm the action – click on Continue and process is finalised.
Event Log
The event log is the home for notes, tasks, alerts, and other system or user-driven events with relation to the student.

There is a whole section of this manual dedicated to the use of the Event Log. Please refer to this section for more information on this.
Documents
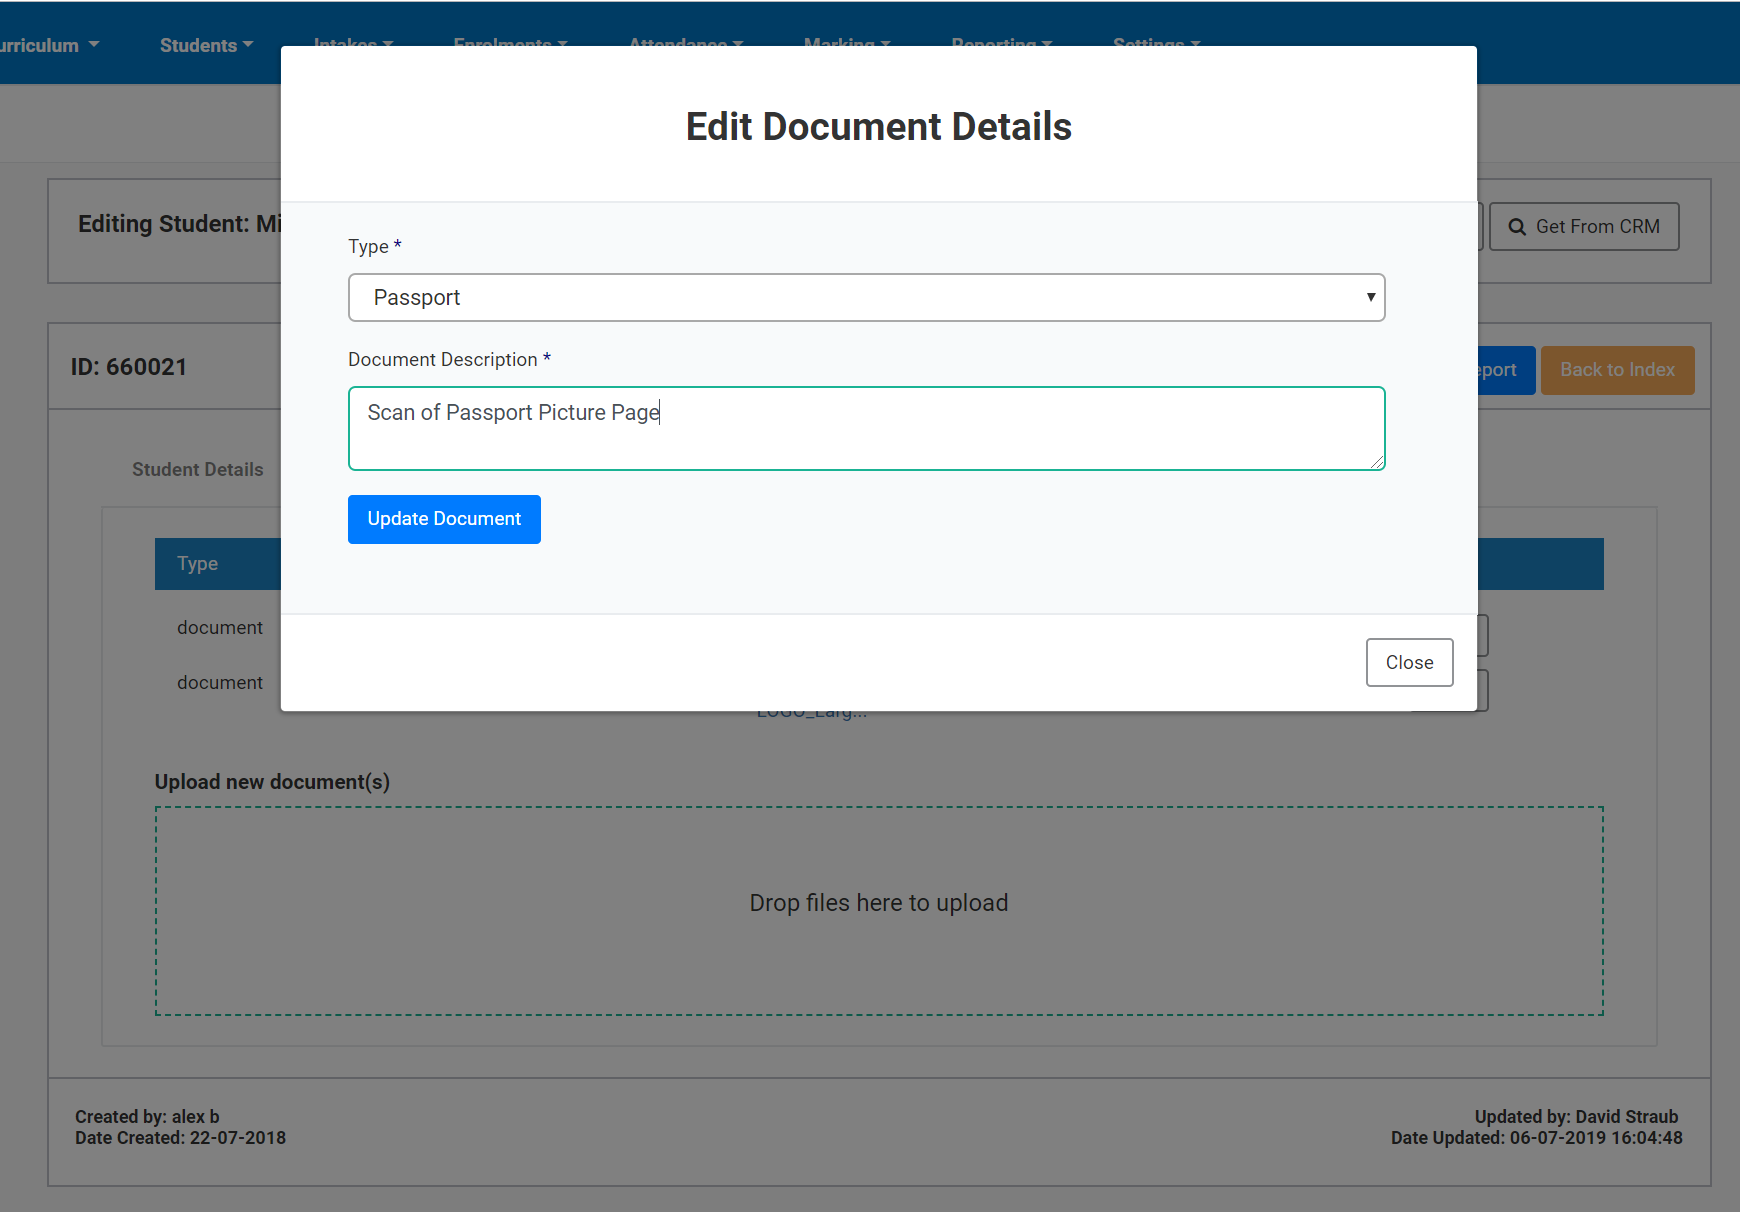
You can upload documents against a learner such as passport copies or a scanned enrolment form. Simply drag and drop documents into the drop area or click in the drop area to select files from you file explorer.
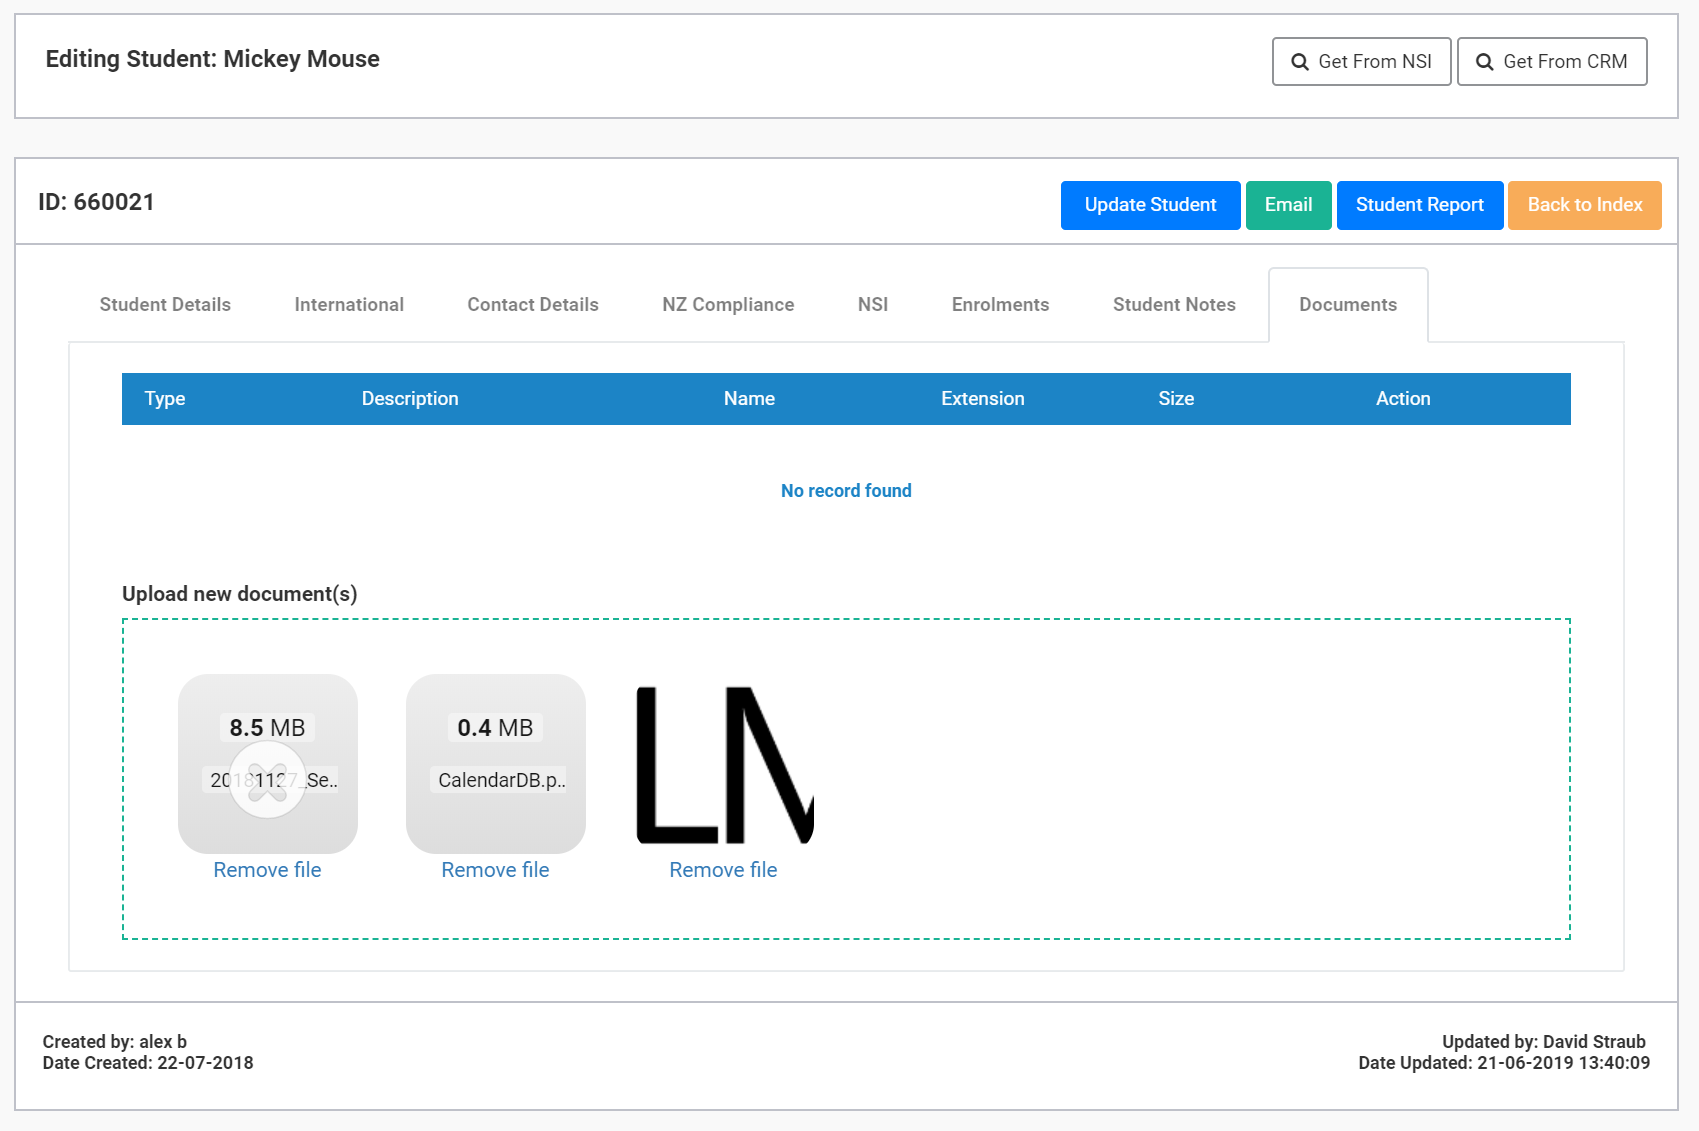
Once uploaded you can rename the documents or download it again:
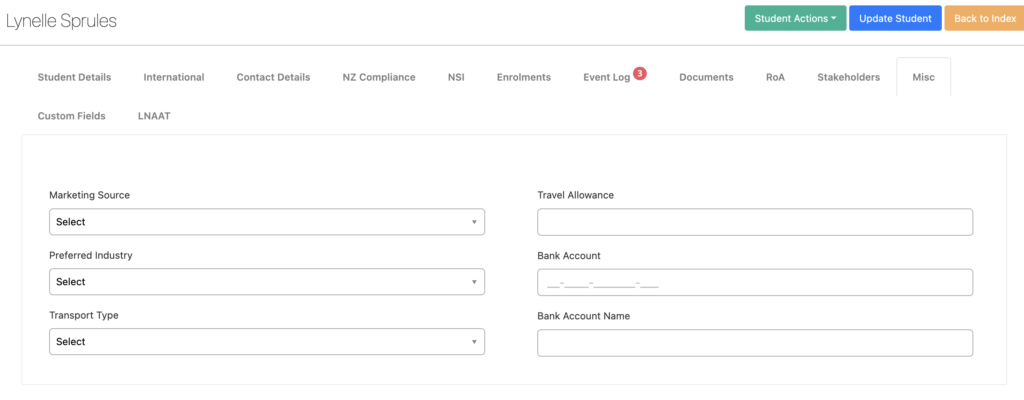
Miscellaneous (“Misc”)
This tab captures additional information that could be useful for record keeping.