5 – Merge Students

Merging Students

Students -> Merge Students

If you wish to merge two students select the ‘Students’ Tab from the top nav bar, and then click on ‘Merge Students’ from the drop-down menu.

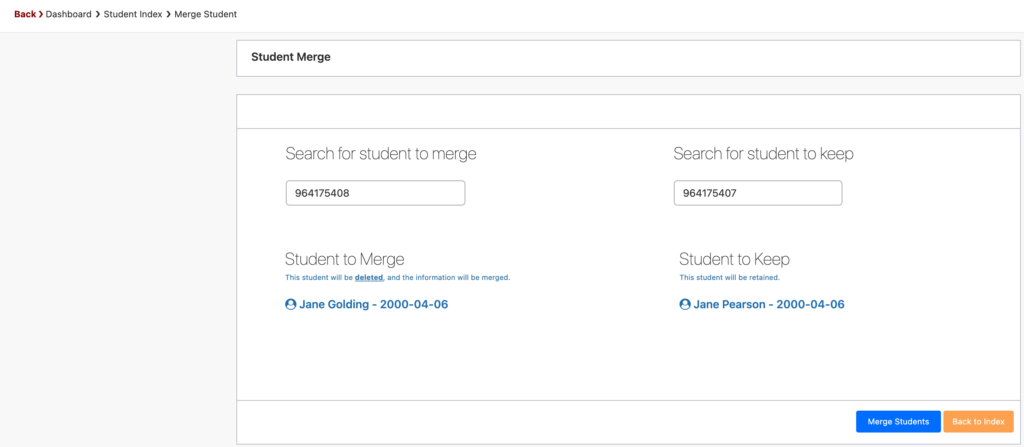
You will be presented with the option to provide the User ID of the student you wish to merge (i.e. delete) and the name of the student you wish to keep (i.e. use as the main record going forward):

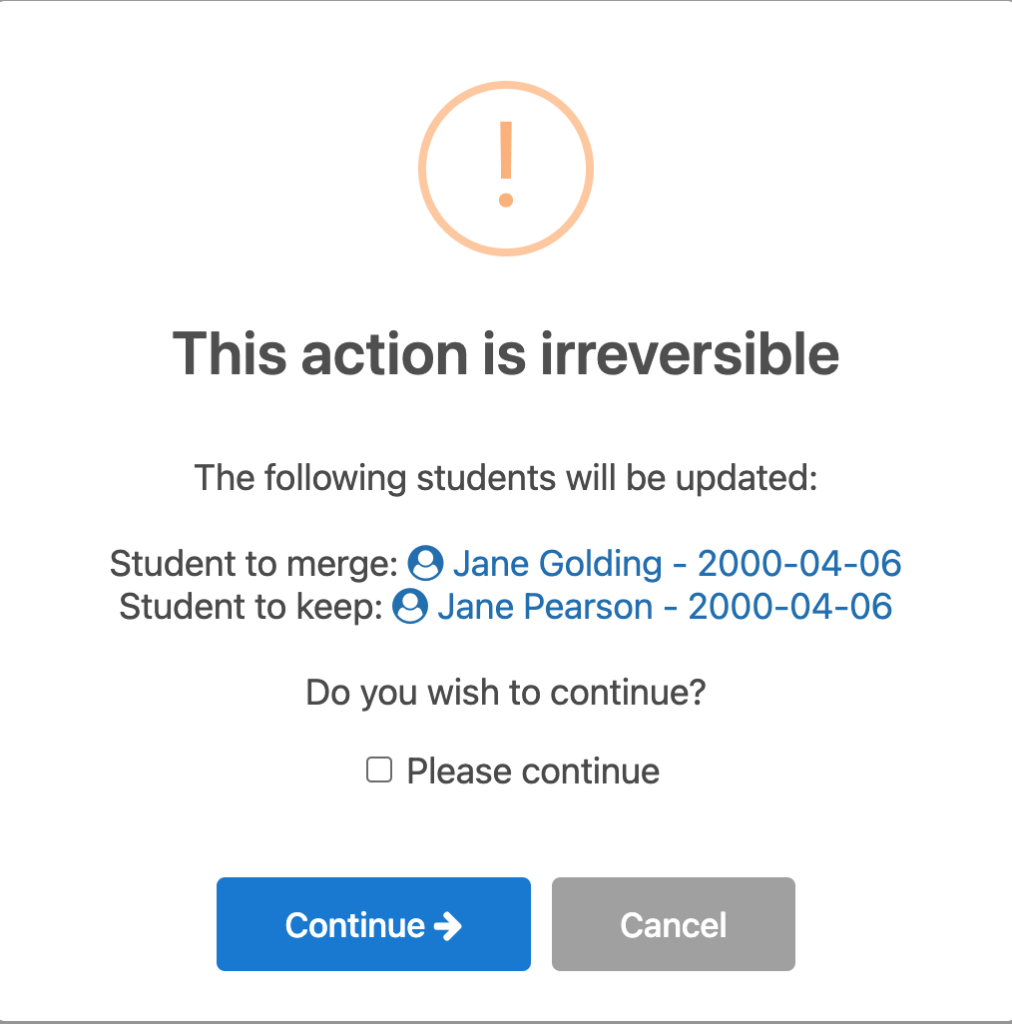
A warning screen will pop up for you to confirm the action – click on Continue and the process is finalised.

Related Articles

1 – Students

This page explains what functionalities the “Students” tab at the top of the navigation menu can have. Functionalities will all be dependent on your subscription plan. To find out about subscriptions check out our Plans. This includes managing students, creating new student, merging student, uploading photos, and enrolment form. Table of contents: Student Screen The …

3 – Upload Photos

Bulk Upload of Student Photos With this functionality, SELMA users can bulk upload student photos to the relevant student’s record which will update their student display picture in SELMA. From the SELMA dashboard, click “Students” and then “Upload Photos”. Then click “New Batch”: Give the batch a name, and then use the “Upload photo(s)” section …

6 – International Students

International Students The “International Student” tab allows you to enter all information relevant to international students. Go to the “Other Organisation” section to create Agents, Medical Insurers and Homestay providers which can then be chosen in the drop-down lists of this tab: A few of these fields are reliant on you first setting up the …