International Students
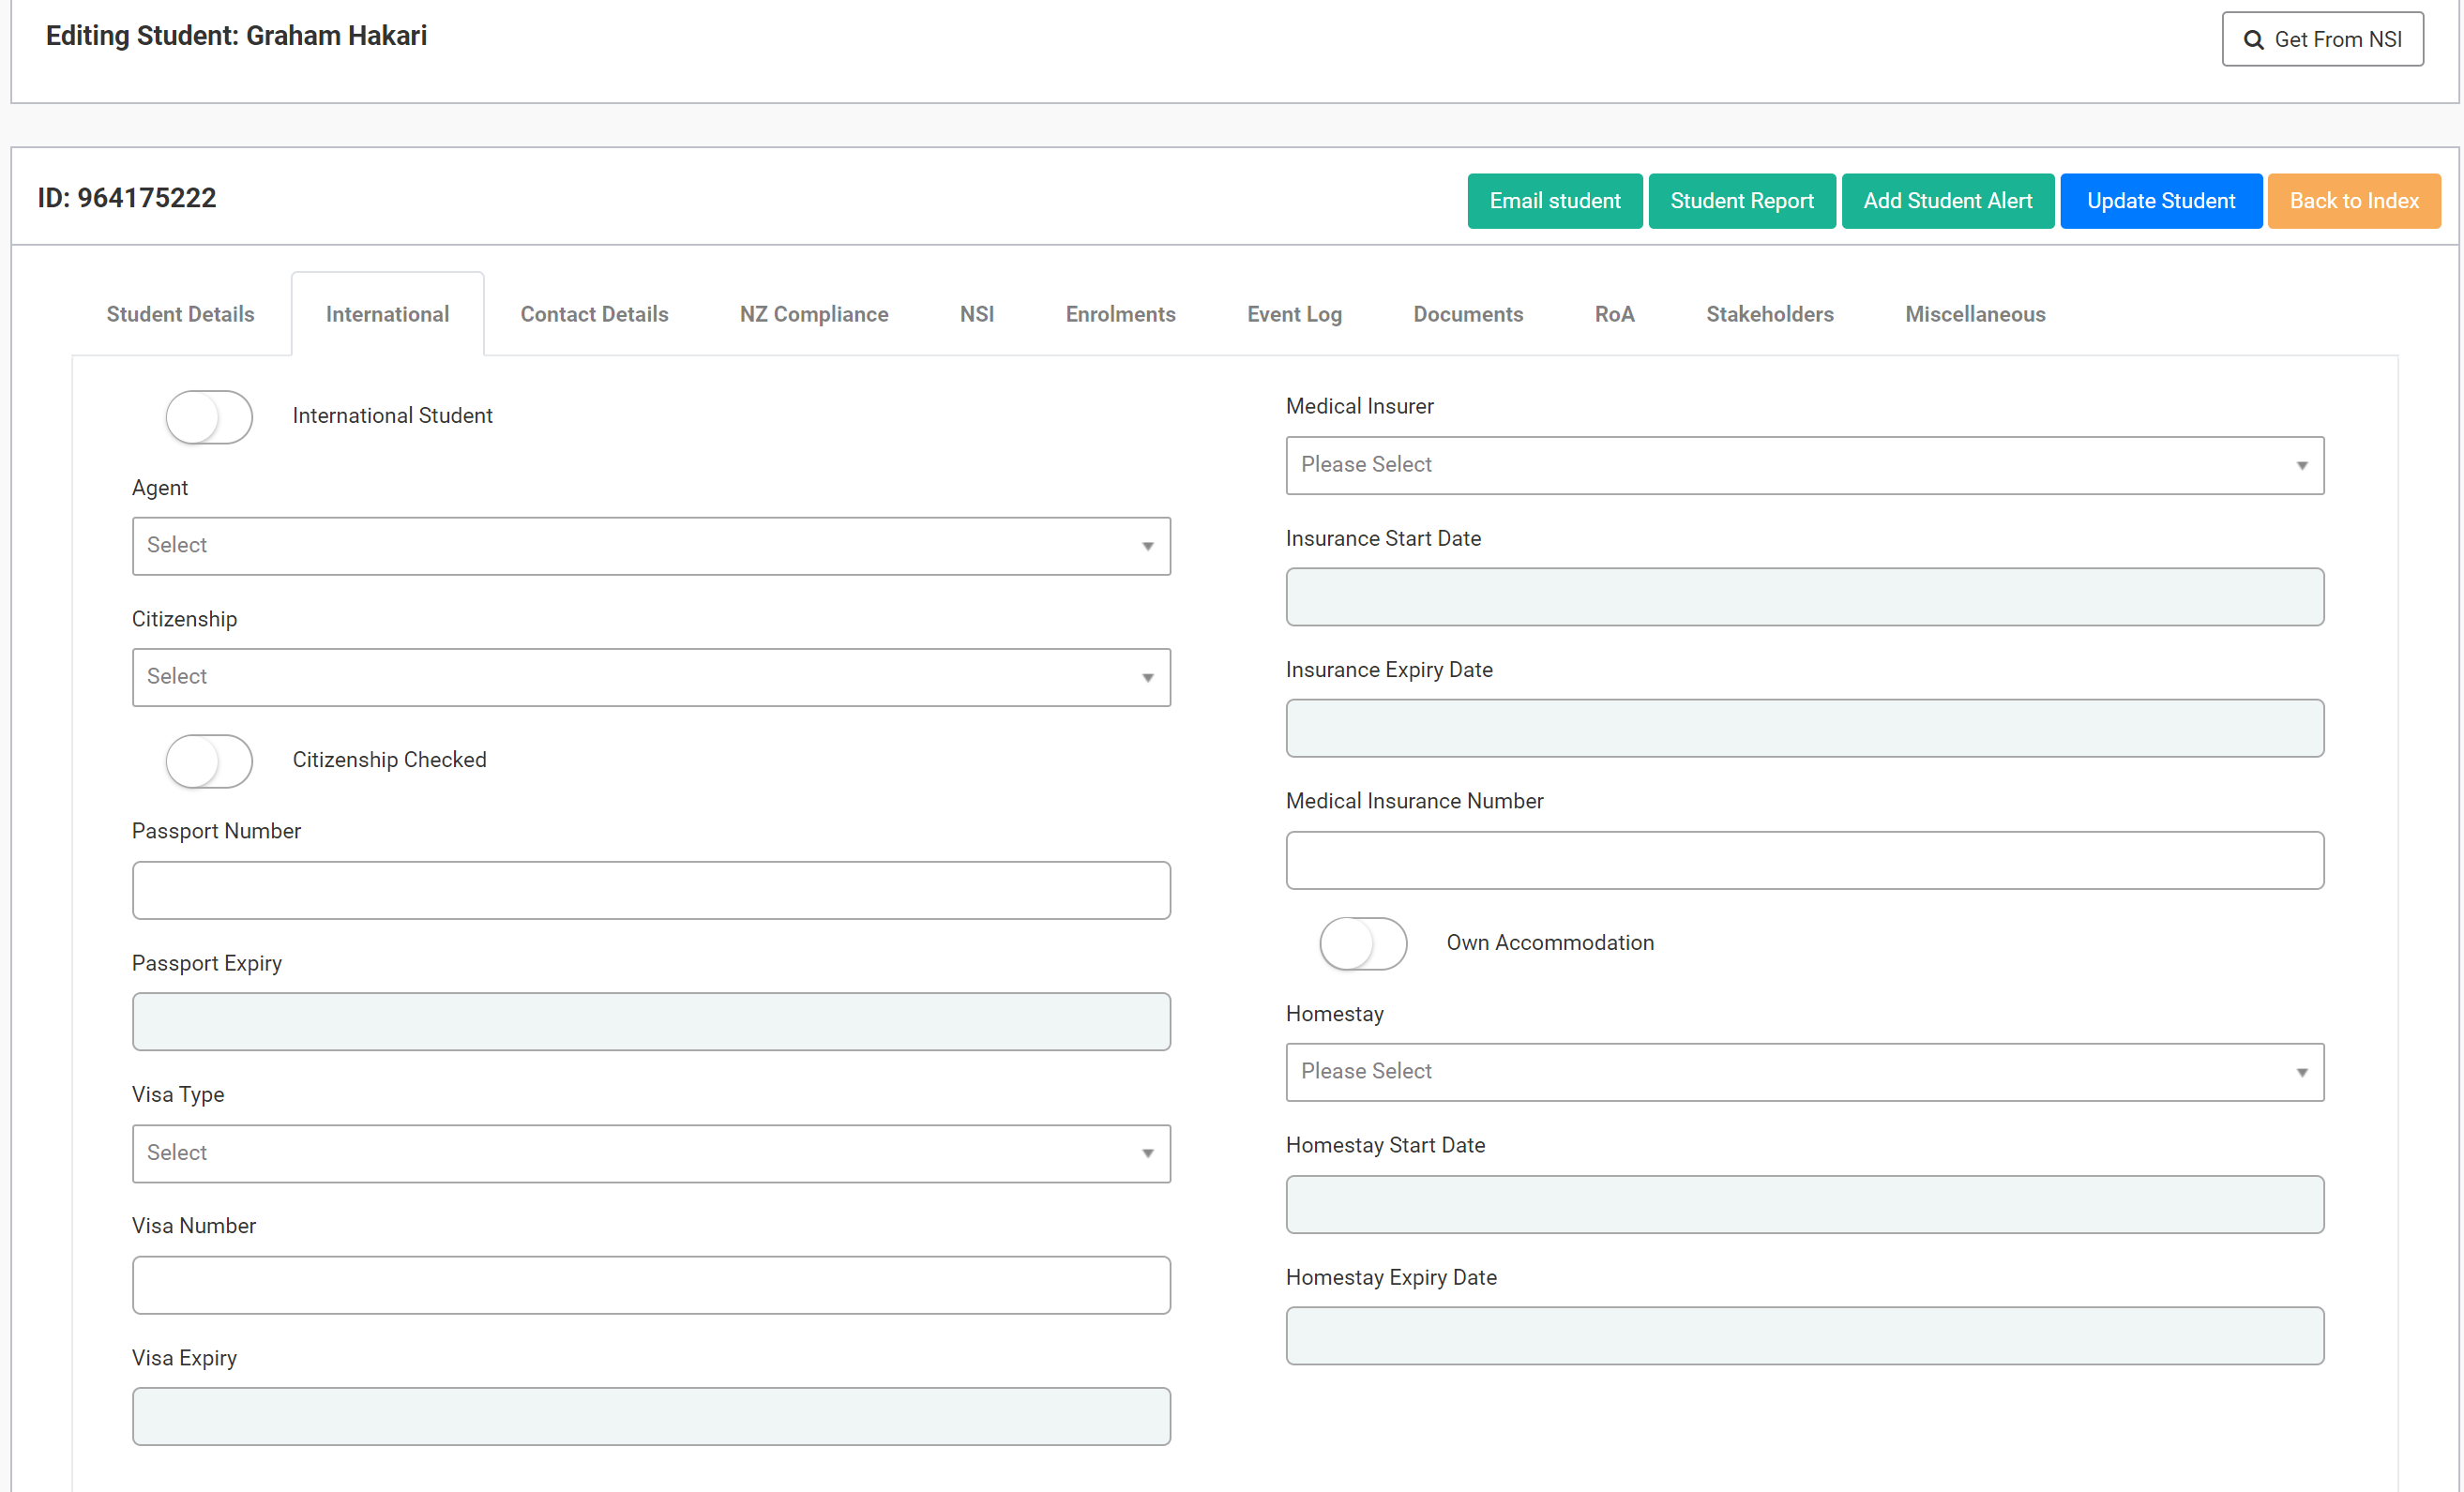
The “International Student” tab allows you to enter all information relevant to international students. Go to the “Other Organisation” section to create Agents, Medical Insurers and Homestay providers which can then be chosen in the drop-down lists of this tab:

A few of these fields are reliant on you first setting up the relevant organisations in the “Organisations” section mentioned above. For example: agents, medical insurer, homestay. These both need to be created as Organisations first before they can be selected and applied to a student’s record in SELMA.
Be sure to fill out the visa and visa expiry information as fully as possible.
You can create an Event ‘alert’ to let you know when a student’s visa has expired or is about to expire. Please see the “Events Log” section of this manual for more information about this.
Alternatively, you can request a report where a listing of students and their visa information is displayed so you can readily see this information. To enquire about creating this report, please get in touch by sending an email to support@selma.co.nz
