8 – Documents

Documents

You can upload documents against a learner such as passport copies or a scanned enrolment form. To add new documents to the student, click on the blue ‘Edit Student’ button and then drag and drop documents into the dashed drop area or click in the drop area to select files from you file explorer. After adding the files into the dropbox click the blue ‘Update Student’ button.

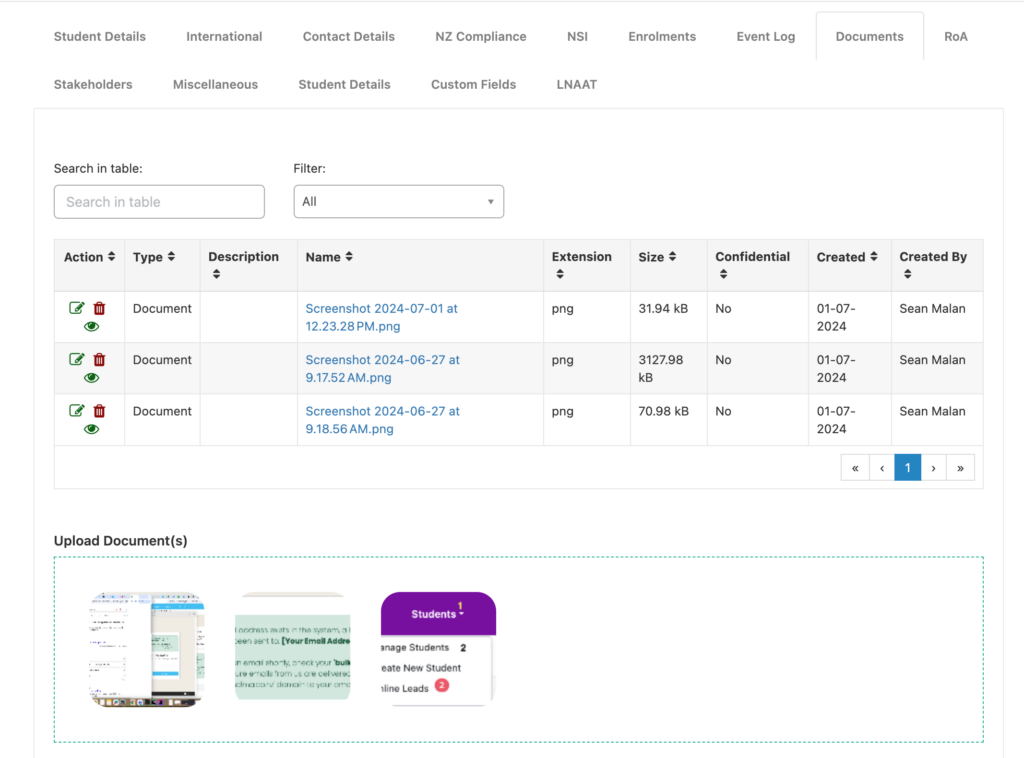
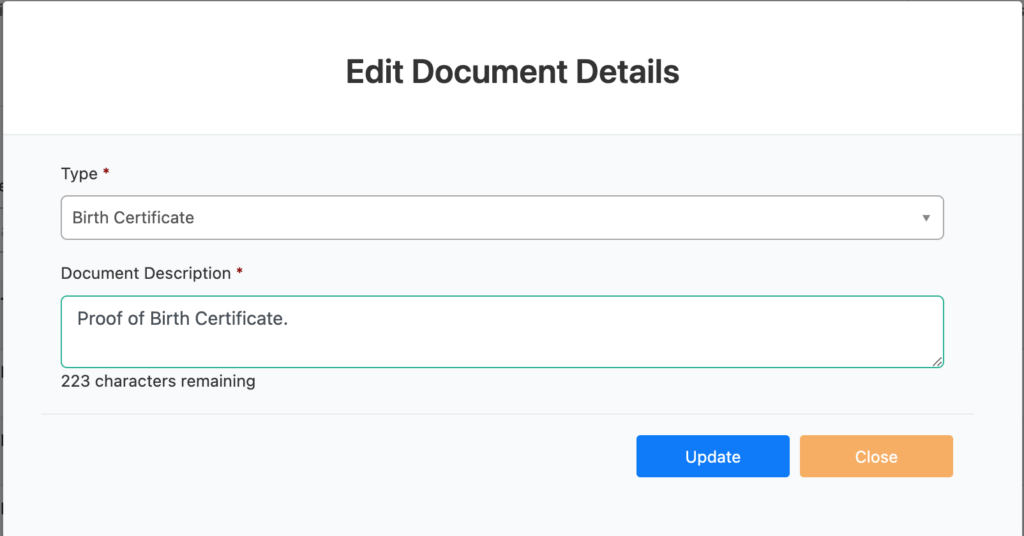
Once uploaded you can change the description of the documents. Under the actions column find the green square with pencil and that will allow you to edit the document.

After you update the documents your new upload will look like this:

Related Articles

10 – Compliance

NZ Compliance To ensure a smooth SDR processing, add all the relevant NZ Compliance information on this tab. If it is not a reported student, you can leave this section blank. For this section, please pay particular attention to the schooling information as this is key for SDR reporting purposes. Ministry of Education Exemption Note …

4 – Manage Students

Manage Students ‘Manage Students’, allows you to search for students in your organisation. If you have not created a student yet, please refer to the “Create / Edit Student” section. To manage a student, look at the top of the screen and find the ‘Students’ field. You will find a table with all of your …

3 – Upload Photos

Bulk Upload of Student Photos With this functionality, SELMA users can bulk upload student photos to the relevant student’s record which will update their student display picture in SELMA. From the SELMA dashboard, click “Students” and then “Upload Photos”. Then click “New Batch”: Give the batch a name, and then use the “Upload photo(s)” section …