
Manage Students
‘Manage Students’, allows you to search for students in your organisation. If you have not created a student yet, please refer to the “Create / Edit Student” section.
To manage a student, look at the top of the screen and find the ‘Students’ field.

You will find a table with all of your students.
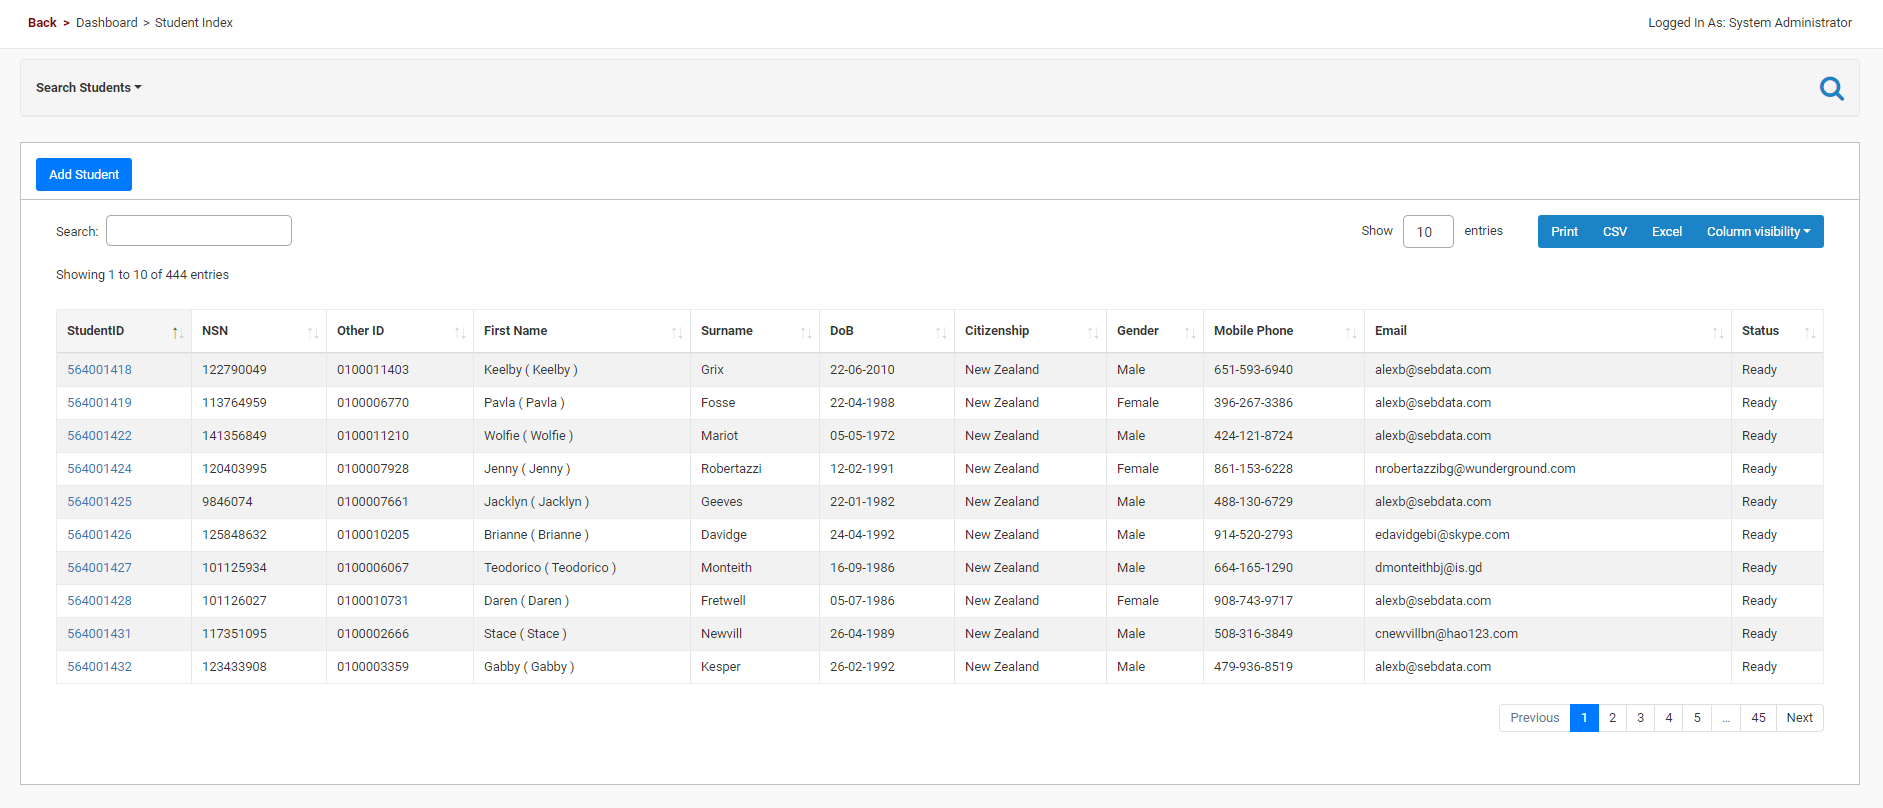
In the ‘advanced search’ section (hidden by default), you can search by one or more attributes and choose whether you would like your search phrase to contain, be equal to, or be larger/smaller than your chosen value.
From the ‘manage student’ screen you can either find a student you want to view or edit. You can also add a new student into SELMA from this screen.
Please note: Learn about using SELMA’s student grid in the “Working with Grids” article.