SELMA’s attendance module is designed to be simple and fast to use. The typical attendance pattern (“template”) of a given week is set in the Attendance -> Manage Timetable -> Manage Templates section. That pattern can be applied to all or specific weeks of an intake. When a template is applied to an intake, this is what creates the attendance listing for the class. Marking is per student or per intake (class) and allows for fast fill marking, recording of late appearances and comments.

Table of contents:
The attendance tab is super important for tracking students’ attendance in class. This progress is particularly important for reporting about the specific student. The key areas in this tab are explained below
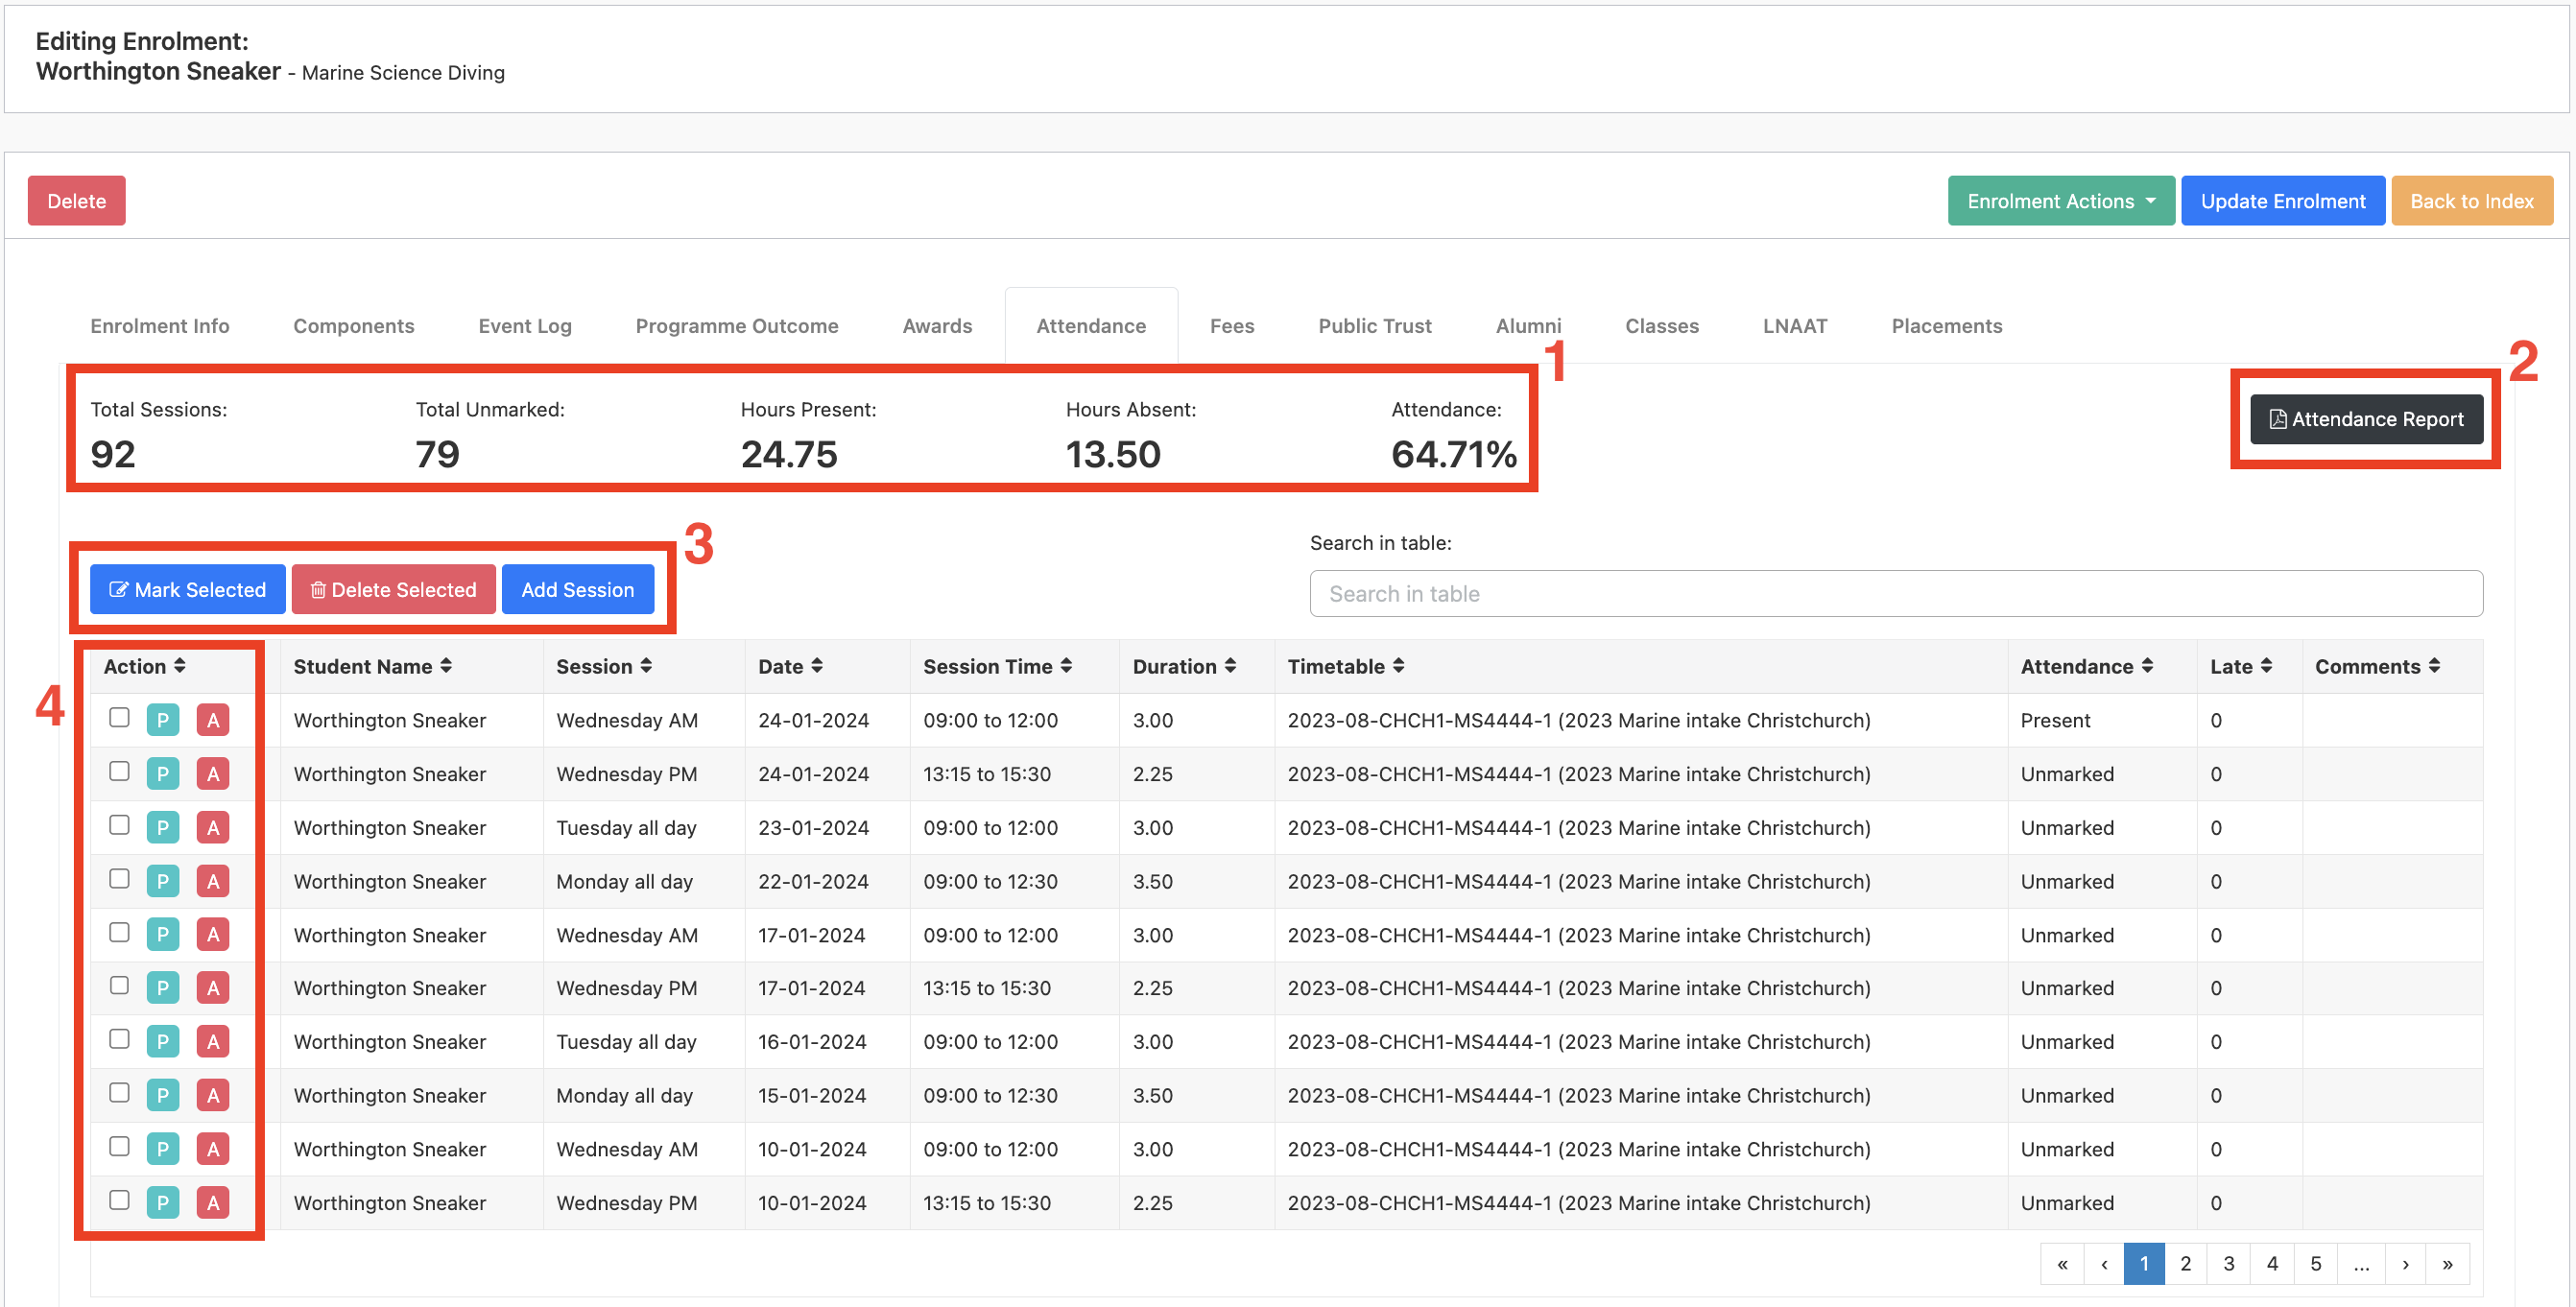
1 – Attendance Measure
This attendance measure shows user the progress of the attendance of the student. They will be able to see how much hours a student is present and absent.
2 – Attendance Report
A PDF report of the student’s attendance can be generated using the “Attendance Report” button.
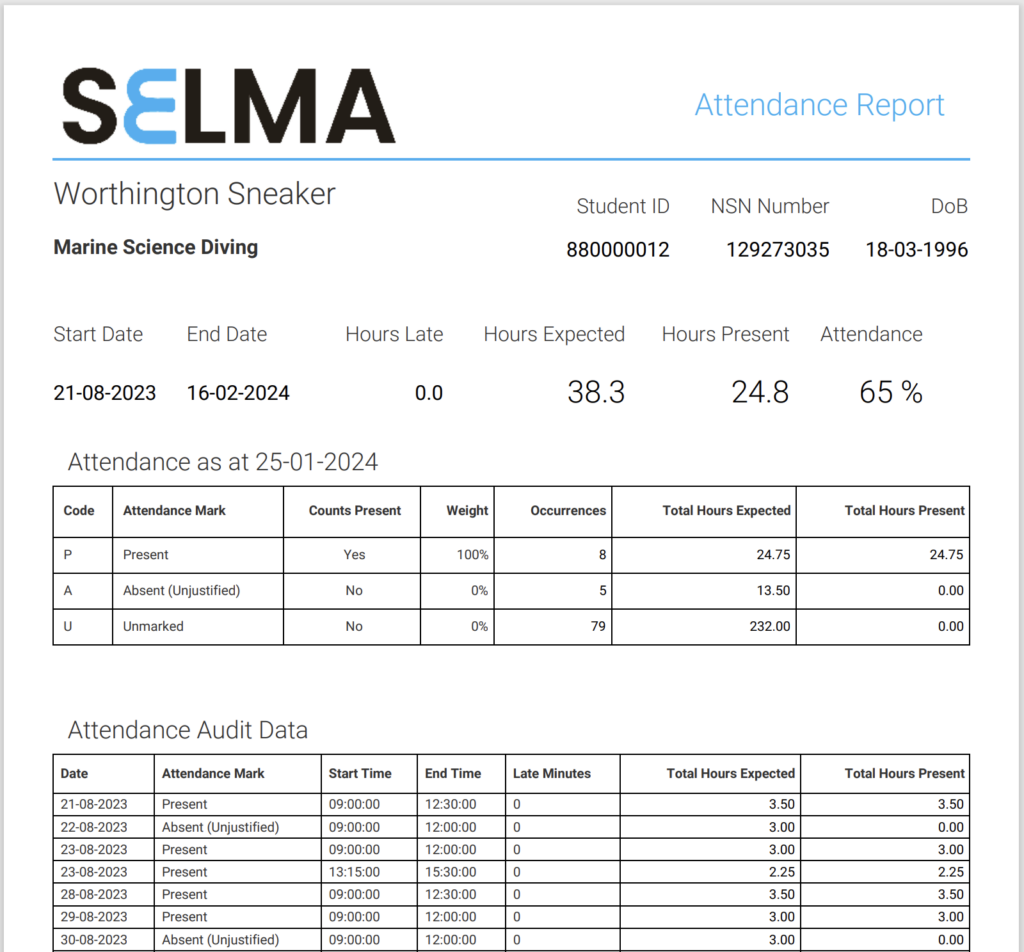
An attendance report looks something like the above. The logo shown will be what your organisation’s logo is set to.
3 – Editing Attendance(s)
The three buttons highlighted are important for editing/deleting attendance(s) of a student.
- Mark Selected – this button is used for mass editing an attendance. Simply select the attendance that you want to edit and click on the button
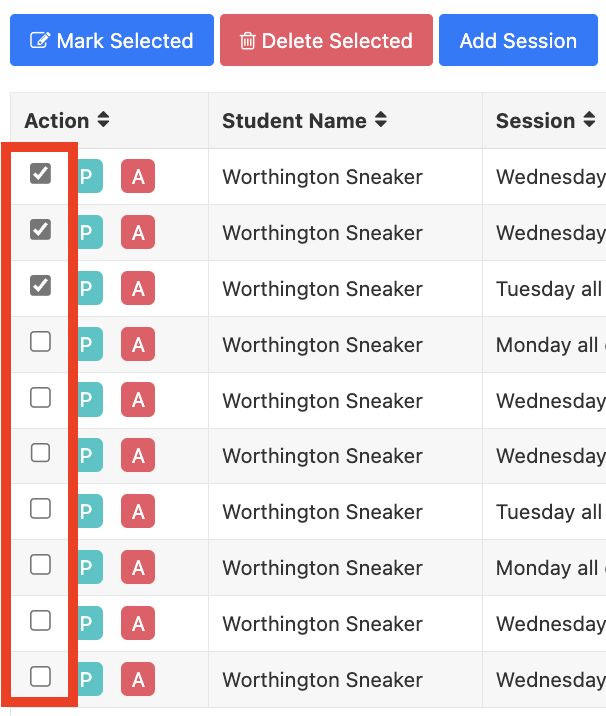
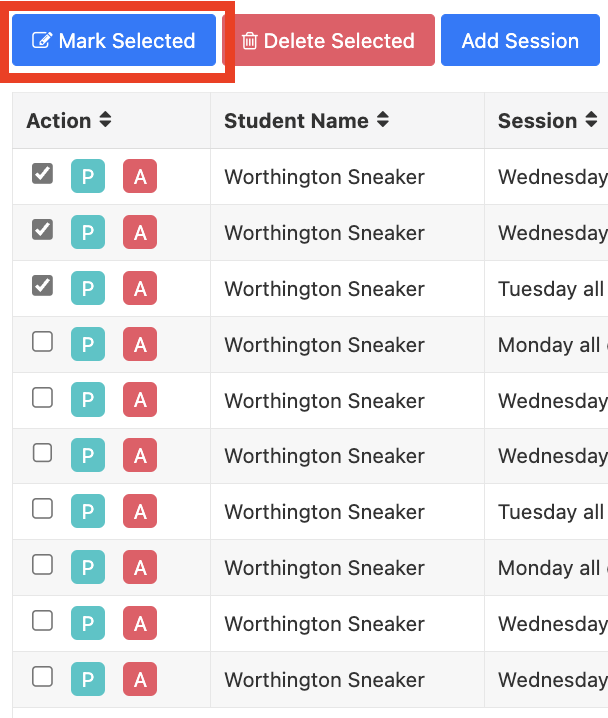
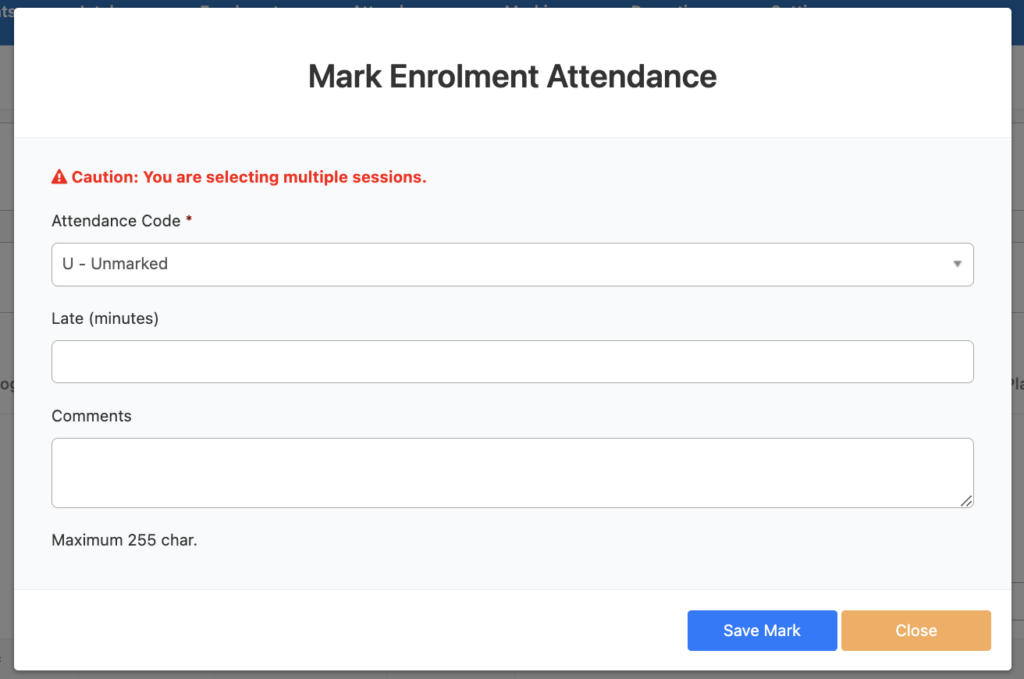
Select the desired attendance code and if the student is late, include the minutes they are late (optional).
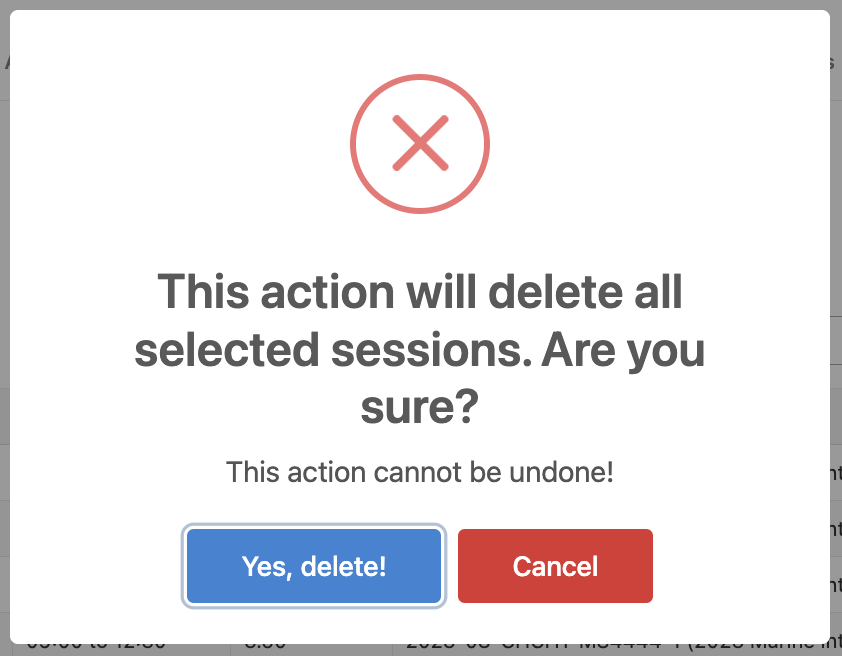
- Delete Selected – this will delete the selected sessions. Please note that once the session has been deleted it cannot be undone and data will be lost
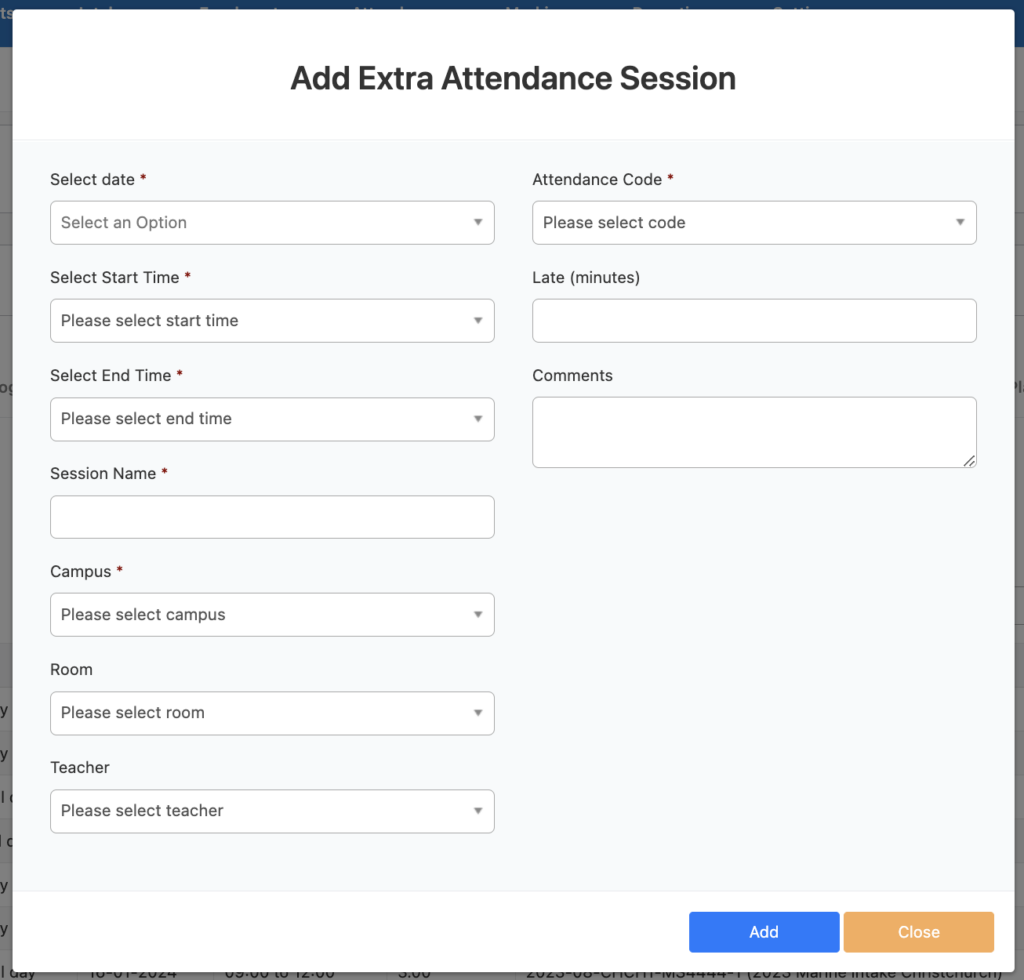
- Add Session – this is used to add extra attendance if a student attends an extra session. Simply fill in all the fields that has (*) and/or the optional fields
4 – Present/Absent Button
You can quickly change the attendance status of the student to present by simply clicking the green “P” button and to mark the student absent click the red “A” button.
