On this page:
School
Navigate to Settings -> My Organisation
Your school will be setup by a SELMA consultant. However, you can make changes to your school by clicking on the edit button. If you use SELMA in the multi provider mode, the menu item under settings will be called Providers and when clicking on it you will see multiple tiles with your different schools.

Edit your school by using the green pencil icon:
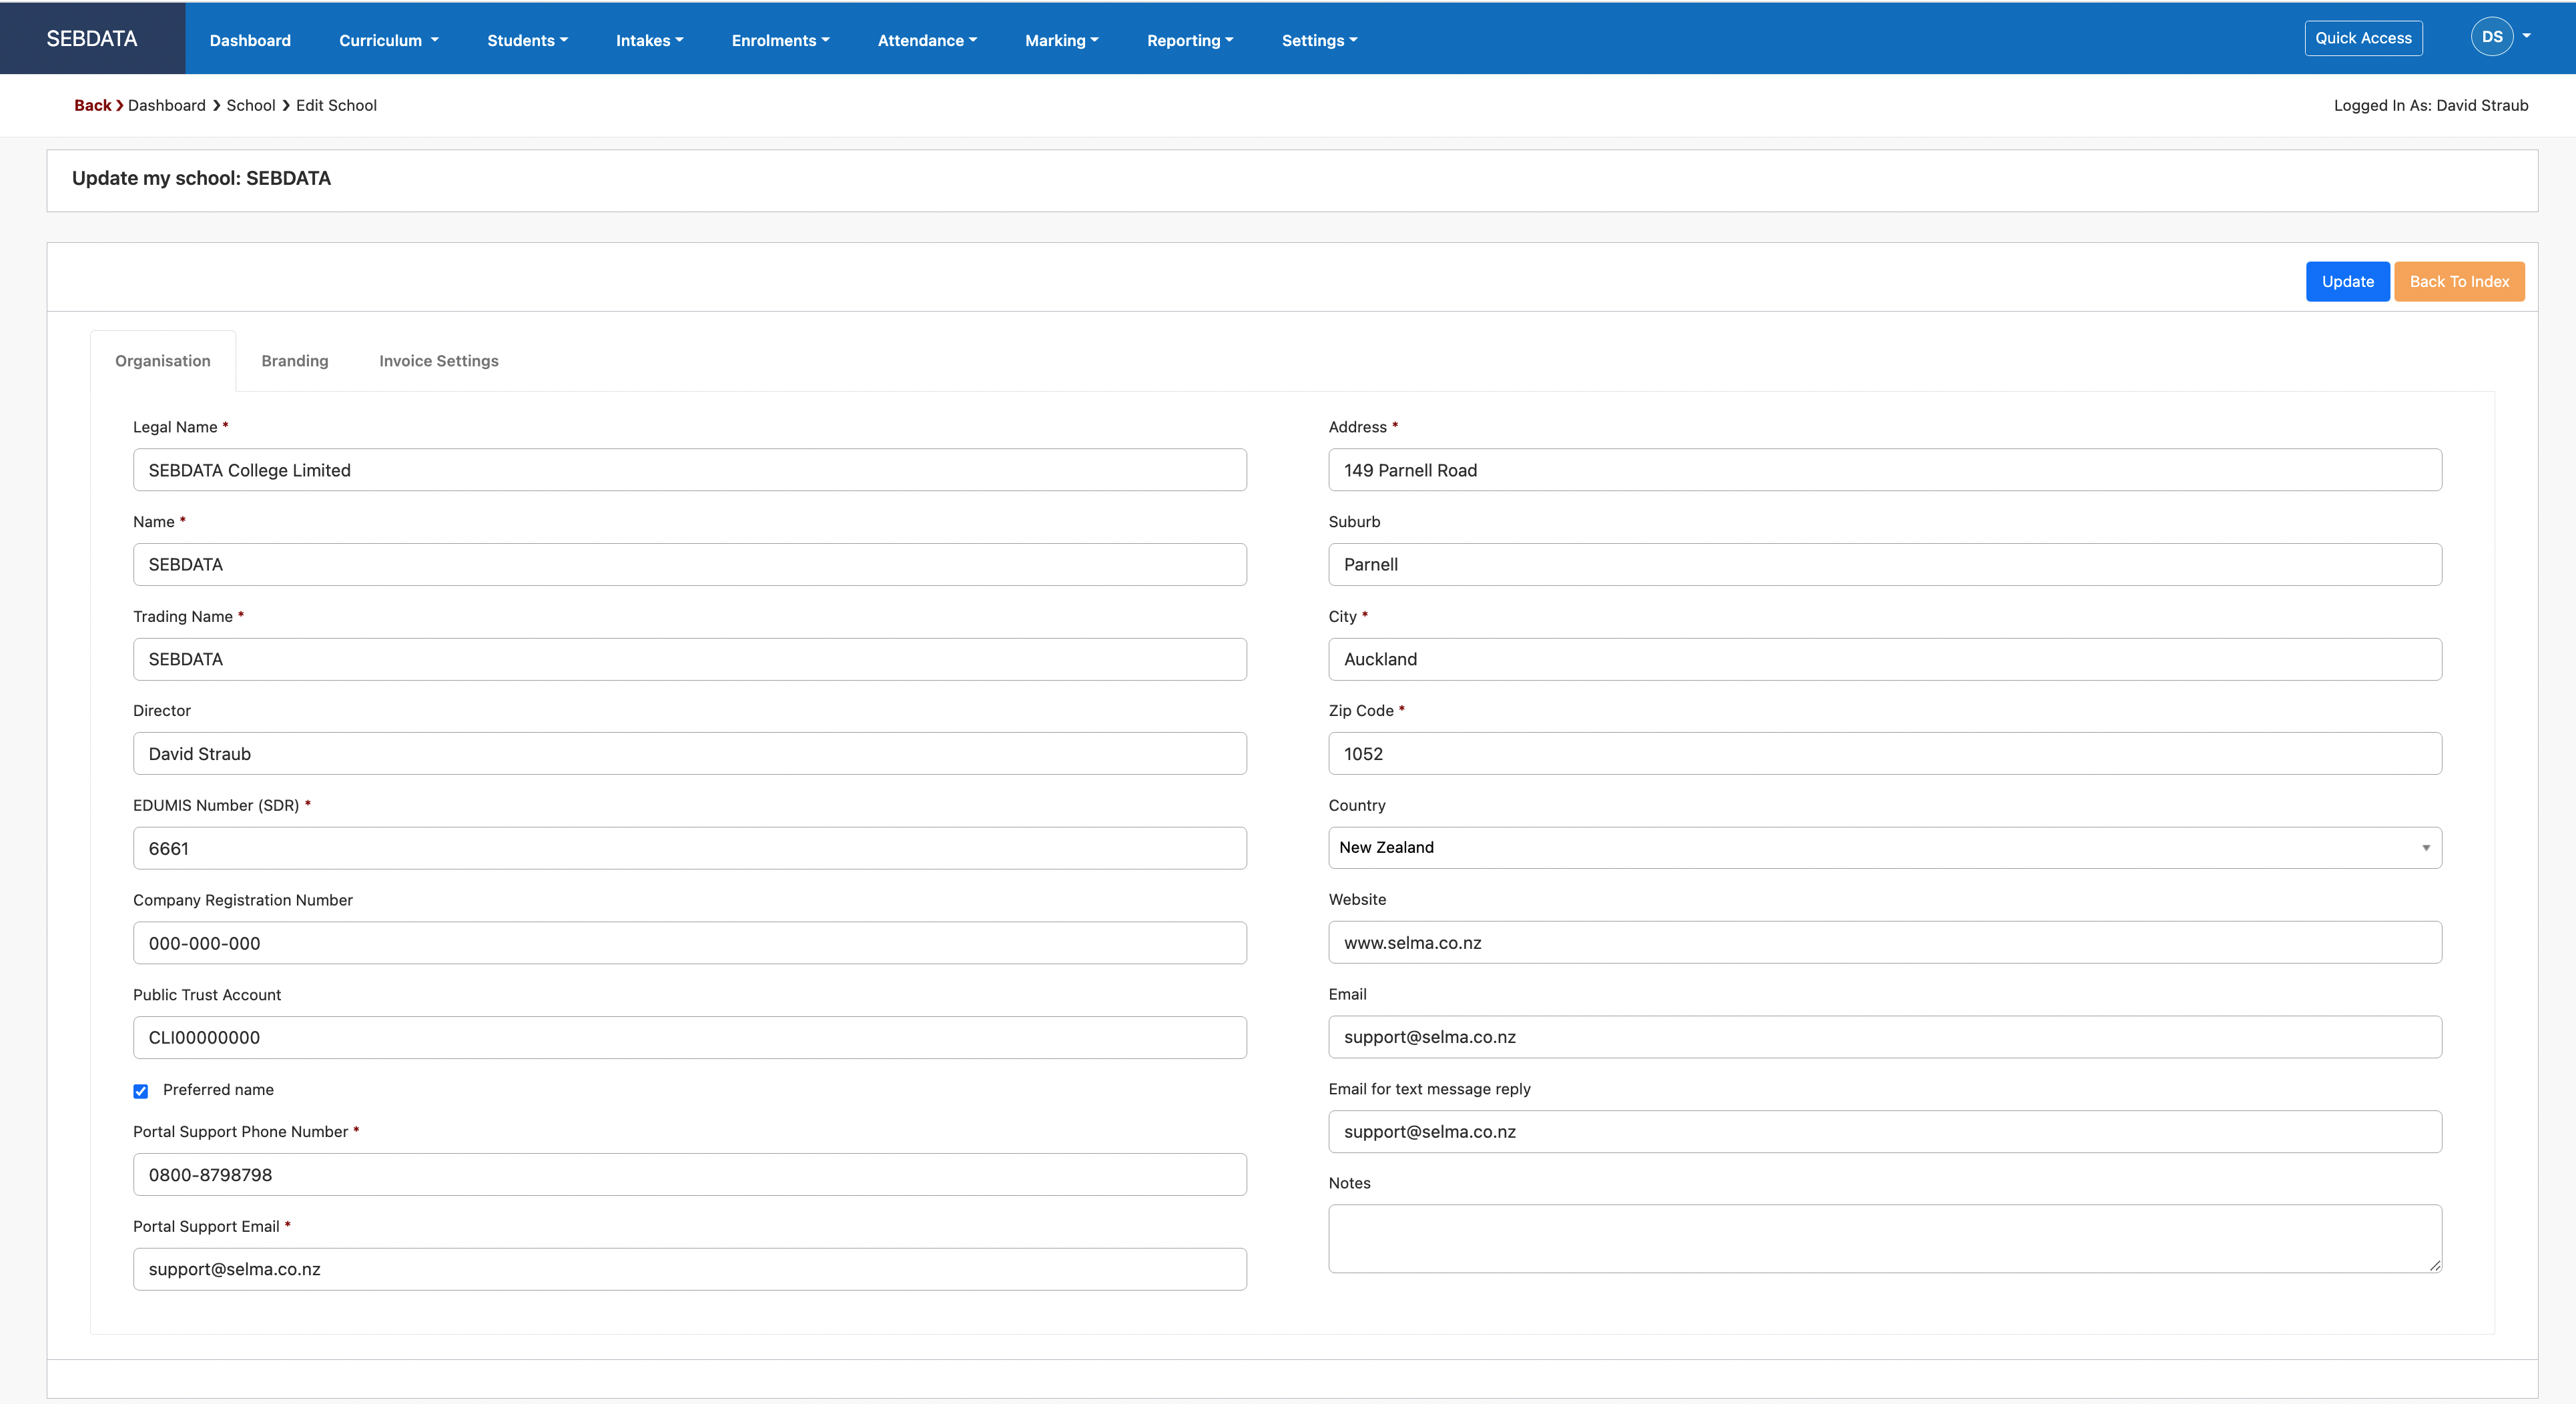
Critical parameters include the “Email,” which represents the email address used for sending emails from SELMA. The “Email for text message reply” is the email where potential text message replies will be directed. The “Name” of your school will automatically appear as the name displayed in the top-left corner of the menu bar in SELMA.
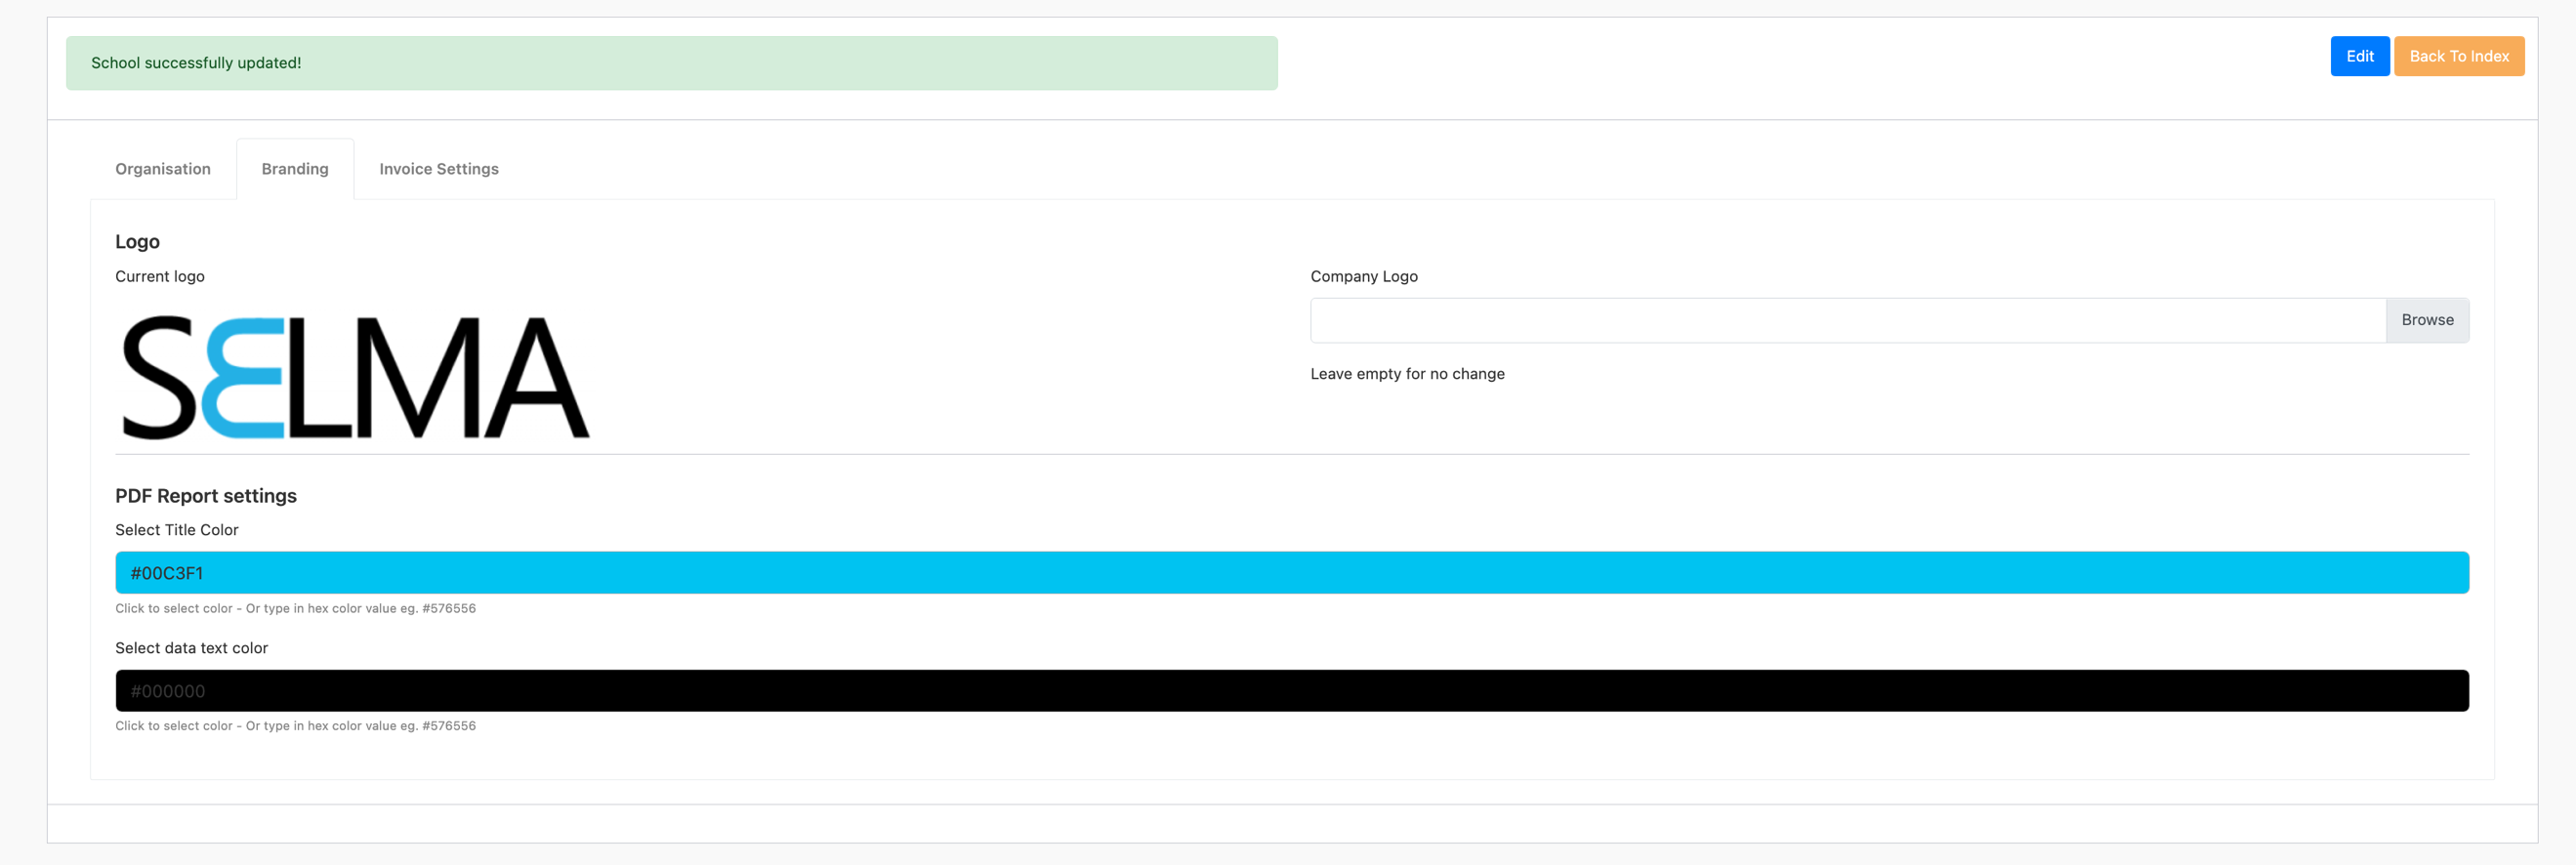
On the branding page of the school setup, you can set your logo and colour scheme to use in the SELMA PDF reports. Make sure the logo you upload is within the size limits of SELMA. The upload will fail if the picture is too big.
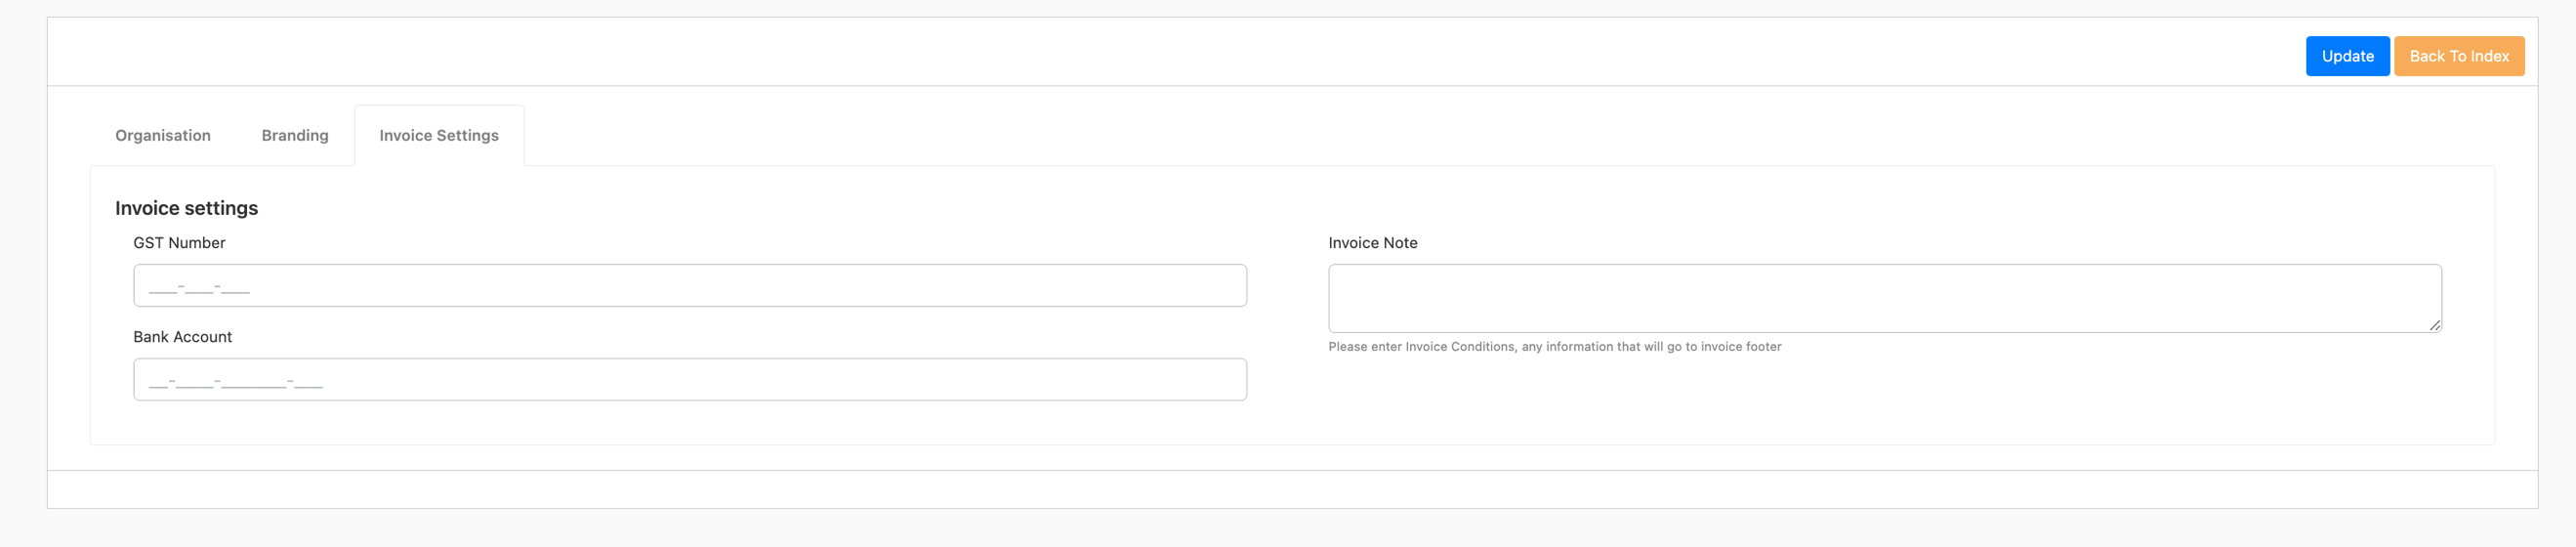
Finally, the invoice settings allow you to set the financial data displayed on your invoices:
Campus
Navigate to Settings -> Campuses
Here you can add new campuses for your school to view and manage them all in one place.
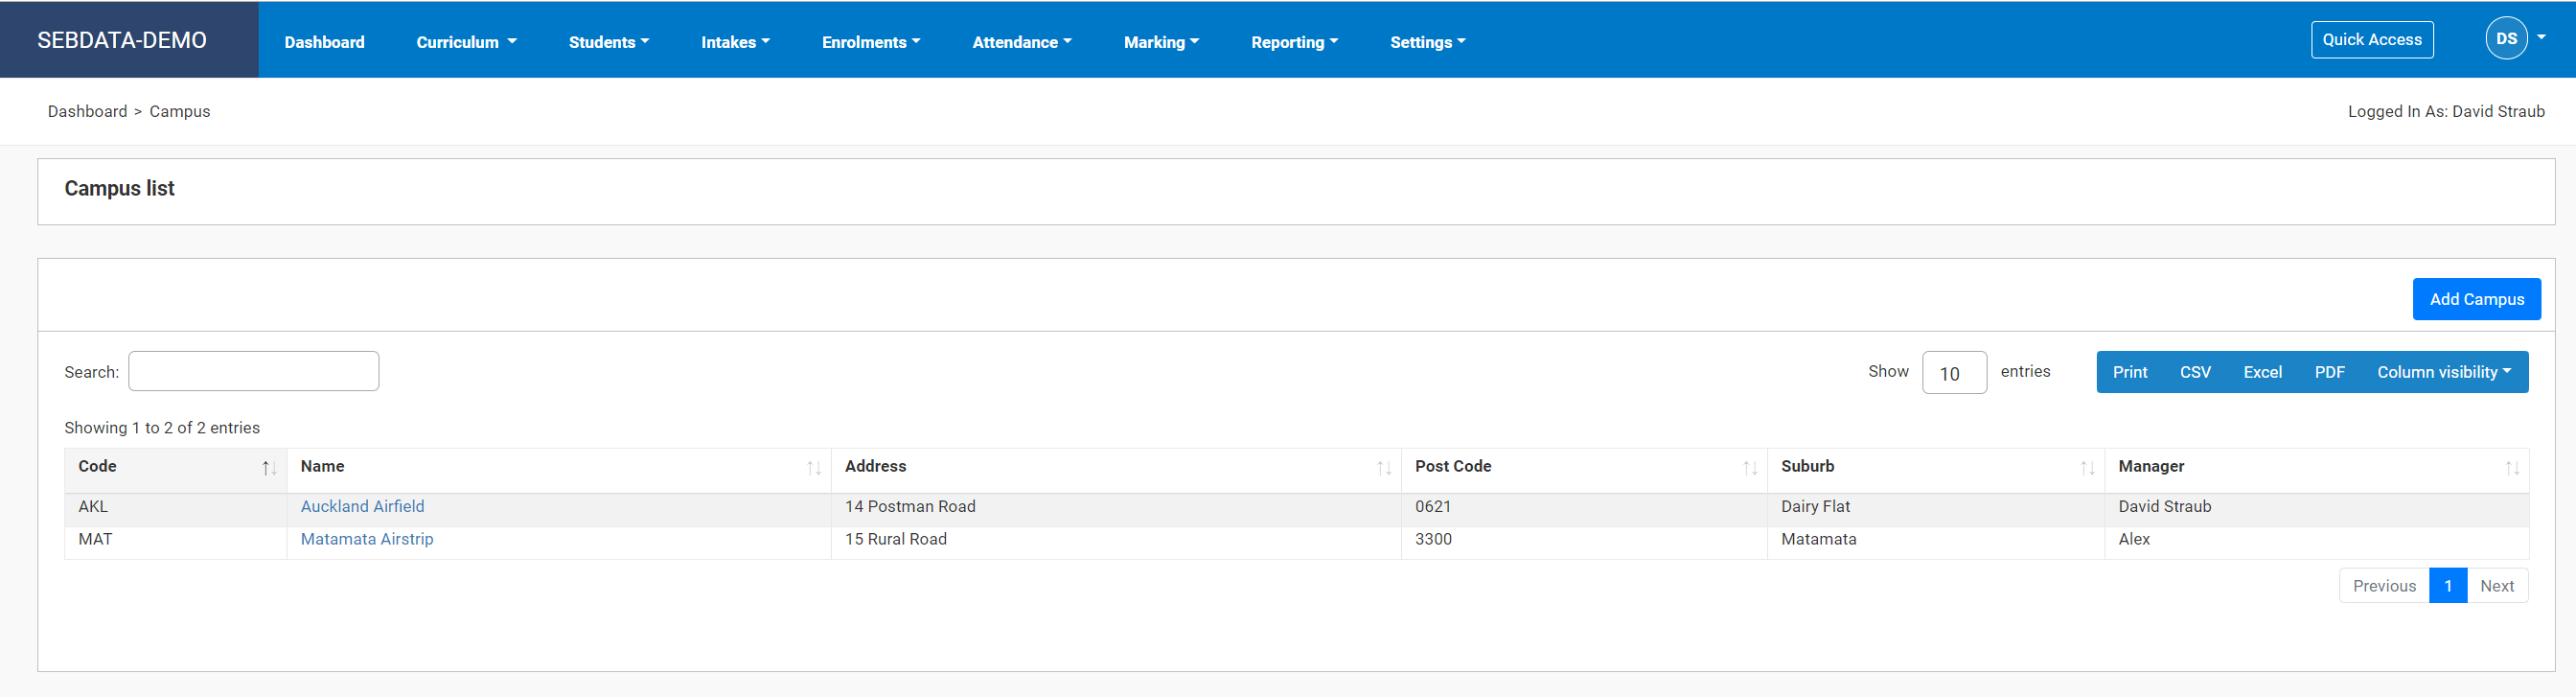
Select ‘Add Campus’ to fill in the details of the campus you want to add. We recommend using a three-letter campus code (this will be used to generate the Intake Code).
 |
For SDR submitting organisations, make sure the TEC site code is populated for your campus. |
From the main Campus Index page, click on the name of the campus you want to edit, then update details on this campus. If the campus was never used by an enrolment or intake you may be able to delete it here.
Rooms
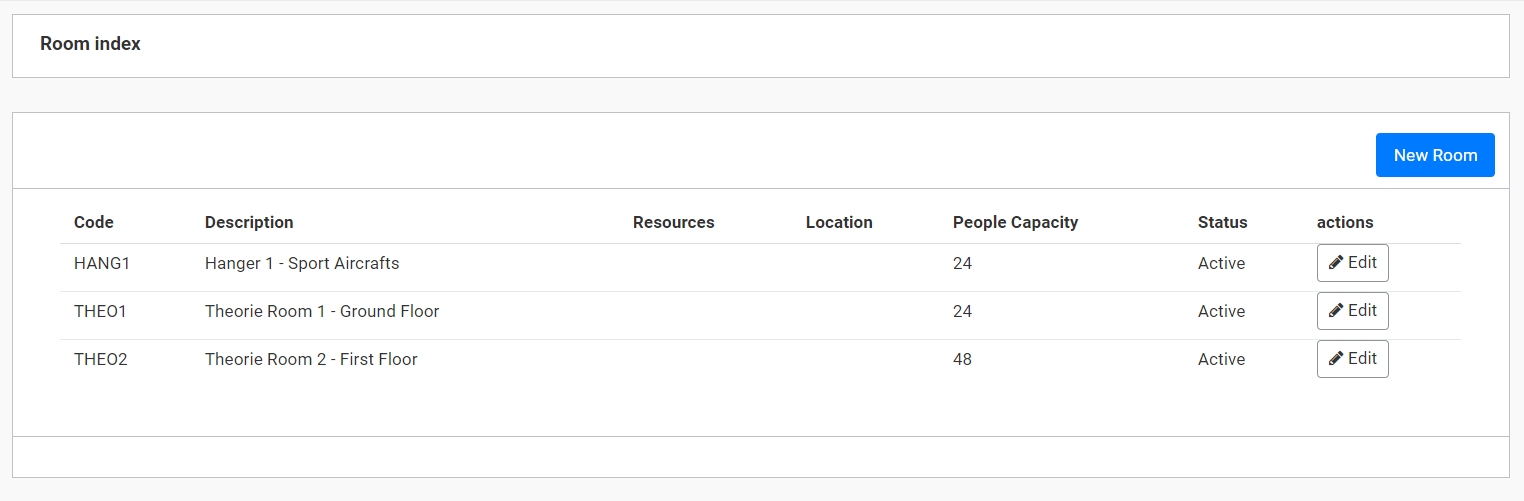
Navigate to Settings -> Campus -> Click Campus of Interest -> Rooms
Here you can define the rooms of all your facilities. This is solely used by the timetabling system. Add and edit rooms as you please in the normal SELMA fashion:
Holidays
Navigate to Settings -> Campus -> Click Campus of Interest -> Holidays
Holidays are used to set the non-teaching days for a campus. They are set on campus level to allow for regional public holidays that may not apply at another campus. The attendance manual will explain how attendance sessions are automatically marked as N/A if they fall on a public holiday:

Security
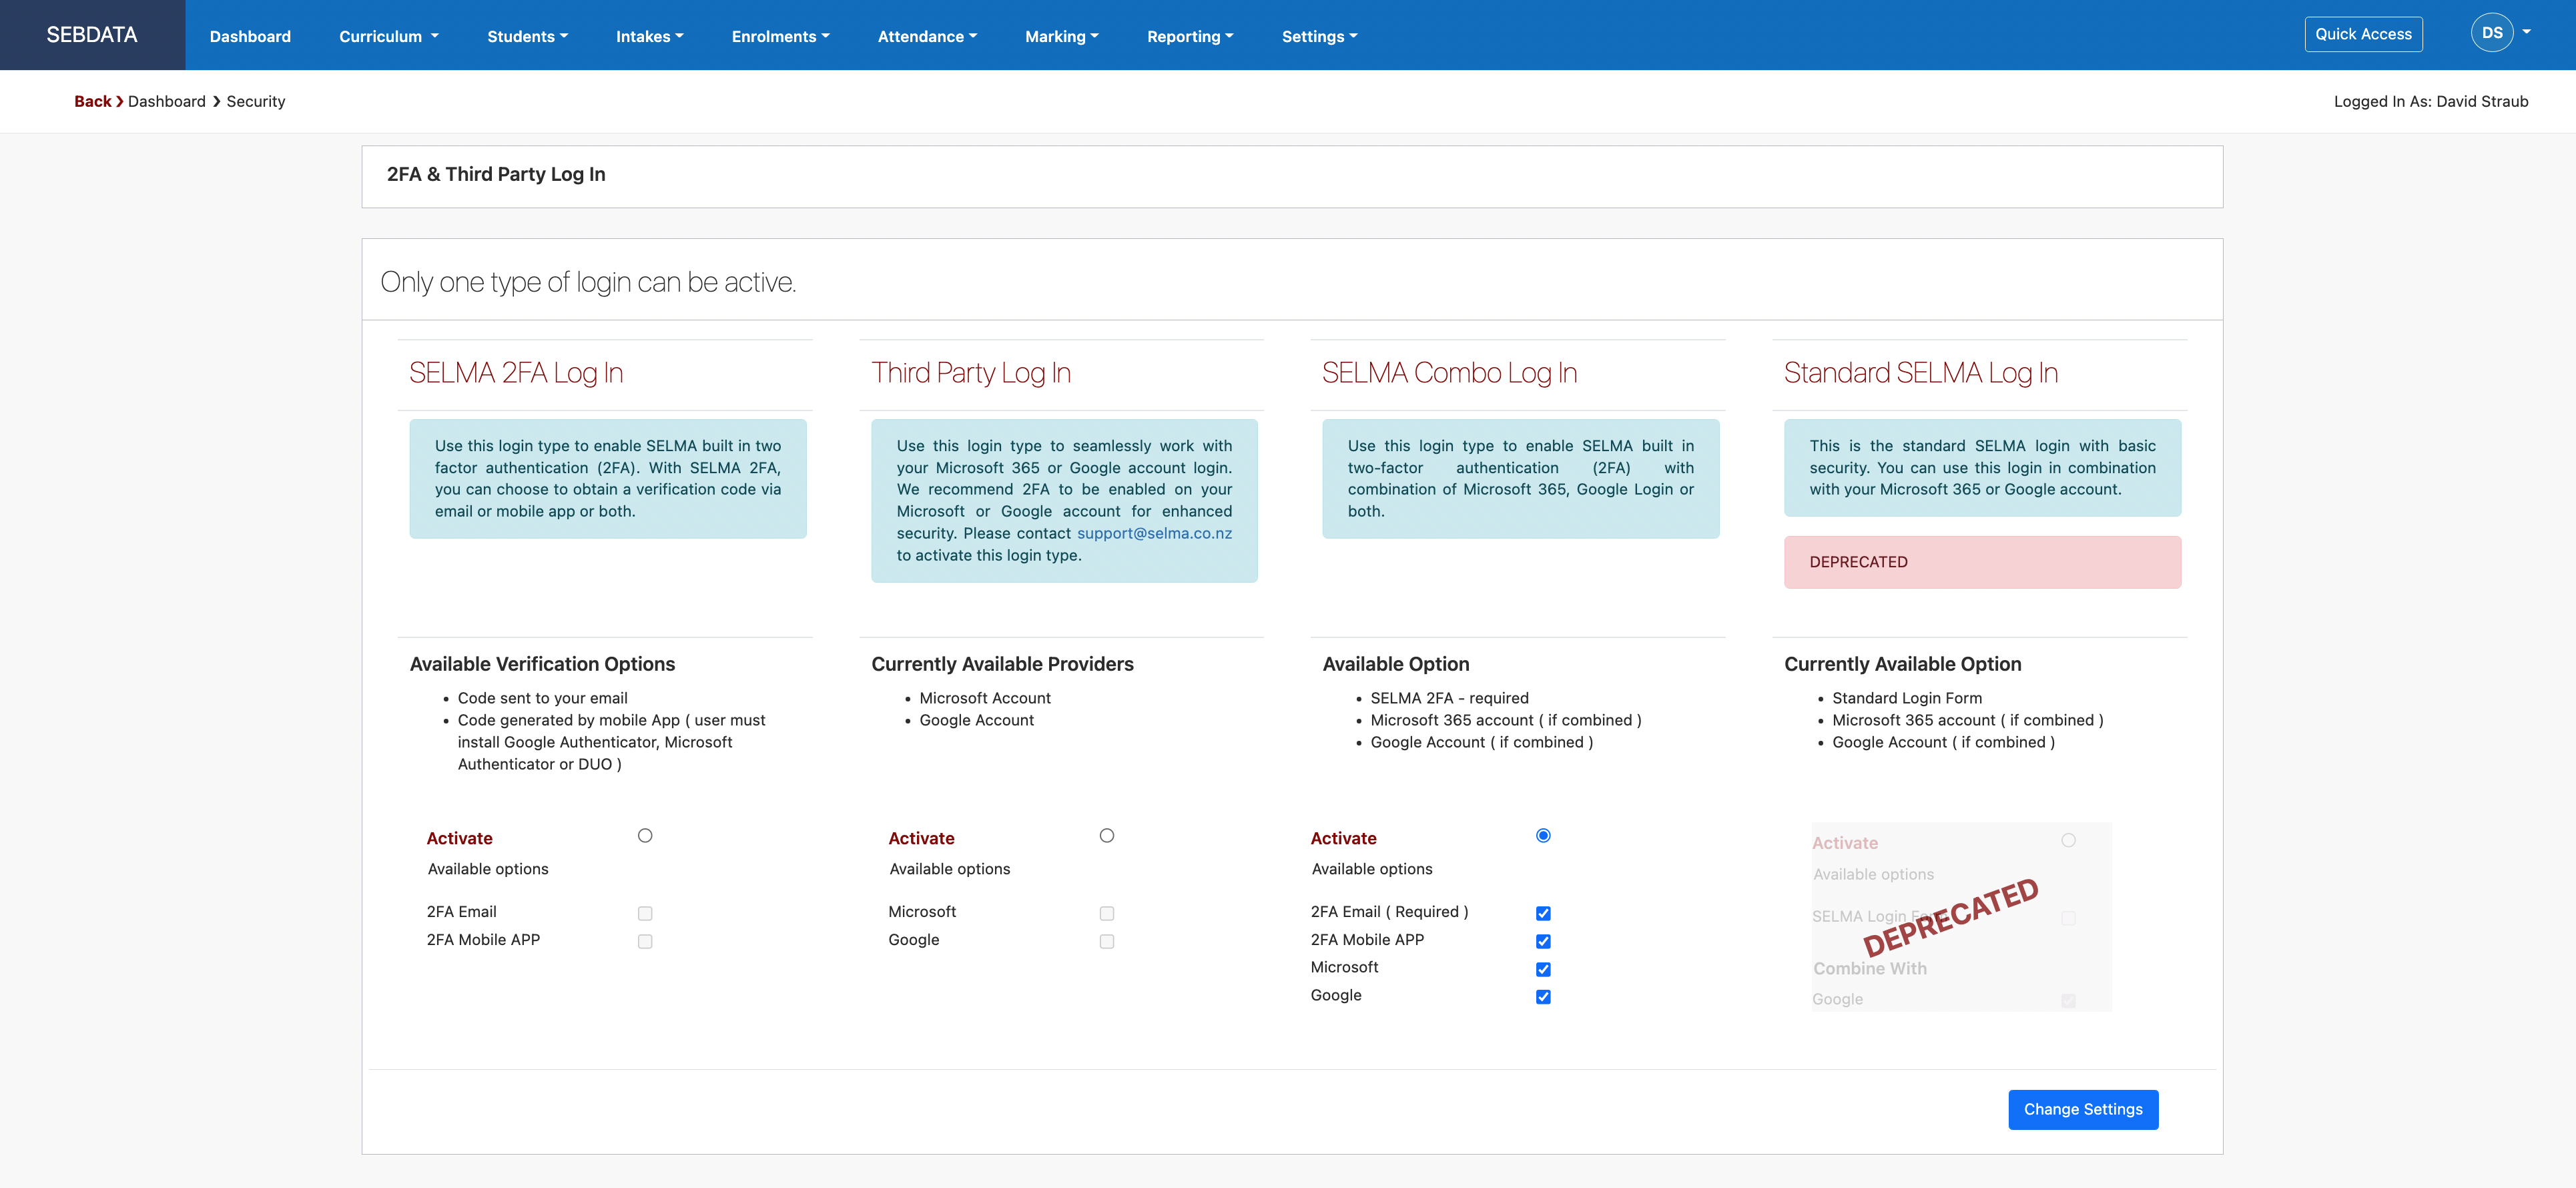
Navigate to Settings -> Security
The security menu is used to set how you will log in to SELMA. A consultant would have set this up for you in the beginning, however, you can make changes to this if you e.g. prefer that all users have to login via 2FA app.
Please contact support if you need help with setting up your security logins, as successful and secure logins will rely on many integrated systems:
Contacts
Navigate to Settings -> Contacts
Contacts are individuals who are not students but play a relevant role in a student’s life. This can be managers, parents, agents etc.
Contacts you create and maintain can later be added to students as a stakeholder or linked to an organisation in SELMA. They may also get a stakeholder portal login.
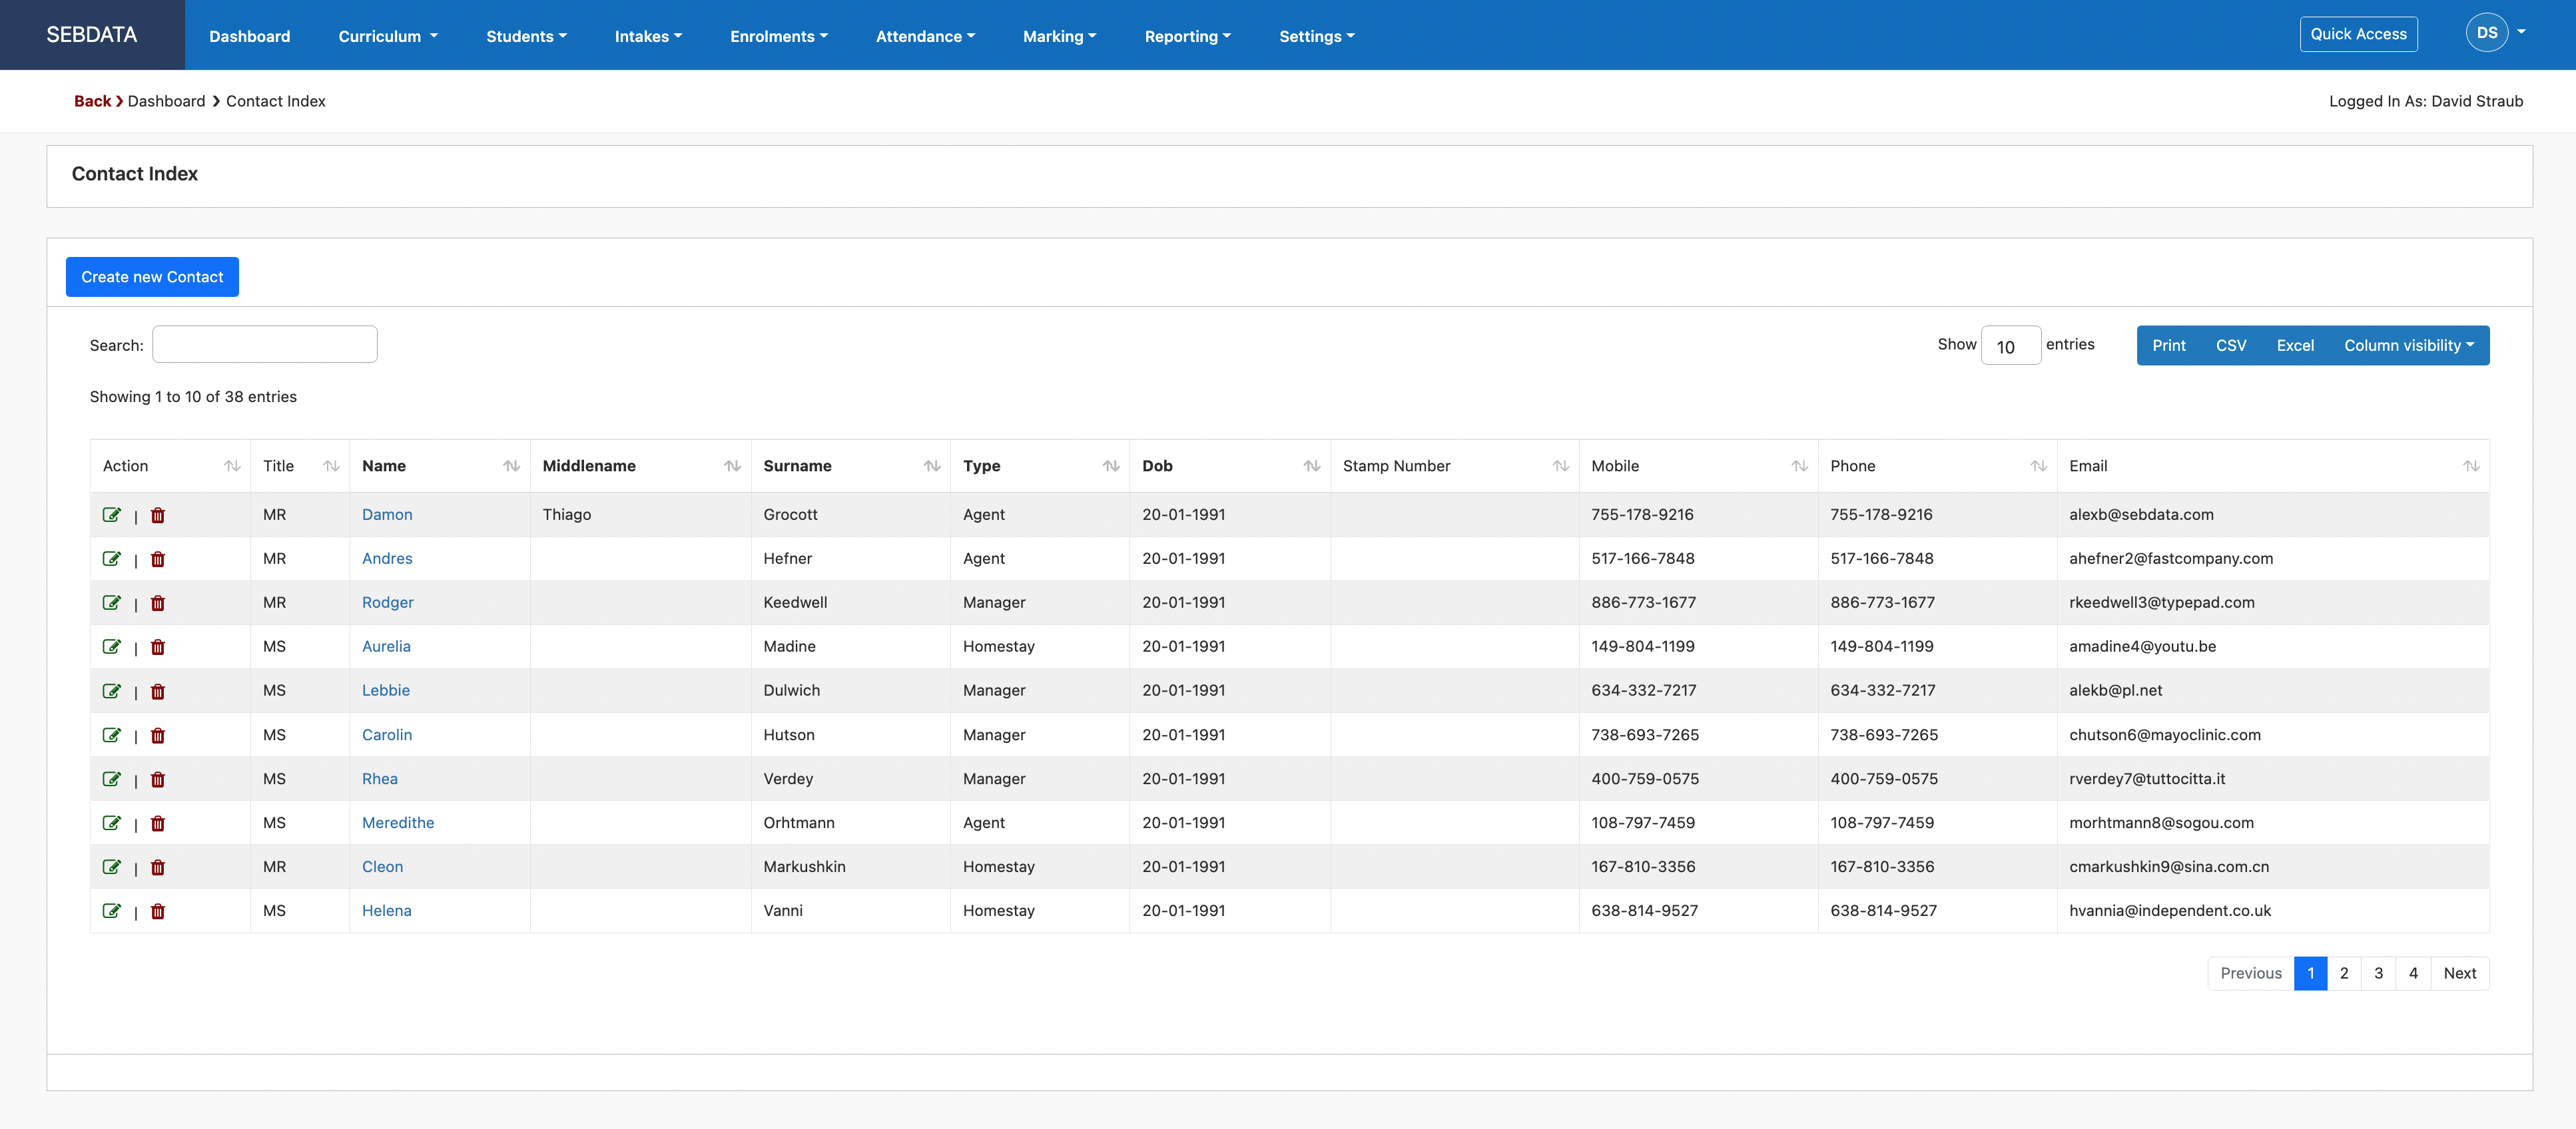
To manage existing contacts, click on the green pencil button. You can also delete contacts but be aware that this will also delete every link to an organisation or a student.
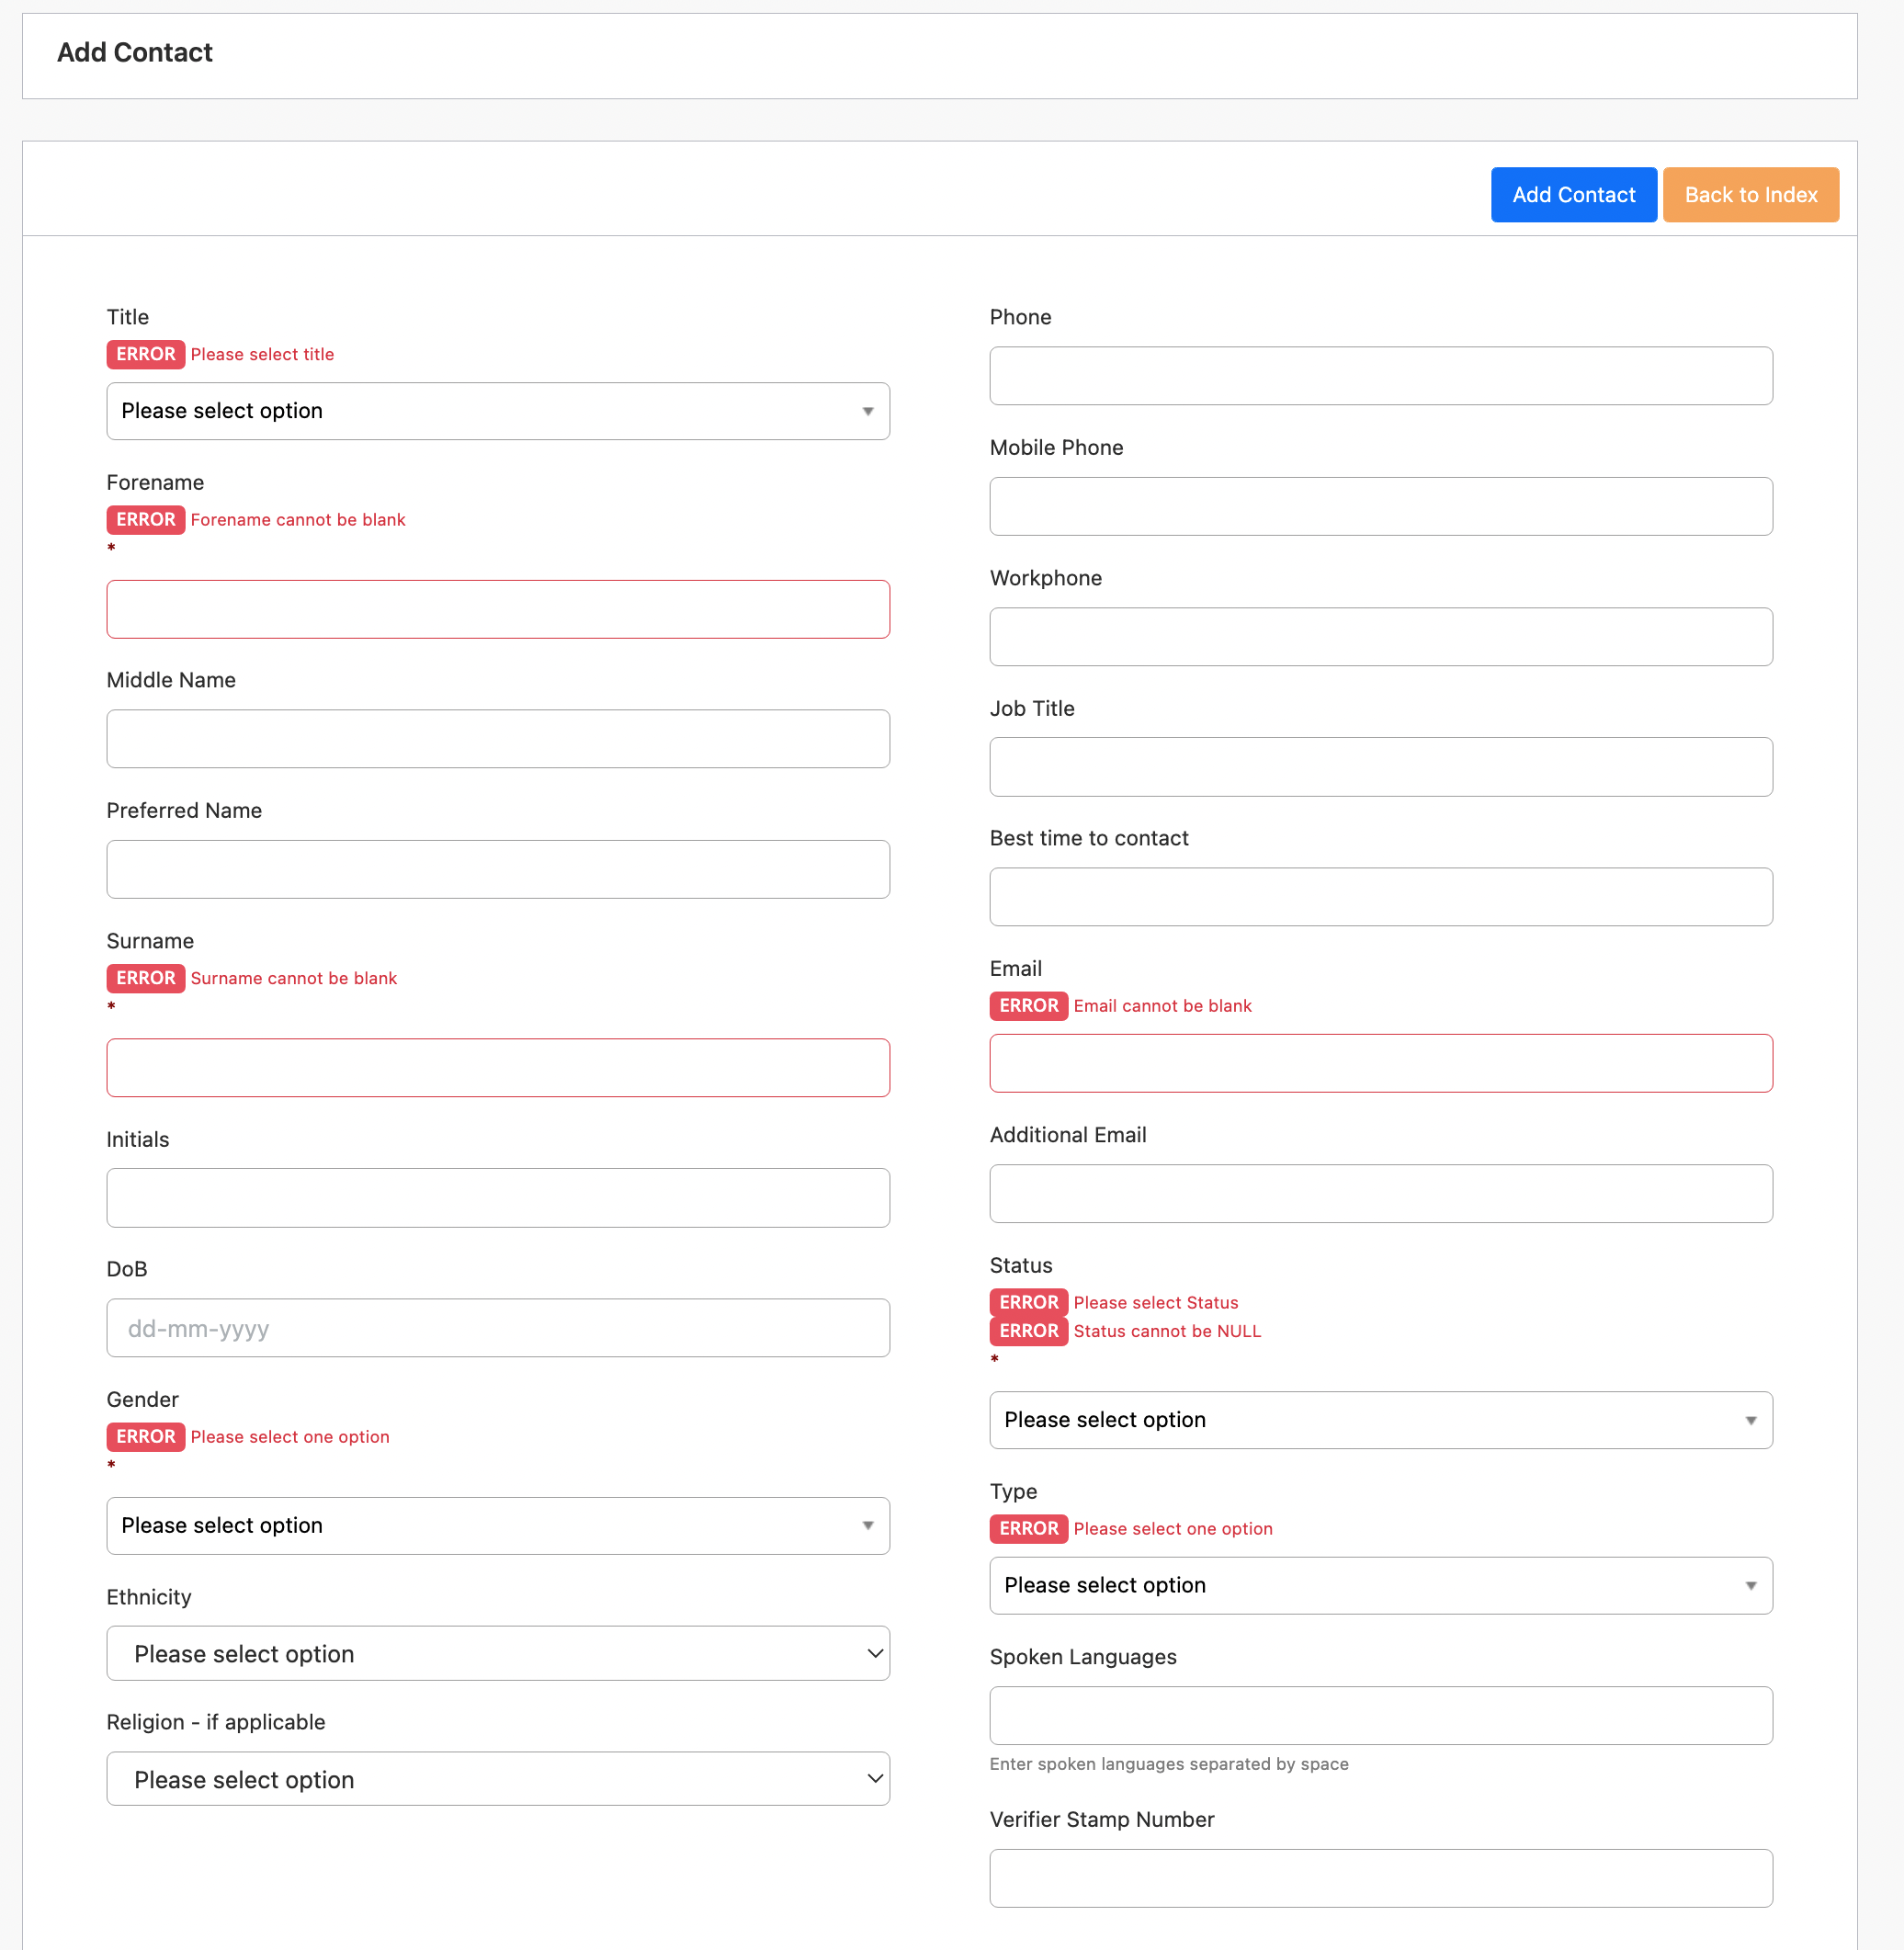
To create a new contact, click on the blue “Create New Contact” button. Fill in the fields as shown below and use “Add Contact” to save the record.
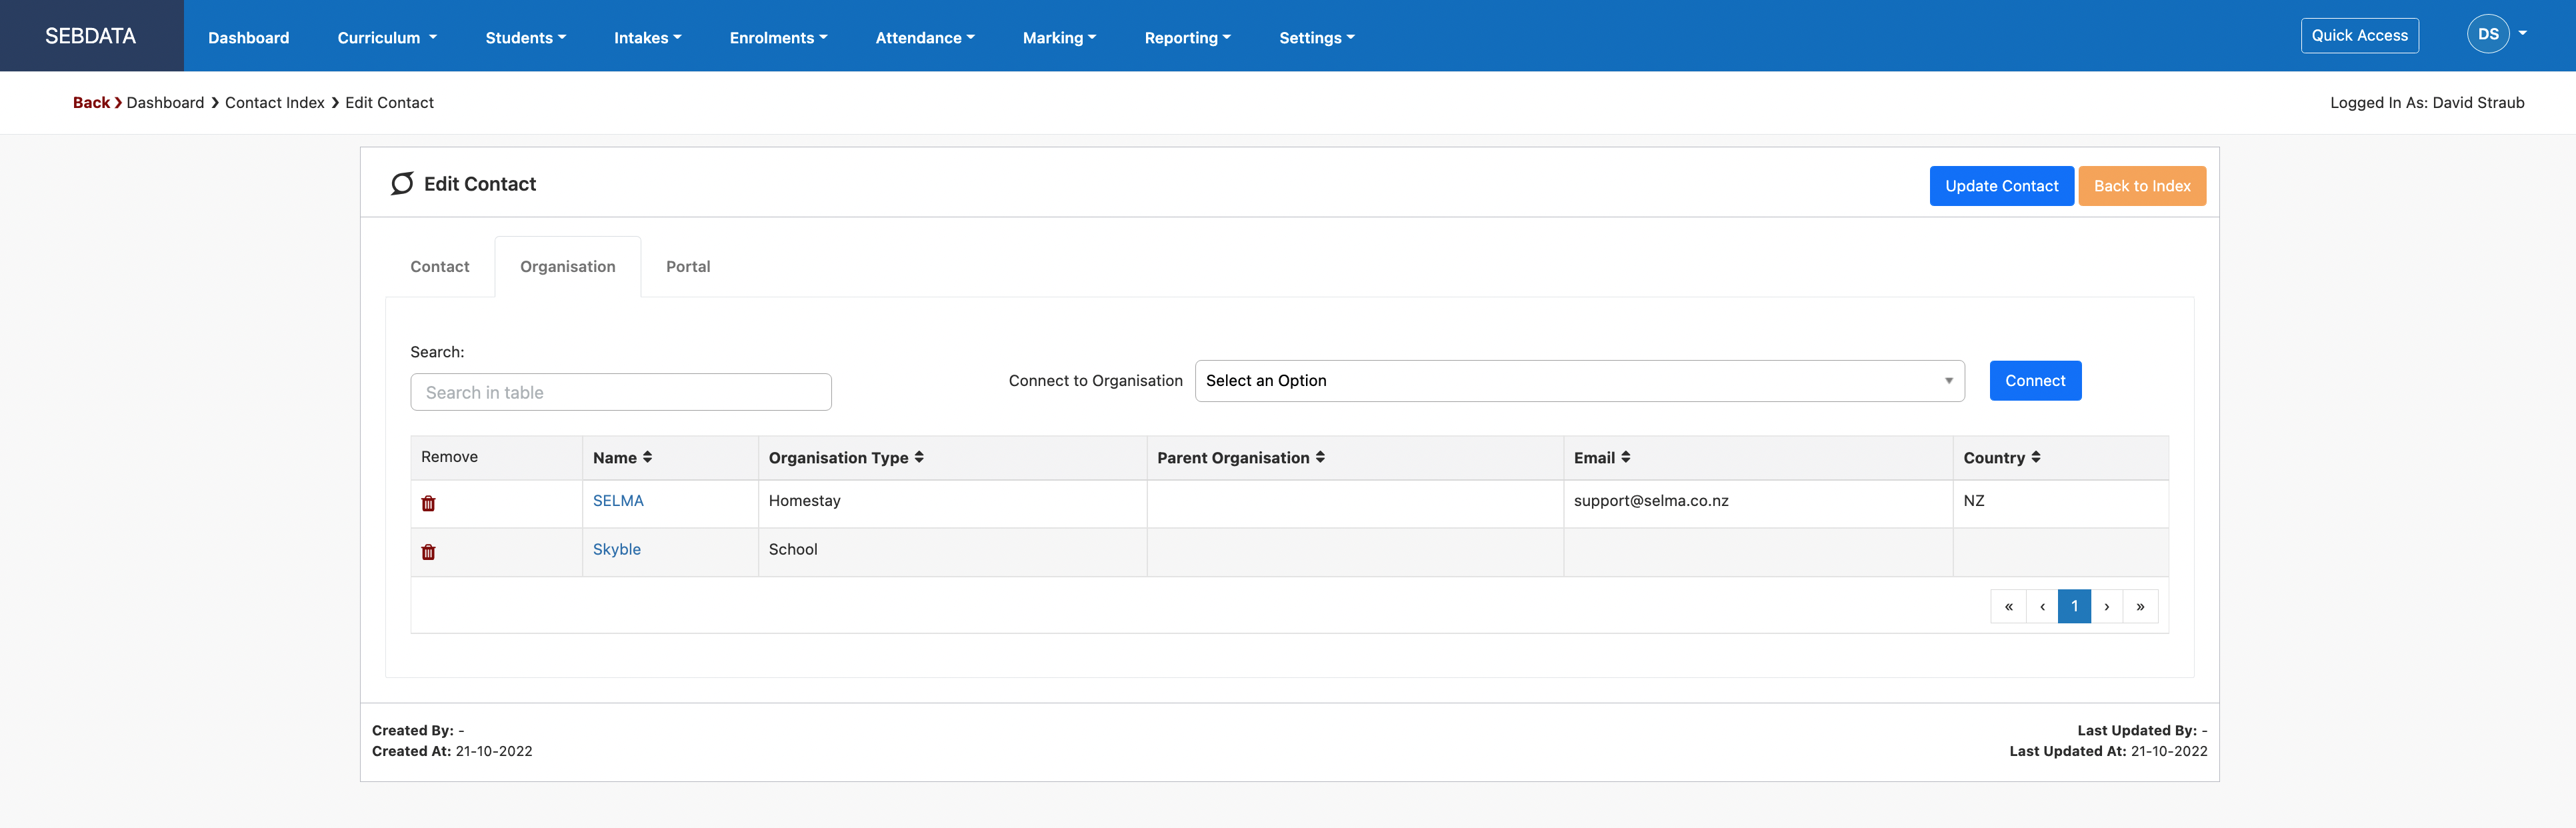
Once a contact is added, you can also link the contact to one or many organisations by selecting an organisation from the drop-down list and click Connect.
The portal user creation is covered in the Student & Stakeholder Portal manual.
Organisations
Navigate to Settings -> Organisations
“Organisations” are all organisations affiliated with your organisation. These can be employers, agencies, education institutions etc.
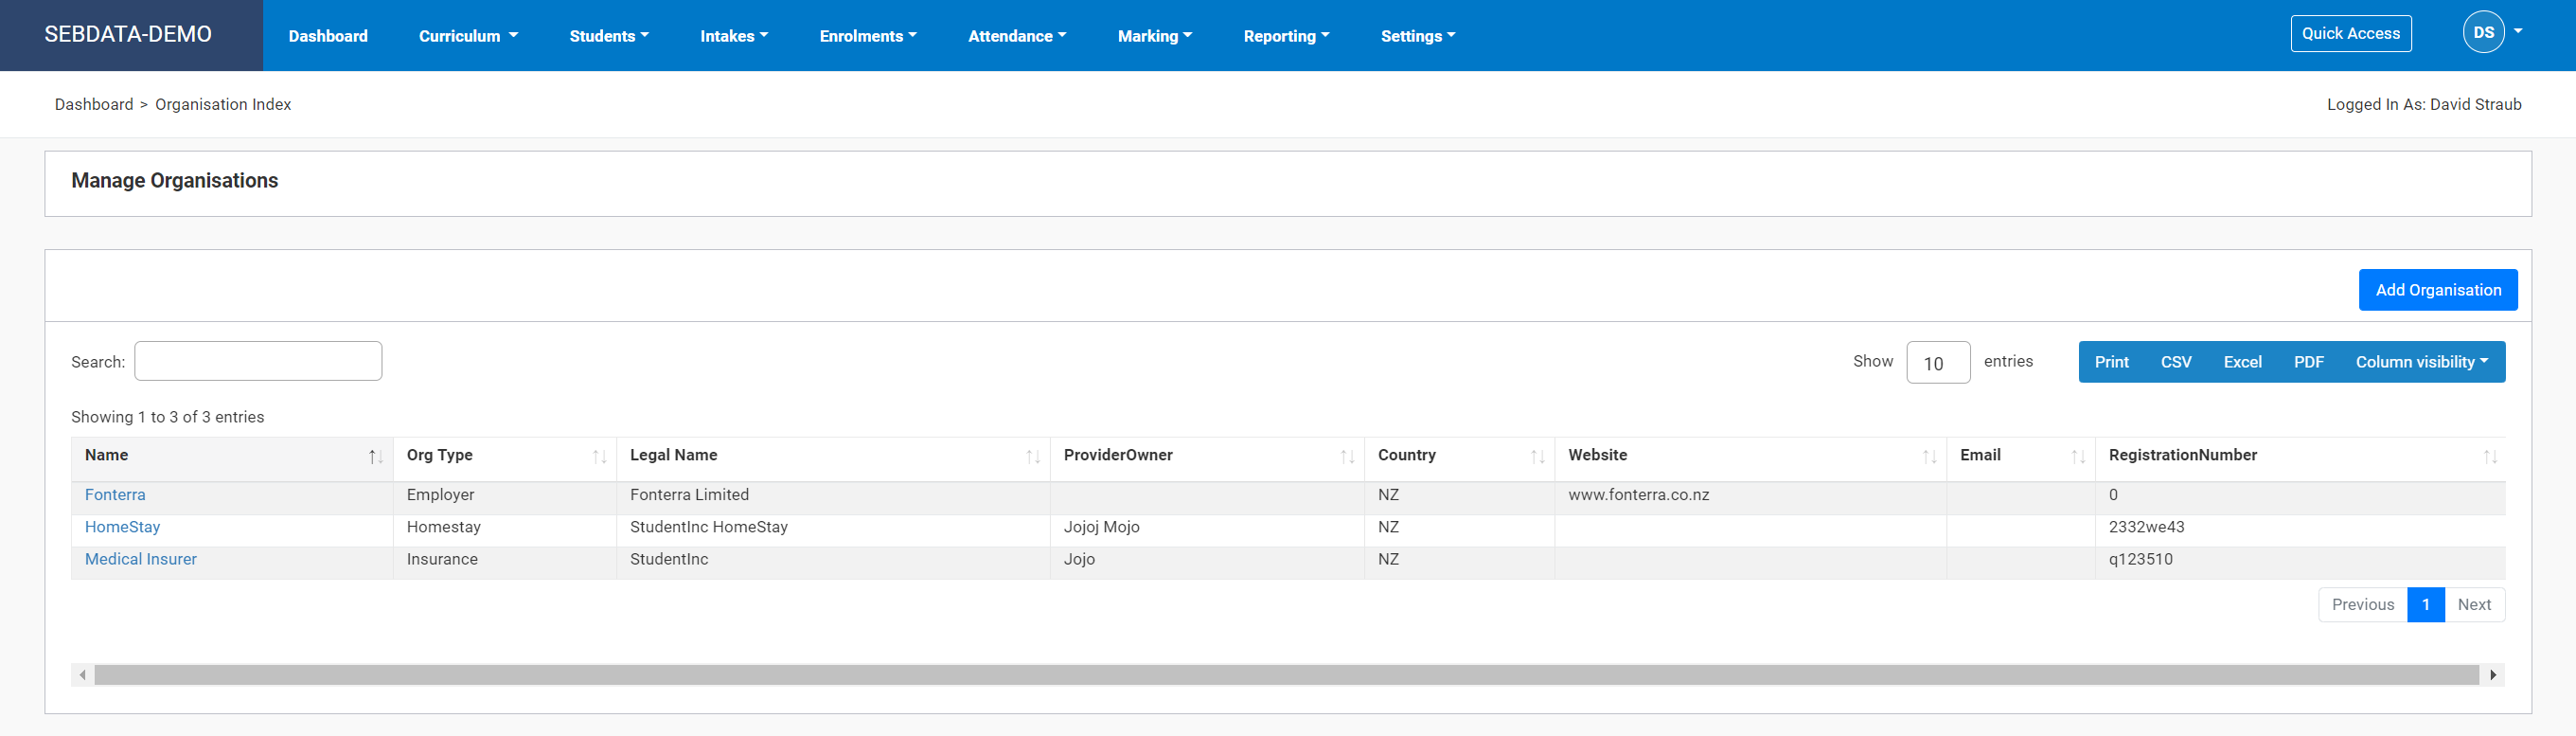
To edit an organisation, click on the hyperlink (organisation name) under “Name” column.
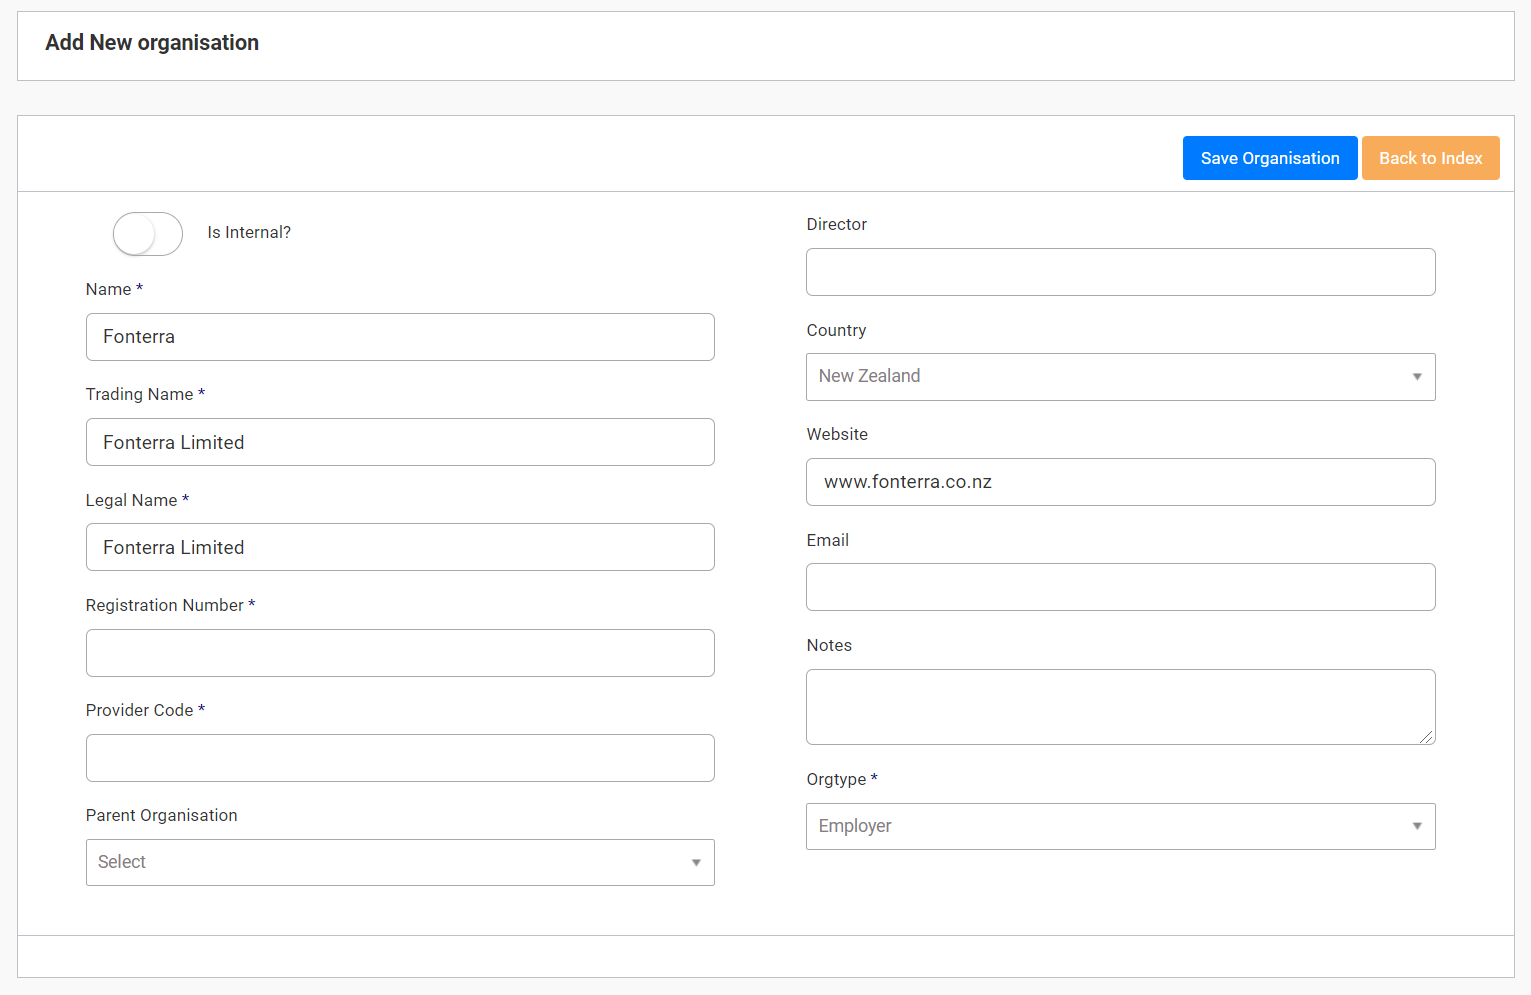
To add a new one, click the “Add Organisation” button in the organisation index page. Fill in the form and save your new organisation by clicking “Save Organisation”.
 |
Organisations setup here will be available for selection in many areas of SELMA. E.g. agencies for international students or employers for apprentices. |
Lookup Data
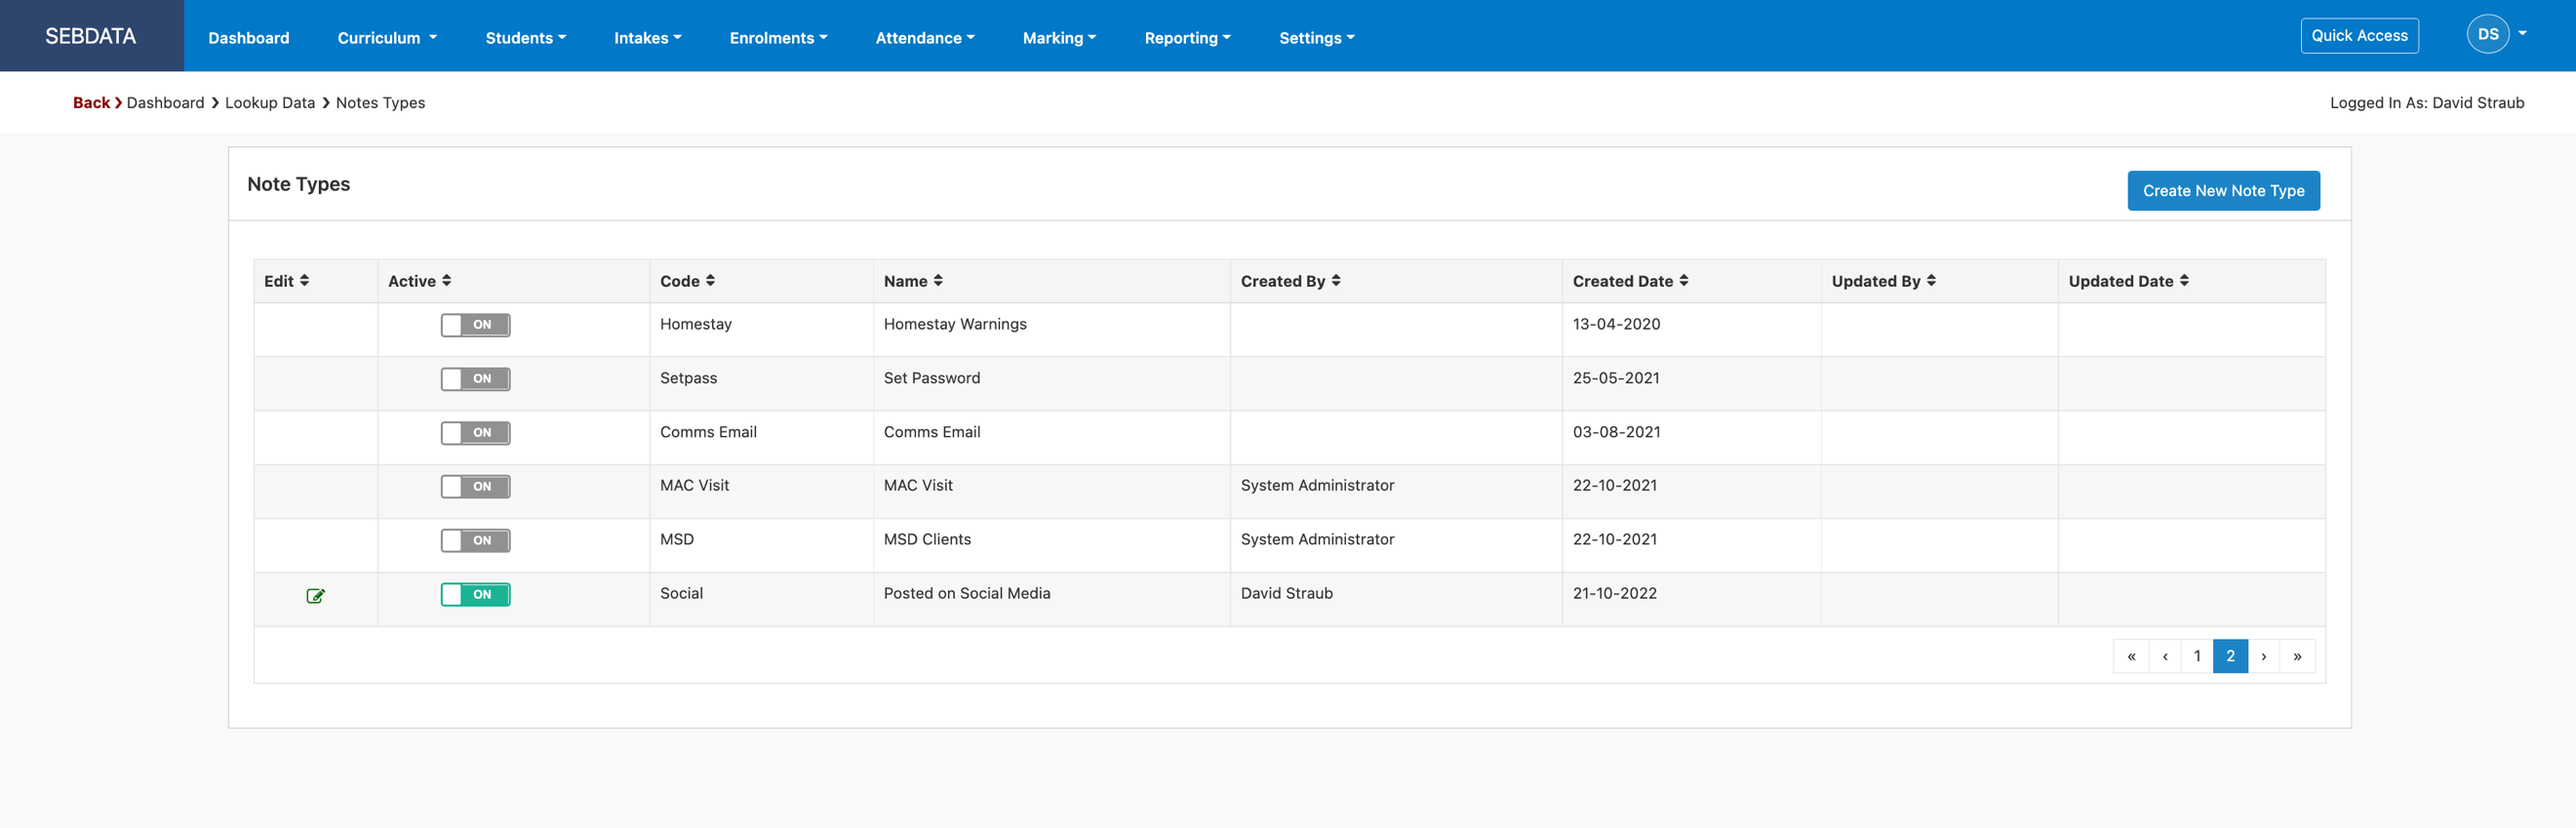
The lookup data menu allows you to manage lookup data in drop down lists such as “Note Types” or “Marketing Sources”.
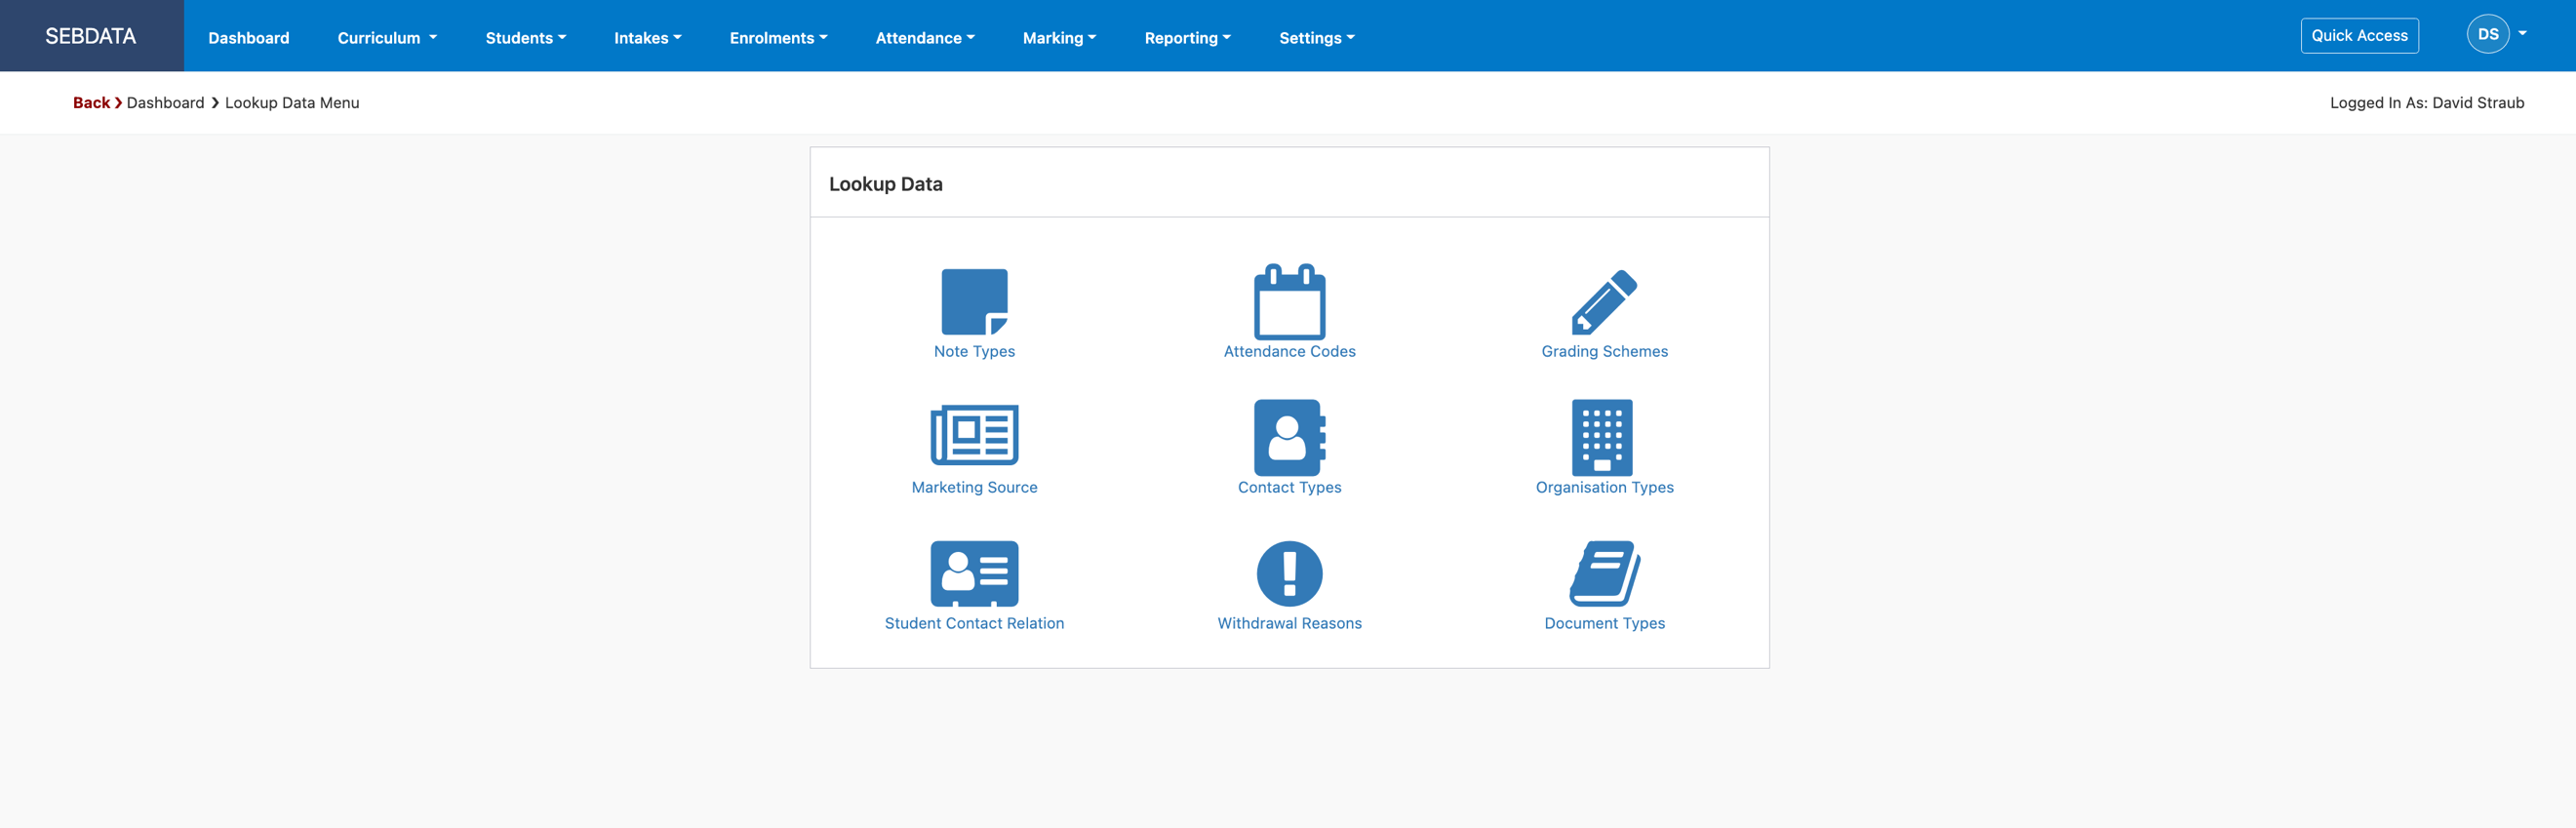
When clicking and therefore editing a lookup data area, you will see that some lookup data is locked for editing. This data is used by the system to perform standard tasks and cannot be deleted or altered. You can however add more options as shown below: