1 – School Details

On this page:

School Details

Navigate to Settings -> My Organisation

Your school will be setup by a SELMA consultant. However, you can make changes to your school by clicking on the edit button. If you use SELMA in the multi provider mode, the menu item under settings will be called Providers and when clicking on it you will see multiple tiles with your different schools.

Graphical user interface, application

Description automatically generated

Edit your school by clicking on the green pencil icon. You will be redirected to the editing screen where further details are required – see below.

Organisation tab

Please fill out all details accurately. Mandatory fields are marked with a star symbol (*)

Critical parameters include the email address address used for sending emails from SELMA. The “Email for text message reply” is the email where potential text message replies will be directed.

Text entered on the field “Name” will automatically appear as the name displayed in the top-left corner of the menu bar in SELMA.

Branding tab

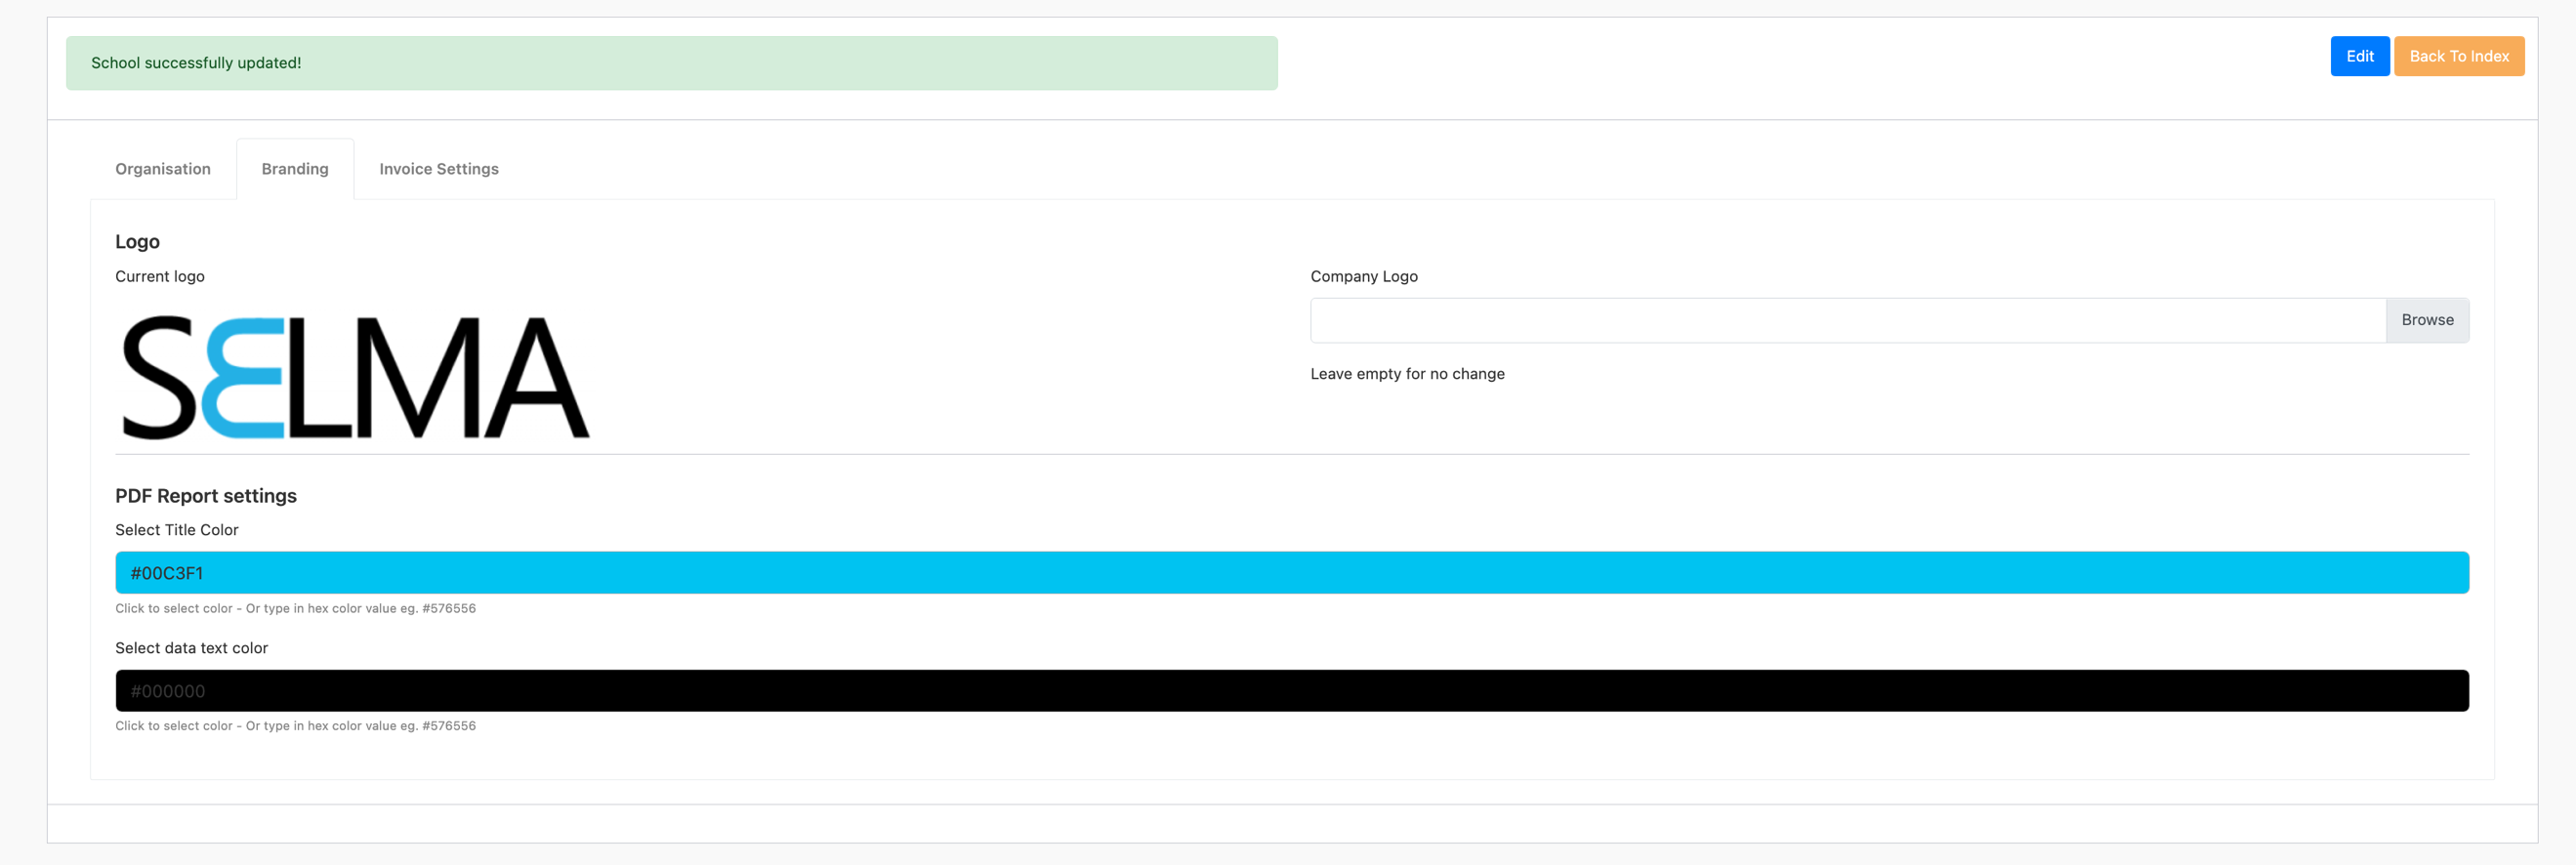
On the branding tab of the school setup, you can set your logo and colour scheme to use in the SELMA PDF reports. Make sure the logo you upload is within the size limits of SELMA. The upload will fail if the picture is too big.
Invoice Settings

Finally, the invoice settings allow you to set the financial data displayed on your invoices.

Graphical user interface, application, website

Description automatically generated

Related Articles

2 – Campuses

On this page: Campuses Navigate to Settings -> Campuses Here you can add campuses information for your school to view and manage them all in one place. Add Campus Click ‘Add Campus’ on the top right to fill in the details of the campus you want to add. We recommend using a three-letter campus code …

8 – Lookup Data

The lookup data menu allows you to manage lookup data in drop down lists such as “Note Types”, “Attendance Codes” or “Marketing Sources”. Navigate to Settings -> Lookup Data When clicking on a lookup data area, you will notice that some lookup data is locked for editing. Those are used by the system to perform …

3 – Security Tips

On this page: Security Settings Navigate to Settings -> Security The security menu is used to set how users will log in to SELMA. A consultant would have set this up for you in the beginning, however, you can make changes to this if you e.g. prefer that all users have to login via 2FA …

5 – Contacts

Contacts are individuals who are not students but play a relevant role in a student’s life. They can be managers, parents, agents etc. Contacts you create and maintain can later be added to students as a stakeholder or linked to an organisation in SELMA. They may also get a stakeholder portal login. Navigate to Settings …